


Setting Up Hips, Back, Neck and Shoulders
Open the sample file:
You will approach this lesson in a similar manner to the hinge constraint lesson in that you'll go through one of the joints in detail and then use a table of parameters to construct the other constraints. The setup for each Rag Doll constraint is identical, so once you've mastered the first one you should have no trouble setting up the rest of the character. You start with the hips.
Create Rag Doll constraints for the hips:
 On the
Create panel, click Helpers and choose reactor from the drop-down
list.
On the
Create panel, click Helpers and choose reactor from the drop-down
list.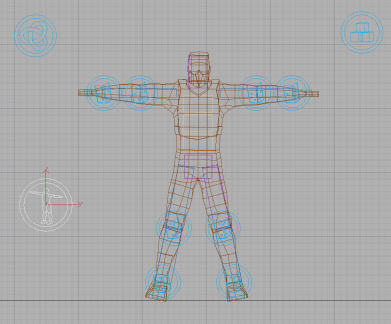
Next, you choose which objects to associate with this constraint.
 Press H and from the Object Select dialog,
choose RThigh and click Pick.
Press H and from the Object Select dialog,
choose RThigh and click Pick.The button beside Child should now read RThigh.
This tells reactor to constrain two bodies together.
Press H and from the Pick Object dialog,
choose Pelvis, then click PickThe button beside Parent should now read Pelvis and the scene should look like this:
Next, you need to adjust the Rag Doll constraint limits so that it behaves like a real hip joint:
You have completed your first Rag Doll constraint. Once you have successfully finished with that constraint, you can move on to completing the rest in a similar fashion.
Create Ragdoll constraints for the back, neck, and shoulders:
| Constraint Name | Child | Parent | Twist Min | Twist Max | Cone Min | Cone Max | Plane Min | Plane Max |
|---|---|---|---|---|---|---|---|---|
| RHipJoint | RThigh | Pelvis | -5.0 | 5.0 | -25.0 | 55.0 | -45.0 | 2.5 |
| LHipJoint | LThigh | Pelvis | -5.0 | 5.0 | -55.0 | 25.0 | -45.0 | 2.5 |
| BackJoint1 | Spine1 | Pelvis | -1.0 | 1.0 | -30.0 | 30.0 | -50.0 | 5.0 |
| BackJoint2 | Spine2 | Spine1 | -1.0 | 1.0 | -8.0 | 8.0 | -6.0 | 3.0 |
| BackJoint3 | Spine3 | Spine2 | -1.0 | 1.0 | -8.0 | 8.0 | -6.0 | 3.0 |
| RShoulderJoint | RUpperArm | Spine3 | -5.0 | 5.0 | -75.0 | 85.0 | -5.0 | 65.0 |
| LShoulderJoint | LUpperArm | Spine3 | -5.0 | 5.0 | -85.0 | 75.0 | -5.0 | 65.0 |
| NeckJoint | Head | Spine3 | -5.0 | 5.0 | -45.0 | 45.0 | -15.0 | 15.0 |
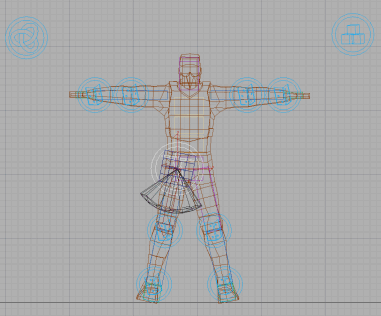
Once you've created all of the above constraints your Rag Doll constraints should look like this:
The only thing left to do is to add these new Rag Doll constraints to your Constraint Solver.
Add the Rag Doll constraints to the Constraint Solver:
Press H and select the CSolver01 object. On the
Modify panel > Properties rollout, click Add.
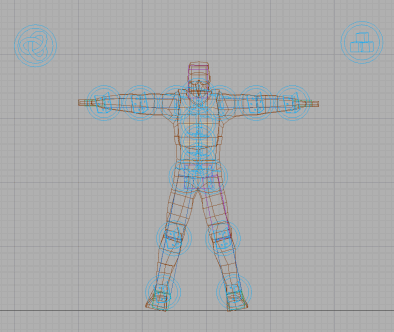
On the
Modify panel > Properties rollout, click Add.Now the Constraint Solver has all of the constraints in it and the scene is ready to preview once again. First, save your scene.
Preview your character:
 On the
Utility panel > reactor > Preview & Animation rollout,
click Preview In Window.
On the
Utility panel > reactor > Preview & Animation rollout,
click Preview In Window.Now your character should tumble down the stairs properly.