


Setting Up Knees, Elbows, Ankles and Wrists
Open the sample file:
Using a constraint is similar to the Rigid Body Collection, but this time you add a Constraint Solver to the scene. Next you can begin to add various constraint types to your objects and then add them to this solver. The solver, in essence, figures out how best to keep all of your objects happy under the conditions they've been given (body A connected to body B, body B connected to body C, etc.).
Add a Constraint Solver to the scene:
 On the
Create panel, click Helpers and choose reactor from the drop-down
list.
On the
Create panel, click Helpers and choose reactor from the drop-down
list.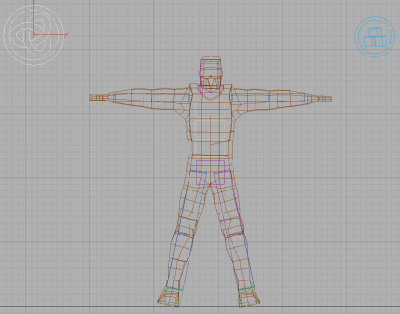
Next, you'll specify the collection to which to apply the Constraint Solver.
 Press H and choose RBCollection01 from
the Pick Object dialog.
Press H and choose RBCollection01 from
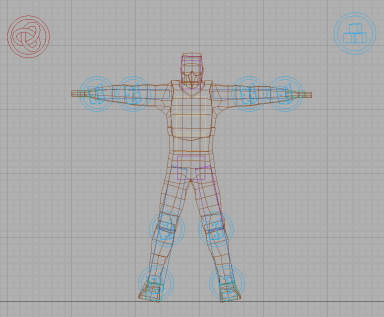
the Pick Object dialog.Now you're ready to start connecting bones together, and soon will have your rag doll tumbling down the stairs. You'll use the Hinge constraint to connect the various bones in the character, first joining the right foot and calf bones to simulate an ankle.
Create Hinge constraints for the ankles:
Next you'll choose the objects to which to assign to this constraint.
Press H and choose RFoot in the
Pick Object dialog, then click PickThe Child button should now read RFoot.
This indicates that you want to constrain two objects together, rather than one object to the world.
Press H, choose RCalf from the
Pick Objects dialog, and then click PickThe button beside Parent should now read RCalf and the scene should look like this:
In its current state, the character's foot is free to rotate 360 degrees around the hinge constraint, which as you can imagine would be pretty painful! You need to use the Limited property for this hinge constraint.
Create Hinge constraints for the knees, elbows and wrists:
| Constraint Name | Child | Parent | Min Angle | Max Angle |
|---|---|---|---|---|
| RAnkleJoint | RFoot | RCalf | -20.0 | 30.0 |
| LAnkleJoint | LFoot | LCalf | -20.0 | 30.0 |
| RKneeJoint | RCalf | RThigh | -85.0 | 0.0 |
| LKneeJoint | LCalf | LThigh | -85.0 | 0.0 |
| RWristJoint | RHand | RForeArm | -35.0 | 35.0 |
| LWristJoint | LHand | LForeArm | -35.0 | 35.0 |
| RElbowJoint | RForeArm | RUpperArm | -85.0 | 0.0 |
| LElbowJoint | LForeArm | LUpperArm | -85.0 | 0.0 |
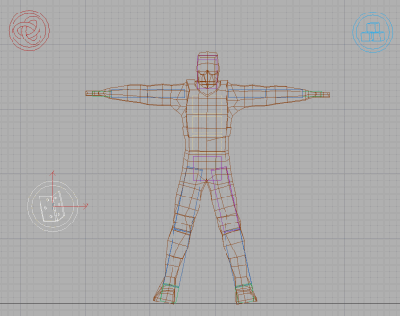
When you're done, the scene should look like this:
You'll simulate the other bones using Rag Doll Constraints, as their motion is more sophisticated. The last thing you have to do is to add all of the constraints to the Constraint Solver.
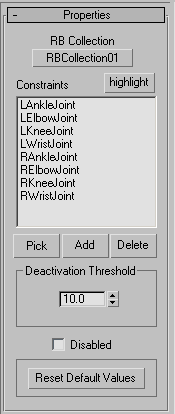
Add the Hinge constraints to the Constraint Solver:
Press H, and on the Object Select dialog,
choose CSolver01 and click Select. On the
Modify panel > Properties rollout, click Add.
On the
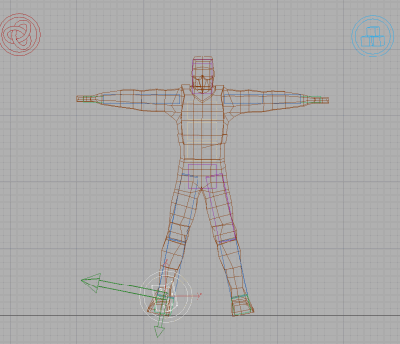
Modify panel > Properties rollout, click Add.The CSolver Properties rollout should now look like this:
Next you'll preview the scene again to see just how these alterations have affected the character.
 On the
Utility panel, click reactor, and then on the Preview & Animation
rollout, click the Preview in Window.
On the
Utility panel, click reactor, and then on the Preview & Animation
rollout, click the Preview in Window.You might have noticed during the last preview that reactor complained that some of the rigid bodies in the scene were interpenetrating. Although you ignored this warning on that occasion, it's not a good idea to do in general. Later in this tutorial, you will take care of this issue, but for now click Continue and view the preview.
The first thing that stands out is that the bones connected with hinge constraints stay together. This is exactly as planned, but notice that they continue bouncing and dancing about once they hit the floor. This is because reactor notices that the bones are interpenetrating with one another and tries to separate them. However, at the same time, the Constraint Solver is trying to keep them together. Since they are essentially battling with one another over the position of the various bones they continue to bounce about erratically. The solution to this is to tell reactor not to worry about interpenetrations between the bones that you've connected.
Disable collisions between the limbs:
On the
Utility panel > reactor > Collisions rollout > Global Collisions
group, click Define Collision Pairs.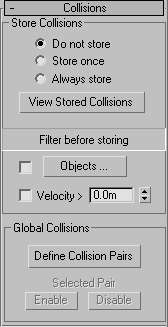
You are presented with the following dialog:
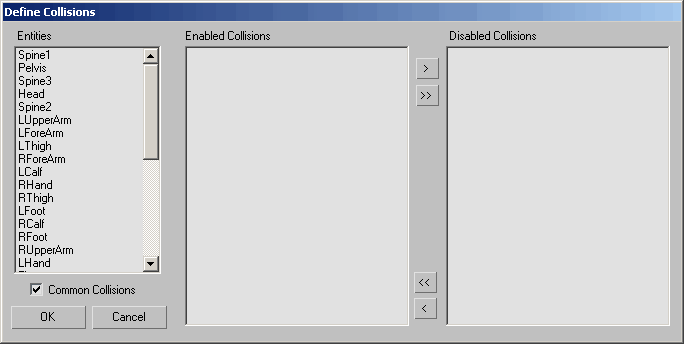
There are three columns: one for all the entities (objects) in the scene, one for enabled collisions, and one for disabled collisions. By default, all collisions are enabled between all objects so you need to tell reactor to ignore the collisions between the bones in your character. You want to ignore only bone-to-bone collisions, though. If, for example, you chose to ignore the collision between the character's foot bone and the floor object, the character's foot would pass straight through the floor unimpeded.
This displays a list of enabled collisions in the second column.
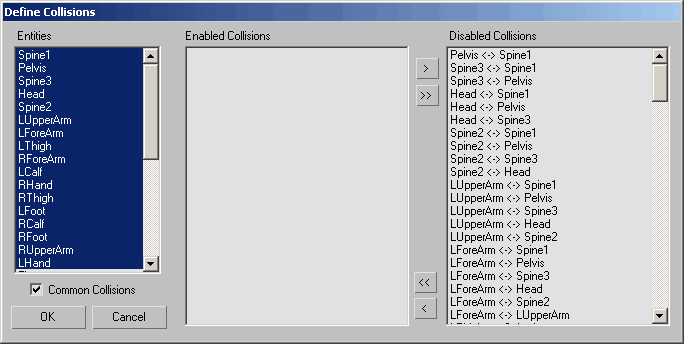
All of the collision pairs between the selected bodies move to the third column (disabled collision pairs).
Preview the animation with collisions disabled:
On the
Utilities panel > reactor > Preview & Animation rollout,
click Preview in Window.The Preview window should open this time without any warnings and everything should behave as expected (no bouncing limbs).