Adding Render Effects to the Laser Blast
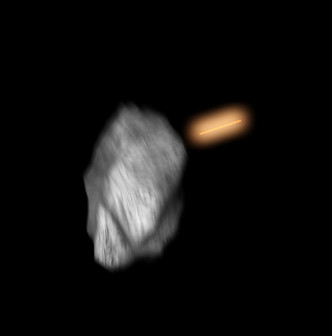


To give your scene some finishing touches, you’ll add render effects to make the laser blast and the explosion glow.

Setup:

Add a render effect:

  1. Choose Rendering menu > Effects.

    The Environment And Effects dialog is displayed, with the Effects tab active.
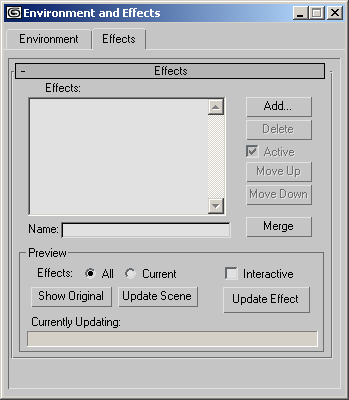
  2. Click Add. In the Add Effect dialog, choose Lens Effects from the list, and click OK.
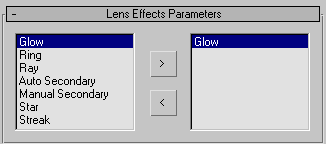
  3. In the Lens Effects Parameters rollout, highlight Glow and then click the right-pointing arrow to move it into the list on the right.

Adjust the glow settings:

  1. Scroll down to the Glow Element rollout, and in the Name window, rename the glow effect laser glow.
  2. Change Size to 0.25 and Intensity to 200.
  3. In the Radial Color group, click the white color swatch and change the color to orange (R: 235, G: 120, B: 60).
  4. Click the Options tab.
  5. In the Apply Element To group, make sure Lights and Image Centers is off.
  6. In the Image Sources group, turn on Materials ID. It should be set to 1 by default.
  7. Move the time slider to frame 5.
  8. Scroll up to the Effects rollout > Preview group. Make sure the Camera01 viewport is active, then click the Update Scene button.

    The frame renders, and then the glow is applied to the laser blast.
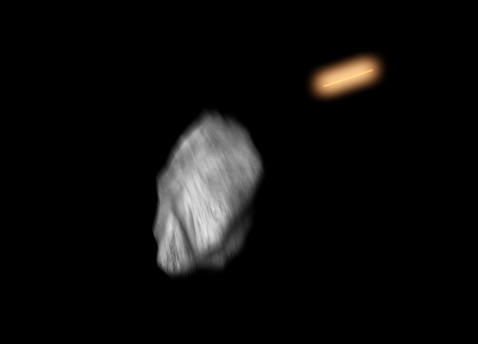
  9. Save your scene as myexplosion4.max.

Next

Adding a Second Glow to the Explosion