Using DWF Export


In this lesson, you'll learn how to use the DWF Export tool and set it up to export a 3D scene. You will also learn to view the exported or published scene in the Autodesk DWF Viewer and use the Layers table to control the visibility of objects.

Set up the lesson:

  1. From the\tutorials\viz\ directory, open dining_room.max.
  2. The scene shows a dining room with various objects and materials applied. It is illuminated by a single hidden main light and three hidden fill lights to simulate global illumination.
    TipIf the Units Mismatch dialog displays, choose Adopt Unit Scale, and then click OK.

Using the DWF Export dialog:

  1. On the main toolbar, click the Quick Render button to view the rendered scene with lights and shadow effects.

  2. From the File menu, choose Export.
    NoteMake sure the Camera viewport is the active viewport. as this will be used as the initial view in the DWF Viewer when you choose Export.
  3. In the Select File to Export dialog, click the Save as Type drop-down menu and choose Publish to DWF.
  4. In the file name box, enter Dining Room for the name of the exported file. Click Save.

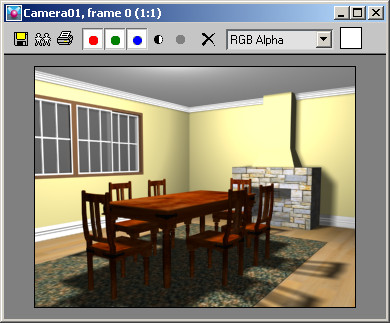
    The DWF Publish Options dialog opens.

  5. In the General group, check the Show DWF in Viewer option. The DWF Viewer window automatically opens with the exported file after clicking OK.
    NoteIf you choose to not to have the DWF Viewer open automatically in future use, you can open it from the Start button > Programs > Autodesk > Autodesk DWF Viewer.
    NoteAlthough the default publishing options for DWF export work well in most situations, you may consider changing the Rescale Bitmaps option. The higher this value, the larger the file size and the longer it takes to display in the DWF Viewer. This is especially true if the file is accessed on the Internet. The lower the maximum resolution, the faster the file loads but the quality of the display is reduced.
  6. Make sure that Group by Layer is turned on in the Grouping Options group. This is because you will be able to view objects in the DWF Viewer by layer.
  7. Click OK to export the scene and view your exported file.

    The scene is now visible in the DWF Viewer where you can view the geometry and textures applied, but notice that lighting effects and shadows have not been exported.

  8. On the DWF Viewer toolbar, use the navigation tools to orbit, pan and zoom around your project.
    NoteIf you have a mouse with a wheel, you can roll the wheel to zoom. To pan, press the wheel button and drag. You can also use the Orbit tool by pressing Shift while pressing the wheel and dragging rotates the view around a vertical axis through the middle of the model.
  9. Click the Home button to revert the model back to its original position as it was when the DWF Viewer was opened.
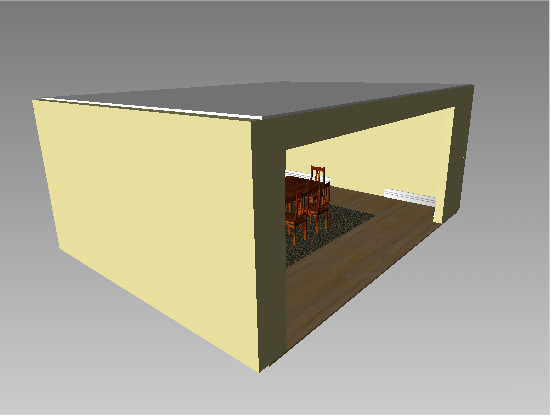
    NoteThe original position in the DWF Viewer is automatically derived from the current active viewport in 3ds Max when the DWF Export command was completed.
  10. In the Navigation panel to the left of the DWF Viewer, right-click the Fireplace layer and choose Hide. The fireplace is now hidden in the scene.
  11. Expand the Furniture layer. Right-click on Table and then choose Hide. The table disappears but other entities (chairs) on that same layer are still visible.
  12. Zoom back and orbit so that your viewpoint is from outside the room.

  13. Right-click the Walls layer in the Navigator and choose Transparent. This is an alternative to hiding a layer (or entity) as it becomes transparent so you can still see what is behind it.

Next

Overcoming Limits of DWF Export