


Importing 3D AutoCAD Models
AutoCAD creates both 3D solids and 3D surfaces, both of which are imported into 3ds Max as surface models. In most cases, the conversion process is completed with no problems; however, there are occasional errors that must be addressed.
This activates the Camera:Globe1 viewport.
 On the main toolbar, click Quick
Render.
On the main toolbar, click Quick
Render.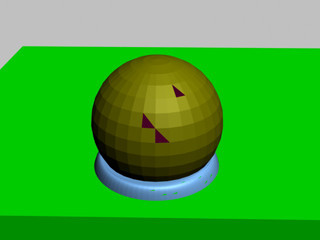
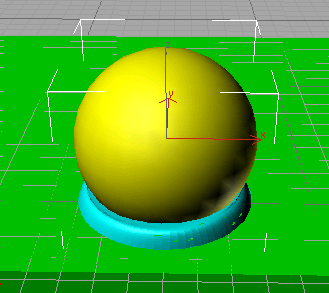
The surfaces are not smoothed, and several faces on the globe and base do not appear because their surface normals are flipped.
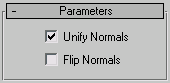
This time, turn on Auto-smooth and Unify Normals, as well as Views And Cameras in the Include group. Click OK.

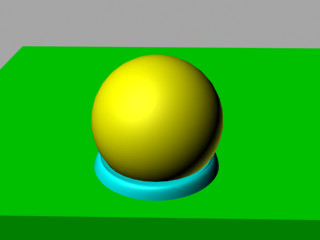
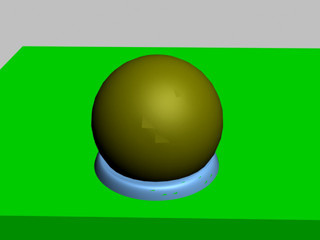
Render the scene again.The imported objects now appear smooth and the face normals are all properly unified to face the same direction.
Adjust the Smoothing and Normals Manually
If you've imported a large DWG file, you might not want to re-import the model. Especially, if there are only a couple of objects that have insufficient smoothing or flipped normals. You can adjust those faulty objects manually using the Smooth and Normal modifiers.
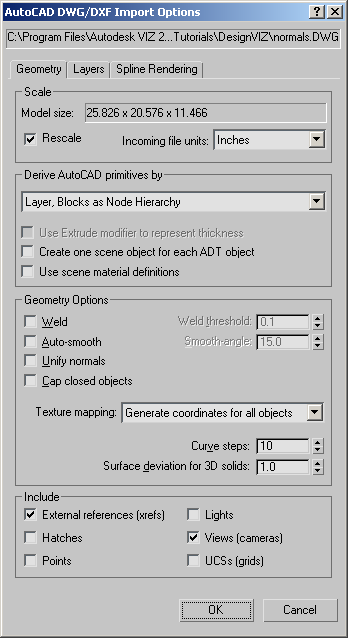
Make sure the Auto-smooth and Unify Normals switches are turned off, and turn on Views And Cameras in the Include group. This duplicates the settings you used at the beginning of this tutorial.
Click OK to import the DWG file.
 Open
the Modify panel, and unroll the modifier list.
Open
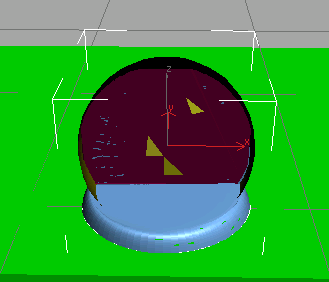
the Modify panel, and unroll the modifier list.Now the face normals of the globe are reversed.
The object’s normals all face in the correct direction.
The Layer:Globe object is smooth.
The same model with swapped modifiers.