Visual Properties (Animations)
|
Scan QR codes with a mobile device to view online video tutorials. An Internet connection is required to view online content. |
Visual Properties
|
Animations In-Depth
|
Green Screen Effect
|
 Online Video Available


The options in the Visual Properties tab allow you to create animations using content on the timeline. Other options in the Visual Properties tab allow you to add color, shadow, and opacity effects to most visual media on the timeline such as video, callouts, and images.
Animations might include:
- A talking head video that smoothly transitions or trades places with a screen recording video.
- A spinning image that enters the video from the left, pauses, then flies off to the right.
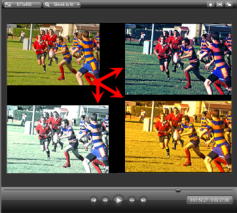
- Several videos that play simultaneously on the canvas while moving in a pattern you create.
- Callouts that animate on the canvas to draw attention to an area in the video.
Visual properties animations are instructions you add to the timeline to tell the image or video on the canvas how to behave.
- Animations can be added to a single media clip or a group.
- For most effects, add the animation to the timeline, then perform the desired action on the canvas. Editor records the action and adds it to the animation.
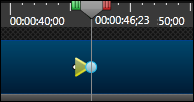
- To set the actions at the start of the animation: Place the playhead over the small white dot at the beginning of the animation.
- To set the actions at the end of the animation: Place the playhead over the larger blue dot at the end of the animation.
 above the Preview Window.
- When working with the animations, make sure the media clip or group is selected before you begin.
- Animations can be further customized with fade, color, and opacity effects.

|
Add Animation |
When adding animations, first place the playhead where you want the animation to END. To add an animation:
|

|
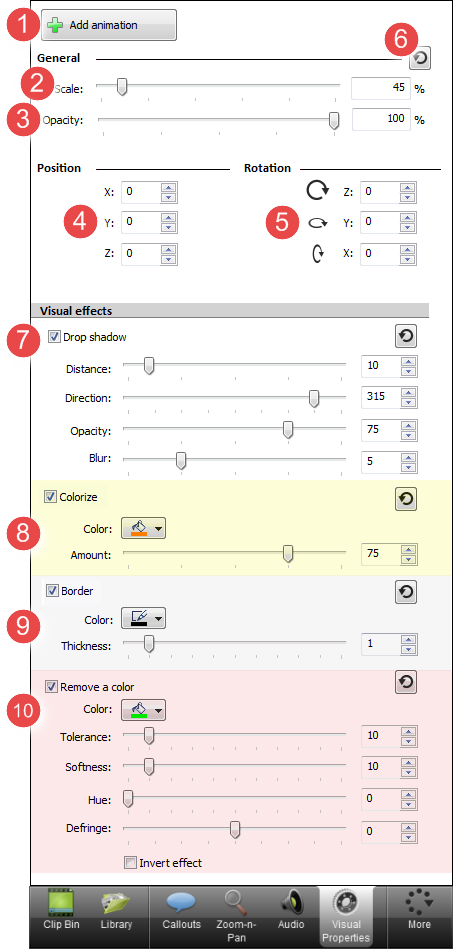
Scale |
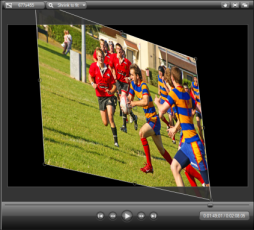
Scale Media Larger or Smaller Within an Animation
Scale Media Larger or Smaller Without an Animation To use the Scale option on other media without adding an animation, select the media on the timeline or canvas and set the desired Scale setting using the slider. |

|
Opacity |
Set Opacity for Media Within an Animation This allows media to become transparent or opaque. For example, you can set an animation for a media clip to be totally transparent at the beginning and have it fade in over time to be totally opaque at the end.
Set Opacity for Media Without an Animation To use the Opacity option on other media without adding an animation, select the media on the timeline or canvas and set the desired Opacity setting using the slider. |

|
Position
|
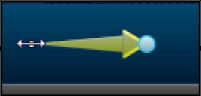
Adjust the Position of Media Within an Animation To adjust the position of a media clip in an animation:
Position Spinner Options
Adjust the Position of a Media Clip Without an Animation To use the Position options on other media without adding an animation, select the media on the timeline or canvas and set the desired position setting using the spinner options. Or, select the media on the timeline. Then, move the media on the canvas to the desired position. |

|
Rotation |
Set Rotation for Media Within an Animation This allows media to turn or spin during an animation.
Set Rotation for Media Without an Animation To use the Rotation options on other media without adding an animation, select the media on the timeline or canvas and adjust the settings using the Rotation options OR use the media clip's handles on the canvas to perform the rotation action. Rotation Spinner Options
|

|
Reset Animation / Settings |
Restore original settings to media that have animations, scale, and rotate other visual properties applied to them . |

|
Drop Shadow |
Add a drop shadow to the selected media on the timeline.
|

|
Colorize |
Add color to the selected media on the timeline. Drag the slider to adjust the effect. Apply to video, images, and callouts.
|

|
Border |
Add a plain border to the selected media on the timeline.
|

|
Remove a Color |
The Remove a Color feature, also called "Green Screen effect", or "Chroma Key effect" allows a color to be removed from a video or image. Typically this technique is used to remove a one-color background behind a video or image to allow another image or video to show through. In this example, the green behind the image has been removed allowing the video to appear in its place.
Use the Remove a Color options to adjust the tolerance of the color removal, the softness of the effect, the hue of the color palette, and more. |
 button.