
Recorder Effects Annotation Tab Options
See the following topics:
System Stamp Group Options
Use the system stamp options to set the look of the system stamp. A system stamp inserts the time/date as the running / elapsed time into the recording.

Camtasia Recorder permanently overlays the system stamp text onto the recording. This cannot be removed or edited within Camtasia Studio.
| Stamp Option | Description | Example |
|---|---|---|
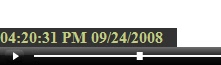
| Time/Date |
Click the Time/Date Format button to change the order and layout of the Time/Date stamp. Use the Time/Date stamp when you need to know exactly when something occurred in the recording, such as for usability testing. See Time/date format options |
|
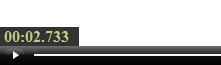
| Elapsed time | Shows the amount of time passed since the recording started. |
|
| Display Time/Date first | Determines the order when including both the Time/Date and Elapsed time. | |
| System stamp options |
Choose the system stamp color and font options. See System Stamp Options |
 .
. .
.
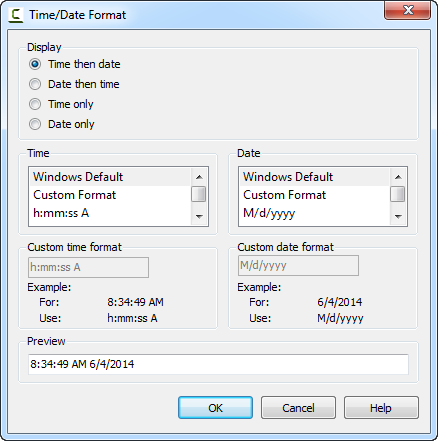
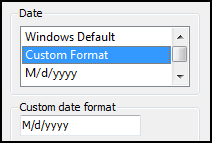
Time/date Format Options
Use the time/date options to set the appearance of the time and date. The Preview field shows how the time / date will appear in the recording.
| Options | Descriptions |
|---|---|
| Time then date | Show the time first and then the date. |
| Time only | Only show the time. |
| Date then time | Show the date first and then the time. |
| Date only | Only show the date. |
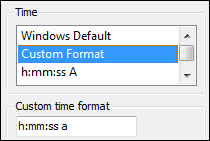
| Time |
Use the menu to select the time format:
The Preview field shows how the selection is displayed on the recording. |
| Built-in Time Formats |
|
| Custom Time Format Symbols |
|
| Date |
Use the menu to select the date format:
The Preview field shows how the selection is displayed on the recording. |
| Built-in Date Formats |
|
| Custom Date Format |
|
| Preview | View the Preview field to see how the time or date setting will look on the recording. |
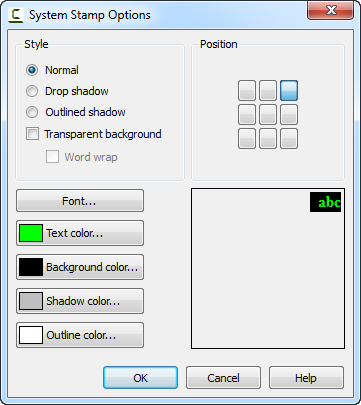
System Stamp Options
Use the system stamp options to set the appearance of the system stamp including the font, font color, style, position, etc.
| Options | Description |
|---|---|
| Normal | Display normal text in the recording. |
| Drop Shadow | Add a drop shadow to the text. |
| Outlined Shadow | Outline the text with a shadow. |
| Transparent background | Allow anything in the recording area behind the system stamp or caption to be seen. |
| Word Wrap | Wrap the system stamp or caption text to fit within the size of the recording area. |
| Position | Click a square in the grid to select the position of the caption or system stamp in the recording area. |
| Font | Click the Font button to edit the font type, size, and color. |
| Colors | Click the Color button to edit the text, background, shadow, or outline color in the system stamp or caption. |
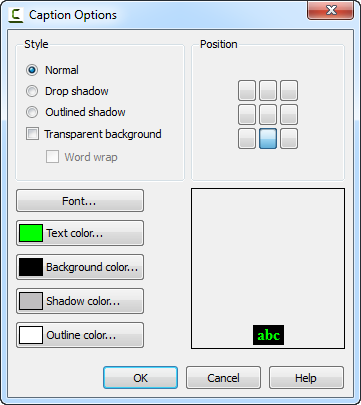
Caption Options
Use the caption options to set the appearance of the captions including the font, font color, style, position, etc.
| Options | Description |
|---|---|
| Normal | Display normal text in the recording. |
| Drop Shadow | Add a drop shadow to the text. |
| Outlined Shadow | Outline the text with a shadow. |
| Transparent background | Allow anything in the recording area behind the system stamp or caption to be seen. |
| Word Wrap | Wrap the system stamp or caption text to fit within the size of the recording area. |
| Position | Click a square in the grid to select the position of the caption or system stamp in the recording area. |
| Font | Click the Font button to edit the font type, size, and color. |
| Colors | Click the Color button to edit the text, background, shadow, or outline color in the system stamp or caption. |