Painting Vertex Color in a Level

Modeling Level Design

Building an Architectural Model from a Concept Sketch

Using the Object Painter Script to Add Trees
The
Object Paint utility is a script that allows you to select an object
and then wherever you move your cursor, it paints the object. The objects
are all placed on the world space grid, or whatever grid is active.
- Continue
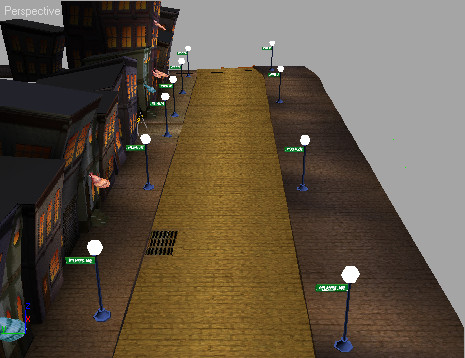
from the previous topic, or load File > Open > city_noforest.max. Adjust your
viewport, if necessary, so you are looking down the street.
NoteIf
you encounter an error message regarding a missing XRef file, browse
for it in the current directory, or look in the
\tutorials\level_design
directory.
Create
an object painter toolbar:
- Using
Windows Explorer or My Computer, copy macro_objectpaint.mcr from
the \tutorials\level_design directory
into the 3ds Max \ui\macroscripts directory.
Macro_ObjectPaint is a script
that is one of many sample scripts that ship with 3ds Max. They
are available if you choose to install them by selecting Samples.
All of these scripts can be run either by a
keyboard shortcut, a menu, or a quad menu. They do not appear in
the interface until you customize your UI to display them. When
they are run, all the scripts in the MAXScript Utilities folder
appear in a category called MAXScript Utilities.
- On
the Utilities panel, click MAXScript > Run Script.
- Navigate
to the ui\macroscripts directory and
run macro_objectpaint.mcr.
- From
the Customize menu, choose Customize User Interface.
- In
the Customize User Interface dialog, click the Toolbars tab.
- Click
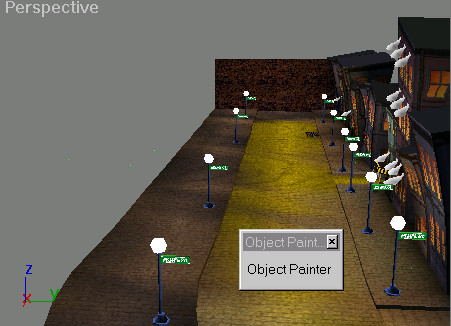
New to create a new toolbar, and name it Object Paint Tools.
The new toolbar appears as a small box in the
viewport.
- In
the Category drop-down list, choose MAX Script Utilities.
You should now see the Object Painter available
from the Action table.
- Drag
Object Painter from the list to the Object Paint Tools toolbar.
TipIf
the Object Painter text does not display correctly on the toolbar,
then go to Customize > Preferences. In the UI Display group of
the General tab, turn off Fixed Width Text Buttons. Now the Object
Painter button text displays correctly on the floating toolbar.
- Close
the Customize User Interface dialog.
Use
XRef Object to add a tree:
- On
the File menu, choose XRef Objects.
-
 In the XRef Objects dialog,
click Create XRef Record From File.
In the XRef Objects dialog,
click Create XRef Record From File. - In
the file selector, select city_tree1.max.
If necessary, navigate to the \tutorials\level_design directory
to locate this scene.
- In
the XRef Merge dialog, click to highlight Trunk02, and
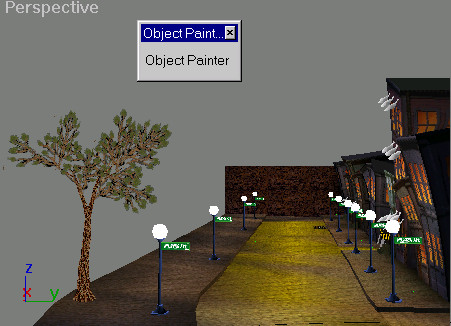
then click OK.
The tree appears in the scene.
NoteIf a dialog appears warning that there is
a duplicate material name, click Use Scene Material.
- Close
the XRef Objects dialog.
- Right-click
the Top viewport to activate it without changing the selection.
The tree is still selected. Make sure the Top viewport display is wireframe.
- Click
Object Painter in the new toolbar you created.
- Set
the Spacing to 30.0, and click the Paint button.
- Drag
your cursor from the right to the left in the top viewport, to paint
a row of trees along the street.
- Save
your work as mycitywithtrees.max.
TipObject
Painter doesn't work with grouped objects. If you want to paint
a group, open up the group, then use Attach List to attach the objects
together.
Summary
In this tutorial you have modeled a city block
to be used as a game level. You have explored modeling with primitives
and modifiers, and have used XRefs to add streetlights. You have
used a Blend material to create a decal on the garage. And you've
used the VertexPaint modifier to paint shadows and tint the road.
Finally you've used a script to paint trees into your scene.