


Painting Vertex Color in a Level
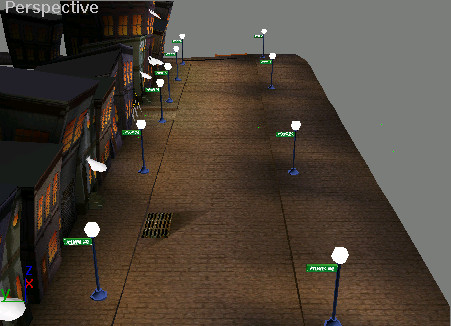
You can use Vertex Paint to change some of the vertex lighting. You'll notice a triangular dark patch near the drain. You'll paint in some more shadows to fix those hard edges.
Paint vertex color in a level:
You'll see there is a Vertex Color modifier in the stack. An earlier version of the Assign Vertex Color utility added this modifier.
A new VertexPaint Modifier is placed in the stack. Each layer of paint is accessed through a different VertexPaint modifier in the stack.
The floating VertexPaint dialog appears. Here you find the tools for Vertex Painting. You will select a color to paint with and the faces you want to paint.
 Click
the eyedropper icon, and then choose a dark brown color from the
area near the drain. Press the eyedropper down and move it around
over the geometry. The eyedropper will pick up the color from the
map channel.
Click
the eyedropper icon, and then choose a dark brown color from the
area near the drain. Press the eyedropper down and move it around
over the geometry. The eyedropper will pick up the color from the
map channel.
 On the
VertexPaint dialog, choose Face selection then click on the face
that has the hard edge brown shadow near the drain.
On the
VertexPaint dialog, choose Face selection then click on the face
that has the hard edge brown shadow near the drain. The single polygon is selected in the viewport.
In the viewport the adjacent faces to the original are now selected.
 Click
the Paint button, and then paint the light areas around the hard
edge near the drain.
Click
the Paint button, and then paint the light areas around the hard
edge near the drain.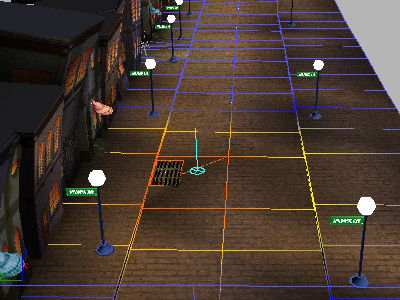
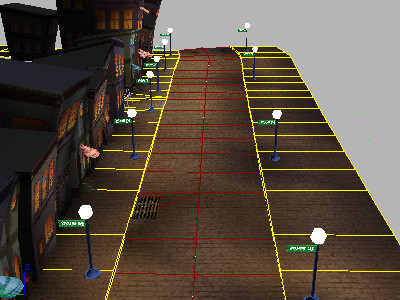
Darker color is blended near the drain to blend into surrounding sidewalk
Increase the Soft Selection falloff if you want to paint a wider area.
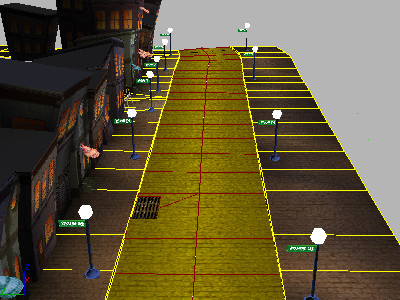
Painting without soft selection will let you paint hard edges. Let's suppose you want to paint in a yellow brick road. You'll add another layer for the yellow tint.
 On the
VertexPaint dialog, in the Layer group click New Layer.
On the
VertexPaint dialog, in the Layer group click New Layer.Another VertexPaint modifier is added to the stack.
The selection fills with yellow color.
The city needs some beautification, so you'll add some trees. In the next procedure, you can use a sample script that comes with the software to paint the XRef trees into the scene.