Merging the Building into a Neighborhood

Modeling Level Design

Painting Vertex Color in a Level

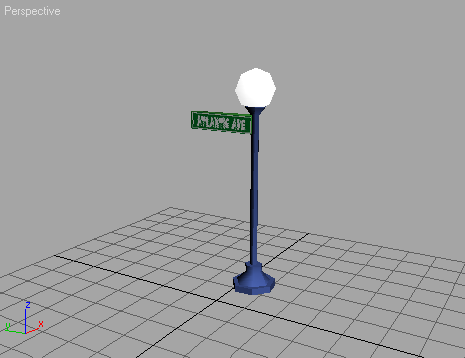
Adding a Streetlight Using XRefs
You
can add a streetlight to the scene using XRef Objects. First, you
will open the streetlight scene and use XRefs to help correct the
scale of the streetlight before you add it to the street.
Use
XRef objects:
Scale
the street lamp:
- Choose
File > XRef Scene.
- In
the XRef Scene dialog, click Add.
- Navigate
to the \tutorials\level_design directory
and select toonstreet.max.
A thumbnail appears in the Open File dialog when you highlight the
name in the list.
The path and name of the XRef scene appears
in the XRef Scenes dialog. After a pause, the scene also appears
in the viewports.
- Close
the Xref Scene dialog.
-
 Click
Select and Uniform Scale and then select the street light. Scale
down the street lamp using the scale gizmo so that it fits in the
scene.
Click
Select and Uniform Scale and then select the street light. Scale
down the street lamp using the scale gizmo so that it fits in the
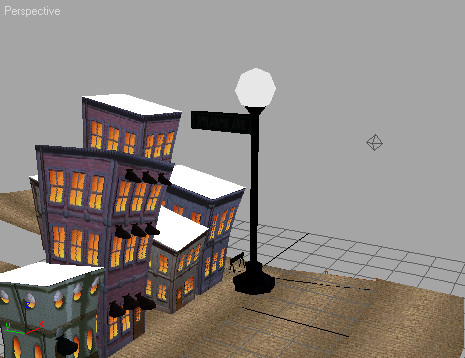
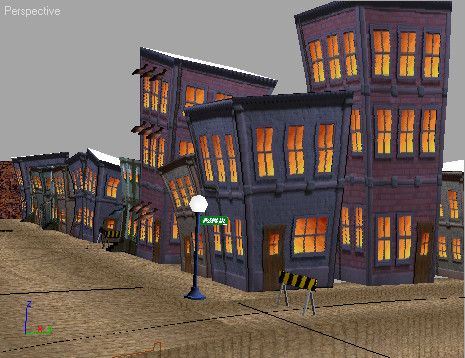
scene. - Move
the scaled lamp so it's on the street corner.
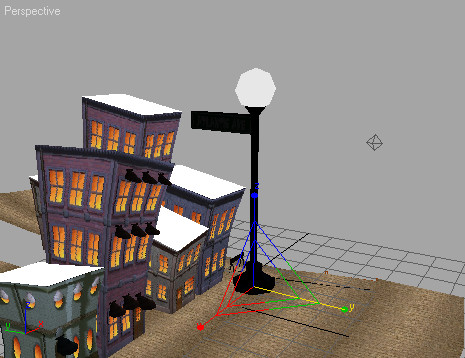
-
 Use
Arc Rotate to rotate the viewport for a look from a different angle.
Scale the streetlight some more, if necessary.
Use
Arc Rotate to rotate the viewport for a look from a different angle.
Scale the streetlight some more, if necessary.
- Now
remove the XRef Scene. Choose File > XRef Scene to open the XRef
Scene dialog. Select toonstreet.max and then
the Remove button. The lamp post stands alone, in place and proportionate
to the street.
- Save
the lamp as mystreetlight.max.
- Choose
File > Open and choose toonstreet.max again.
After a pause the file opens.
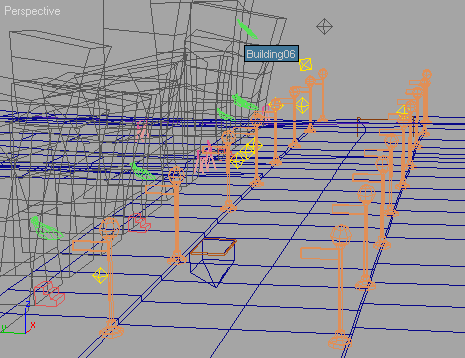
- In
the Perspective viewport, navigate to the street corner where you
had moved the street light. Zoom in if necessary.
- On
the File menu, choose XRef Objects.
-
 On the
XRef Objects dialog click Create XRef Record from File, and then
navigate to the \tutorials\level_design directory,
and chose mystreetlight.max.
On the
XRef Objects dialog click Create XRef Record from File, and then
navigate to the \tutorials\level_design directory,
and chose mystreetlight.max. - From
the XRef Merge dialog, choose the object LampPostwSign.
Click OK.
- Close
the XRef Objects dialog.
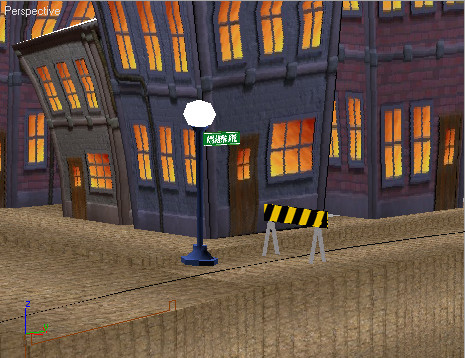
The lamp appears on the street corner, where
you had scaled it.
- Select
the street light, then right-click and choose Move from the quad
menu. Move the streetlight to the corner near the yellow-and-black
striped barricade.
Next, you will create a light to associate with
the streetlight geometry.
Add
lights:
- Select
the streetlight if it isn't already selected.
-
 In the
Display panel, in the Hide rollout, click Hide Unselected.
In the
Display panel, in the Hide rollout, click Hide Unselected. -
 Use
Zoom Extents Selected so the streetlight is clearly visible in the
viewport.
Use
Zoom Extents Selected so the streetlight is clearly visible in the
viewport. -
 On the
Create panel, click the Lights button.
On the
Create panel, click the Lights button. - In
the Object Type rollout, click Omni, and then turn on AutoGrid.
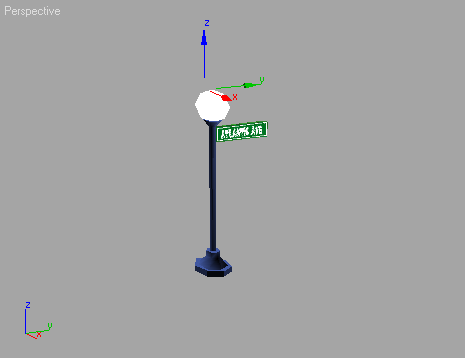
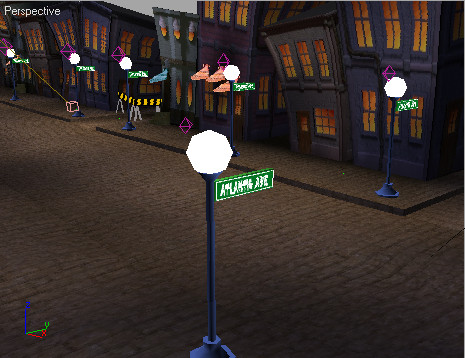
- Move
your cursor over the streetlight. A creation tripod is displayed
and is projected from whichever face you touch.
- Click
to create the light on the surface of the globe.
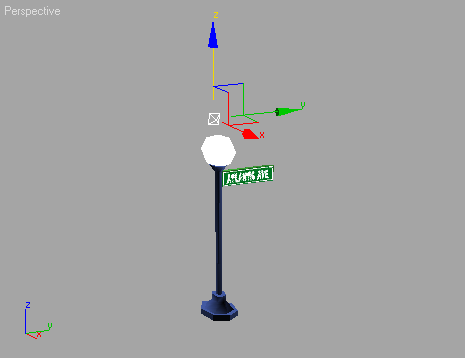
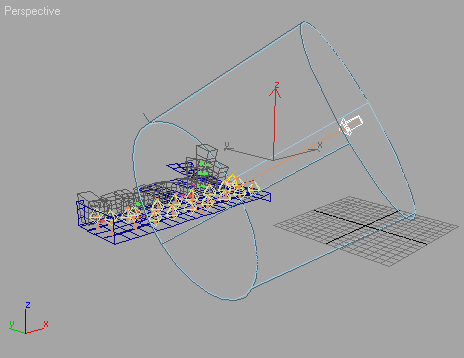
- Raise
the light up slightly above the globe.
- On
the Modify panel, in the General Parameters rollout, turn on Shadows.
- On
the Intensity/Color/Attenuation Parameters rollout, in the Decay
group, choose Inverse Square as the type of Decay.
- In
the Near Attenuation group, turn on Show and change Start to 20.
You can see the Decay Start Attenuation gizmo in the viewport.
- On
the Display panel, in the Hide rollout, click Unhide All so that
you can judge the decay size in the scene geometry.
- Go
to the Modify panel, and turn off Show in the Intensity/Color/Attenuation
rollout when you've set the Decay.
Clone
the lamps and lights:
- Change
the lower Perspective viewport to Wireframe shading.
TipIf
you want, you can disable the two viewports on the left. Right-click
to activate the viewport, then press D to
disable. This will prevent unnecessary redraws.
- Press H on the keyboard to select objects
in the scene by name. Choose Omni 01 and
the LampPostwSign object.
TipPress the Ctrl key
to select multiple objects in the dialog.
- On
the main toolbar, in the Named Selection Sets field, name the selection lit
lamp.
Now you can retrieve the light and the lamp
in one touch.
-
 Hold
down the Shift key, then
move the selection to create a clone of the lit lamp.
Hold
down the Shift key, then
move the selection to create a clone of the lit lamp. - In
the Clone Options dialog, choose Instance, so you can control all
the lights by changing one.
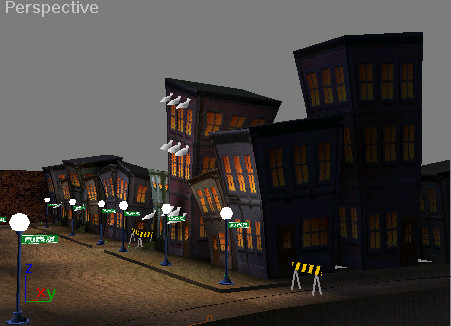
- Repeat
the last two steps to add streetlights up and down both sides of
the street. If performance is slow, use wireframe shading when you drag
in the lamps.
Add
global lighting:
Next, you will give a little color to the Omni
lights and add directional lighting.
- Select
the light Omni01.
- On
the Modify panel, In the Intensity/Color/Attenuation rollout, General
Parameters rollout, click the color swatch next to the Multiplier
field.
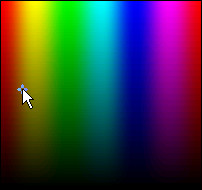
A color selector appears.
- Click
in the left middle of the color selector to choose an orange color
for the Omni light. Close the dialog.
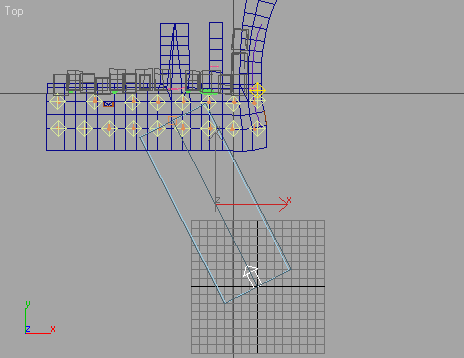
- To
add directional lighting to your scene, right-click in the Top viewport
and press Alt+W to maximize it.
-
In the
Create Panel, click the Lights icon.
- On
the Object Type rollout, click Target Direct.
- In
the Top viewport, click and drag from the lower left of the geometry
to the center of the street.
The target directional light is displayed in
the viewport.
- Adjust
the size of the light coverage by using the Hotspot/Beam spinner
In the Directional Parameters rollout. Notice that increasing the hotspot/beam
automatically expands the falloff/field as well. When you decrease
the hotspot/beam, the falloff/field remains unchanged.
-
 Click
Maximize Viewport Toggle to display the four viewports again, then
rotate a perspective viewport so you can see the directional light.
Click
Maximize Viewport Toggle to display the four viewports again, then
rotate a perspective viewport so you can see the directional light. - Select
and move the directional light to raise it up. The target stays
on the street.
- On
the Modify panel, in the Name and Color group, click the color swatch.
Click Add Custom Colors and select a medium to dark blue to give
the light a blue color for a moonlight setting.
- On
the toolbar, in the Selection filters, choose Geometry from the
list. This excludes the lights from the selection operation.
-
 In the
Top viewport, drag a selection rectangle around the entire scene
in the viewport. Do a Zoom Extents All out if necessary.
In the
Top viewport, drag a selection rectangle around the entire scene
in the viewport. Do a Zoom Extents All out if necessary.All the geometry except for the lights are selected.
- You
can name this selection Vertex Lighting in the Named Selection
Sets field on the Main toolbar.
Create
vertex lighting:
Here you can take the lighting information and
map it into the color of the vertices.
- Continue
from before, or load city_vertex_color.max from
the \tutorials\level_design directory.
- If
you do choose to load the supplied scene file, then choose Vertex
Lighting from the named selection sets on the toolbar.
- On
the Utilities panel, click the More button, then choose Assign Vertex
Colors.
- If
Mapping is on in the Render Options group, turn it off. This means
to use the map's colors rather than the scene lighting.
- Turn
on Shadows.
- Click
Assign To Selected.
A series of calculations will result. You will
observe a progress bar flying by furiously at the bottom of the
screen, rendering vertices for each of the objects in the scene.
When this finishes, left-click in the viewport to deselect everything
in the scene to see the affect of the lighting without any selection
highlights.
The scene is a little dark, so you'll make some
adjustments to the lights.
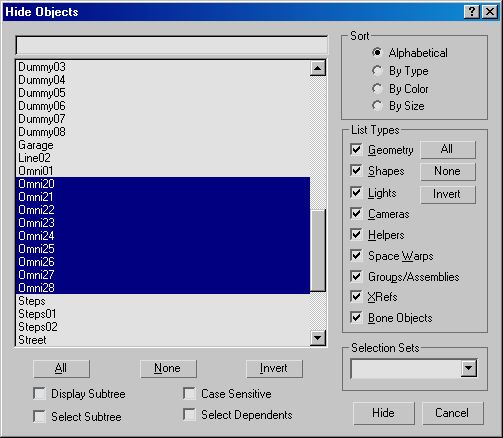
- Right-click
in the active viewport, and from the Display quadrant, choose Unhide
All.
- Click
Select by Name, and select Omni20 through Omni28.
Make sure Omni01 is not selected.
- Right-click
in the active viewport, and from the Display quadrant, choose Hide
Selection.
- Select Omni01.
- In
the Modify panel, change the Multiplier value to 2.
- Select
the Direct01 light and turn on Shadows.
- Choose
Vertex Lighting from the named selection sets on the toolbar, and
in the Modify panel > Assign Vertex Colors rollout, again click
Assign.
Next you'll use Vertex Paint to change some
of the vertex lighting.