Merging the Building into a Neighborhood
In this procedure, you'll merge the building into a neighborhood.
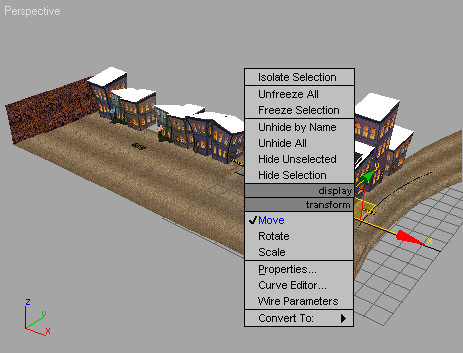
Merge the building into a neighborhood:
This might take a while, depending on the speed of your machine.
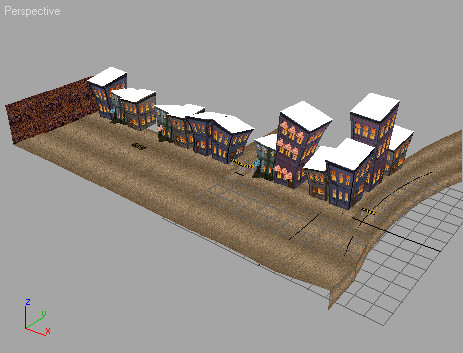
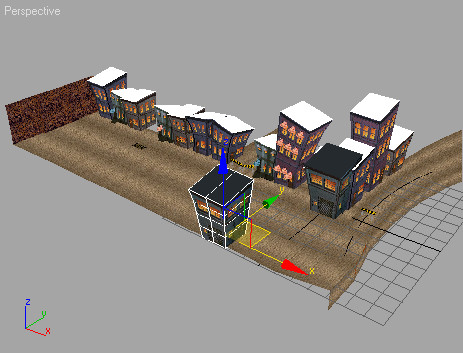
The garage appears in the viewports. It is the only one with a black roof.
![]()
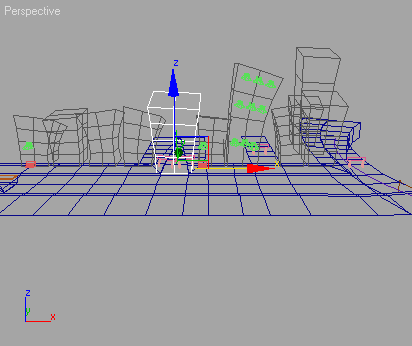
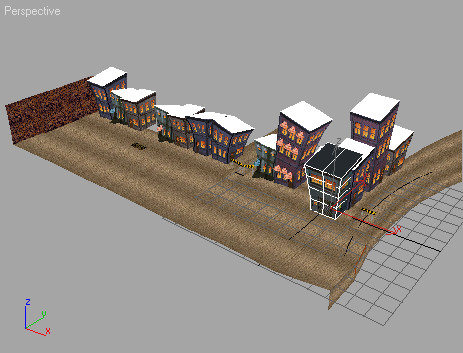
 Click
the Region Zoom button in the viewport navigation controls so you
can see the building up close. Drag a crossing window around the
building then release the mouse.
Click
the Region Zoom button in the viewport navigation controls so you
can see the building up close. Drag a crossing window around the
building then release the mouse.