


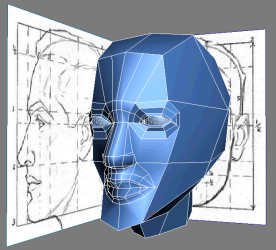
Autodesk 3ds Max Tutorials > Modeling Tutorials > Modeling a Low-Poly Character > Modeling a Low-Poly Head >
Creating the Eyes
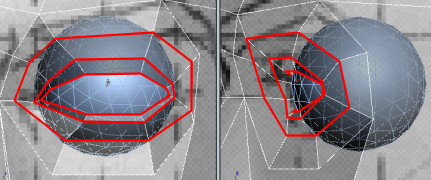
In this lesson, your character will see the world through the eyes you sculpt. You must first carve the area containing the eye socket and orbicularis oculi muscles, responsible for closing the eyelids and lowering the brows. Then, you progressively shape concentric edge loops to match the eyelids and insert some eyeballs.
Define the eye muscles:
 Go into
Vertex sub-object level, and then click Cut and create an horizontal
division across the eyes starting from the nose bridge.
Go into
Vertex sub-object level, and then click Cut and create an horizontal
division across the eyes starting from the nose bridge.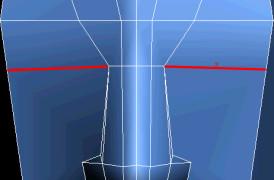
These edges roughly limit the extents of the eye muscles.
This is a starting point in delimiting the eyes from the rest of the face. Once they are completed, you will integrate them to the other elements.

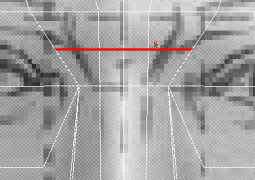
 Go into
Edge sub-object level, and then select the first edge you created
that runs across the eyes.
Go into
Edge sub-object level, and then select the first edge you created
that runs across the eyes.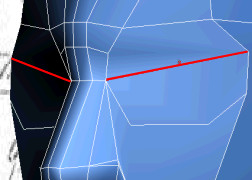
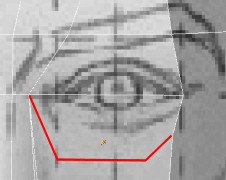
Define the eyelids:
 Go into
Polygon sub-object level, and then select the polygon covering the
eye surface.
Go into
Polygon sub-object level, and then select the polygon covering the
eye surface.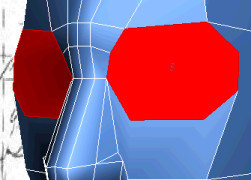

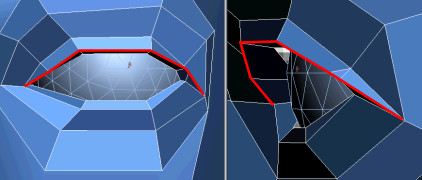
Go into
Vertex sub-object level and adjust the new vertices to roughly match
the reference images.
Go back
into Polygon sub-object level, and then on the Edit Geometry rollout,
click Repeat Last.Another concentric edge loop is created.
Go into
Vertex sub-object level and adjust the vertices so they border the
eyelids.
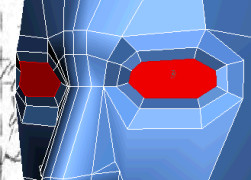
Go into
Polygon sub-object level. The eye polygon should be automatically
selected (if not, select it). Click the Bevel Settings button.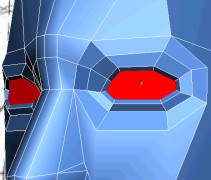
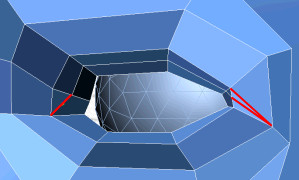
Insert the eyeballs and refine the upper eyelids:

Go into
Edge sub-object level and select five ring edges shaping the upper
eyelids.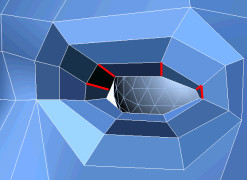

Go into
Vertex sub-object level, and then, to better tuck the lower eyelids
under the upper eyelids, use the Target Weld tool to merge two vertices
together. This will also eliminate a five-sided polygon.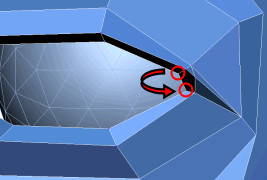

 Hold Shift and drag the eyeball to the
other socket.
Hold Shift and drag the eyeball to the
other socket.This creates a duplicate of the object.