Autodesk 3ds Max Tutorials > Modeling Tutorials > Modeling a Low-Poly Character > Modeling a Low-Poly Head >
Creating the Mouth
In this lesson, you get a first taste of creating concentric edge loops to form the mouth. These loops are put in place to mimic the orbicularis oris muscles underneath the skin; these muscles are crucial to everything from smiling to whistling to yawning. Therefore, you must ensure that the facial geometry deforms accurately or it will not only negatively impact your facial expressions, but also affect how your character's skin texture will stretch out to follow the geometry.
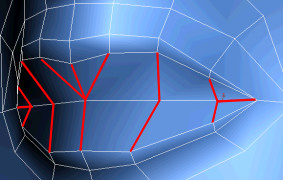
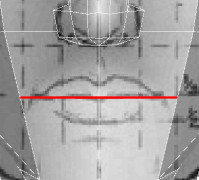
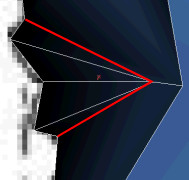
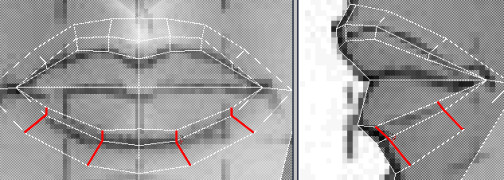
Define the lips:
 Go into
Edge sub-object level and select the vertical edges in the lower
part of the face.
Go into
Edge sub-object level and select the vertical edges in the lower
part of the face.

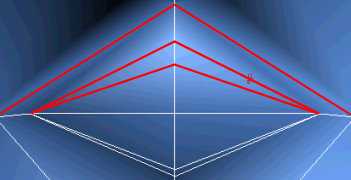
Notice how its constraints force it to translate along the vertical edges.
 Go to
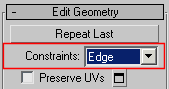
Vertex sub-object level. On the Edit Geometry rollout, notice how
the Constraints drop-down setting persists at sub-object levels
(in this case, edge). Adjust the remaining vertices to match the
lip contours if needed.
Go to
Vertex sub-object level. On the Edit Geometry rollout, notice how
the Constraints drop-down setting persists at sub-object levels
(in this case, edge). Adjust the remaining vertices to match the
lip contours if needed.
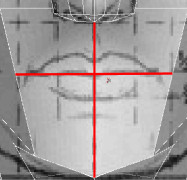
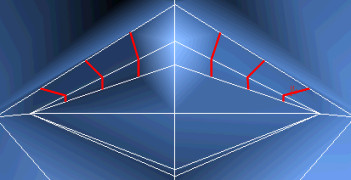
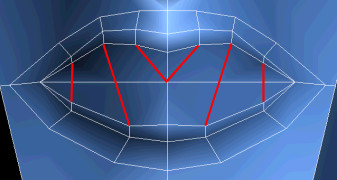
Define the edge loops around the mouth:
Go into
Edge sub-object level and select the following edges:


Go into
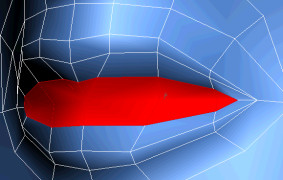
Vertex sub-object level, then adjust the new vertices to roughly
match the volume of the upper lip.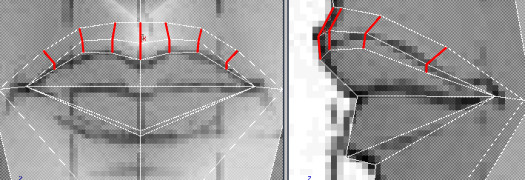
These cuts help maintain the quad topology of the face, which comes into play during facial animation and speech.
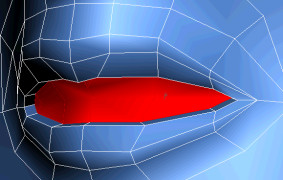
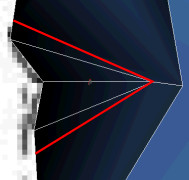
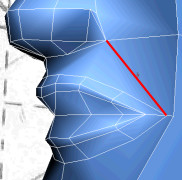
Connect the mouth to the nose;

Taking it Further — Creating The Inside of The Mouth
Use the tools and techniques learned in this lesson to create the inside of the mouth. For example, you could use the Connect tool to create a new edge loop, and then use the Bevel or Extrude tools to push the resulting polygons inside the mouth.
|
Select the lip edges to connect. |
|
Connecting these edges gives you a new set of polygons. |
|
Push the new polygons inside the mouth. |