Before you begin creating a 3D model, whether a character or any other object, you first need to research the object you wish to create. In this tutorial, you will be modeling a helicopter pilot for a war game.
To research this subject, you can consult books and use Internet search engines. You might also take snapshots of a figurine from a toy store.
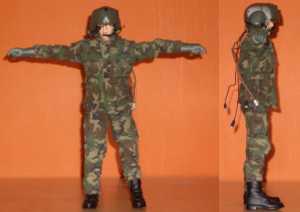
Even better, if you can draw, you can create custom illustrations for use as reference when building the character.
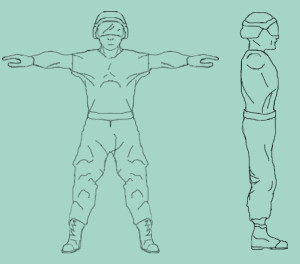
Before you begin, note the resolution (in pixels) of the reference images you've created. If you are using the reference files that have been provided for this tutorial, their resolutions are as follows:
Top reference image: 385 (width) x 200 (height).
Front reference image: 385 (w) x 440 (h).
Side reference image: 200 (w) x 440 (h).
Create a reference plane:
 Go to
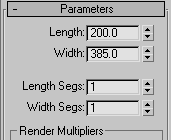
the Modify panel. On the Parameters rollout, set Length to 200 and
Width to 385.
 On the
main toolbar, click the Move button.
On the
main toolbar, click the Move button.This places the plane’s pivot point at the world origin.
Map a reference image:

This lets you see the map without any help from scene lights.
This opens the Select Bitmap Image File dialog.
 Click
the Show Map In Viewport button to toggle it on.
 With
the plane object still selected, click the Assign Material To Selection
icon to apply the newly created material to the plane.
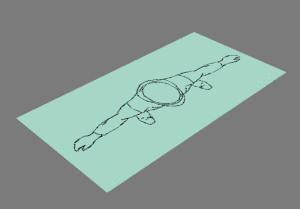
 You can now see the material on the plane in the Perspective viewport.
Create additional reference planes:
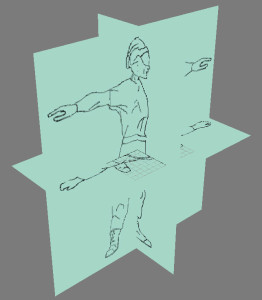
Now that you have created the top-view plane, you'll repeat the procedure to create an additional plane based on the front view, and another one based on the left view. The sizes of these planes should reflect the sizes of the reference images to be assigned to them. Therefore, the plane you build in the Front viewport should be 440 units long by 385 units wide, and the plane you build in the Left viewport should be 440 units long by 200 units wide. Remember to center each plane and to use a new sample slot in the Material Editor for each new material. When you are done, the Perspective viewport should look like this:
Adjust the virtual studio:
Before you can start modeling the character, you need to adjust the positions of the three reference planes.
Currently, only the Perspective viewport is shaded.
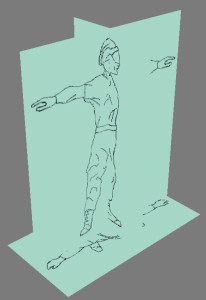
Notice that the height of the helmet in this reference plane differs from its height in the front reference plane.
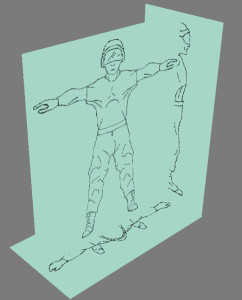
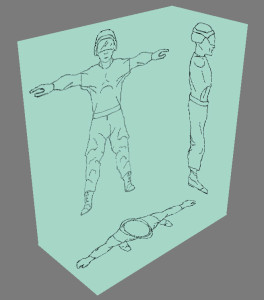
Freeze the reference planes:
Now that the reference planes are in place, you'll freeze them to prevent accidentally moving them.
 Select
all three of the reference planes and go to the Display panel.