So far you have defined everything in the Perspective viewport without considering lighting or cameras. As you prepare to produce output from your 3D scene, you will want to add cameras and lights to achieve a more realistic effect. Lights can cast shadows or add shiny highlights. Cameras can be animated so that they change your perspective and add emphasis and motion.
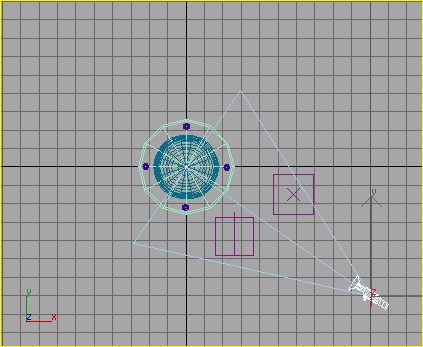
Target camera from Top viewport
If necessary, right-click the Camera01 viewport label and turn on Smooth + Highlights.
Target camera created on the ground plane
 In the
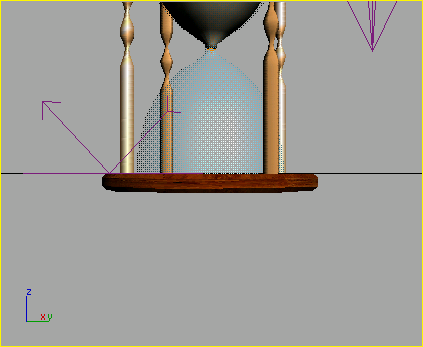
view navigation tools, use the Truck Camera to move the camera so
the hourglass is no longer cut off in the viewport.
In the
view navigation tools, use the Truck Camera to move the camera so
the hourglass is no longer cut off in the viewport.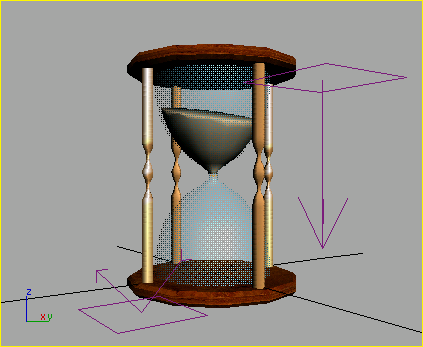
Truck and Dolly the camera to bring the hourglass into view.
 Turn
on Orbit Camera from the view navigation tools. Click and drag downward
in the viewport to orbit the camera so you have a better view of
the top of the sand.
Turn
on Orbit Camera from the view navigation tools. Click and drag downward
in the viewport to orbit the camera so you have a better view of
the top of the sand.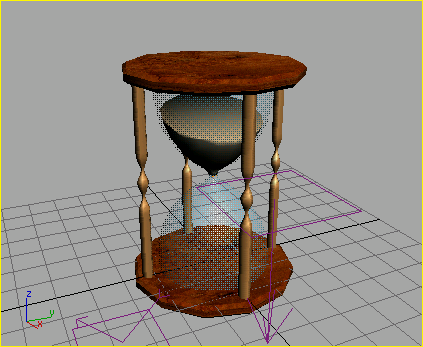
Orbiting the camera
 Turn
on Dolly Camera. Click and drag in the viewport to zoom back so
the hourglass is a bit smaller.
Turn
on Dolly Camera. Click and drag in the viewport to zoom back so
the hourglass is a bit smaller.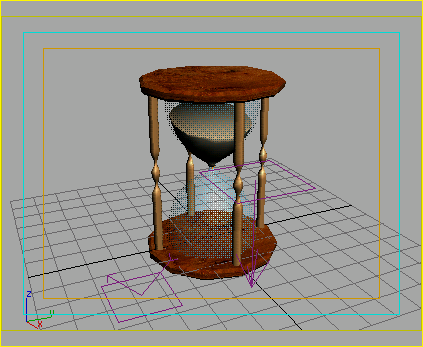
Show Safe Frame helps you frame your shot.
Because one cap is an instance of the other, changing the number of sides on one cap automatically affects the other.


