


Creating the Sand Build-Up
The ability to animate object parameters gives great power and flexibility to 3ds Max. In this lesson, you will create a hemisphere with a pivot point at its base, then animate the hemisphere percentage to achieve the illusion that the particles are forming a mound with volume.
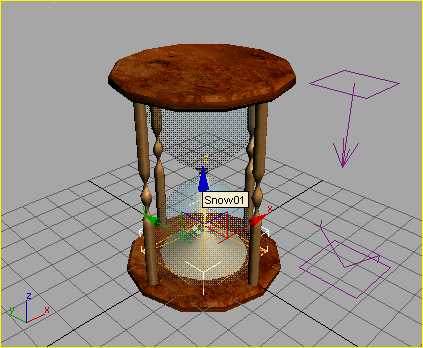
Continue from the previous lesson or open sands_of_time4.max from the \tutorials\hourglass directory.
 If necessary, activate the
Select Object tool on the main toolbar.
If necessary, activate the
Select Object tool on the main toolbar. With
the Perspective viewport active, click the Arc Rotate button to
display the navigation icon. Rotate the view so that the bottom
of the hourglass is clearly visible.
With
the Perspective viewport active, click the Arc Rotate button to
display the navigation icon. Rotate the view so that the bottom
of the hourglass is clearly visible. From
the main menu, choose Create > Standard Primitives > Sphere.
From
the main menu, choose Create > Standard Primitives > Sphere.At the top of the Create panel > Object Type rollout, click to turn on the Auto Grid Toggle.
Right-click and select Unhide By Name and unhide the Hourglass object.
Assign the Sand material to the new sphere. (Open the Material Editor if necessary.)
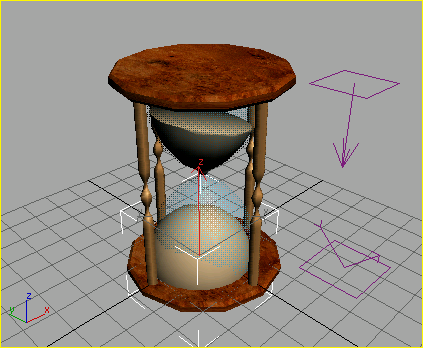
Sand mound made using a Sphere.
The sphere changes position in the viewport.
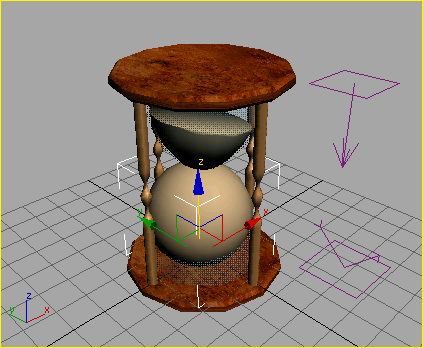
The sphere now rests on the bottom plate.
 Turn
on the Auto Key button and then go to frame 0.
Turn
on the Auto Key button and then go to frame 0.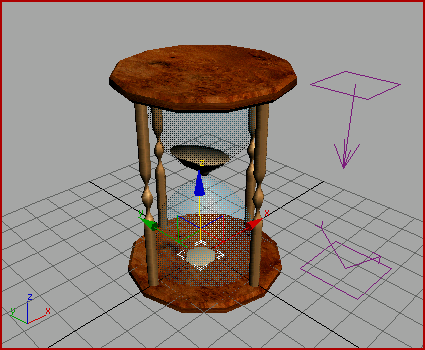
The hourglass at frame 57.
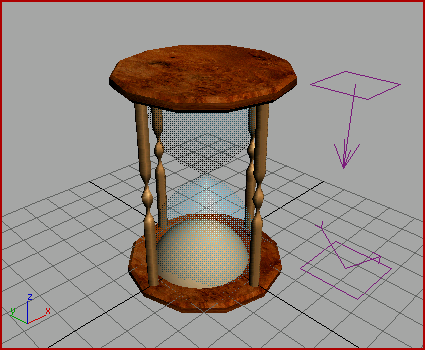
The hourglass at frame 96.
 Turn off Auto Key and play
the animation. After stopping the animation, right-click the viewport
and choose Unhide All from the quad menu
Turn off Auto Key and play
the animation. After stopping the animation, right-click the viewport
and choose Unhide All from the quad menuThe sand level goes down in the upper globe as a stream of sand falls and collects into a mound in the bottom globe.
The finished falling sand effect.
If you want, load the file sands_of_time_finished.max to see the finished model.