


Animating the Falling Sand
Particle systems create effects that would be too laborious to make using geometry.
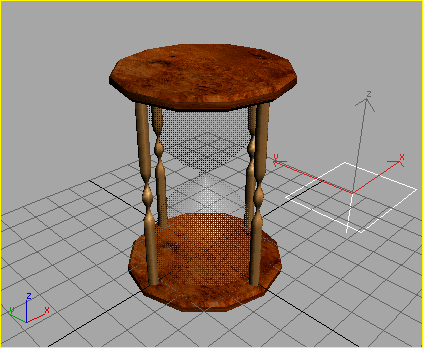
Create the particle system:
This hides the sand.
The emitter specifies where the particles are generated.
Snow emitter
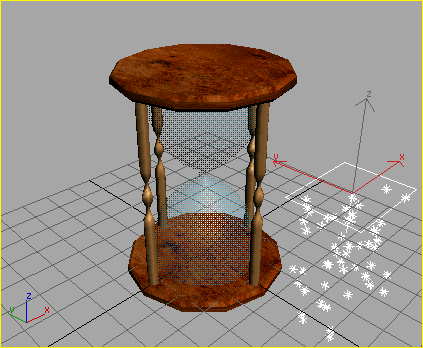
Play the snow system animation.
 On the
toolbar, click the Select And Move button, and then enter in the
Coordinate Display:
On the
toolbar, click the Select And Move button, and then enter in the
Coordinate Display:
The Snow emitter moves to the correct location at the neck, separating the top and bottom chambers of the hourglass.

Snow particle system falling through the neck
Create space warps:
You can use space warp objects to control the particles in various ways. You'll create two different space warps: Gravity and UDeflector. Gravity gives you better control over the particles' downward motion, and UDeflector will prevent the particles from passing through the bottom of the hourglass.
The placement of the space warps is not important; you can put them anywhere in the scene.
 Select the Snow emitter
in the viewport.
Select the Snow emitter
in the viewport. On the toolbar, click the
Bind To Space Warp button, and then drag from the Snow emitter to
the Gravity space warp.
On the toolbar, click the
Bind To Space Warp button, and then drag from the Snow emitter to
the Gravity space warp.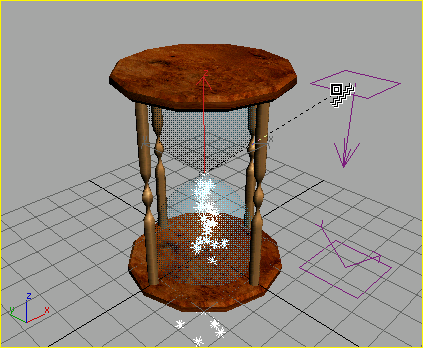
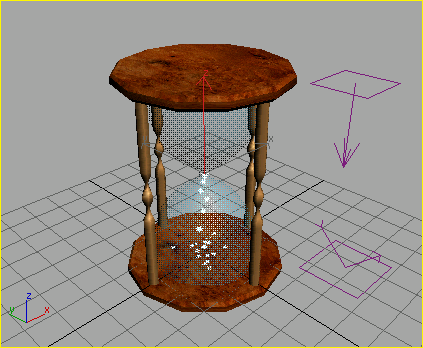
Binding the Snow emitter to the Gravity space warp
Adjust the appearance:
 Click
the Play button to play the animation.
Click
the Play button to play the animation.You'll change the appearance of the snowflakes so that they look like falling sand.
Next you'll make an adjustment in the Timing group.
The snow is under control.
Animate the falling sand:
 With
the Snow emitter selected, open the Material Editor (if it isn't
already open), and select the Sand material, then click Assign Material
To Selection.
With
the Snow emitter selected, open the Material Editor (if it isn't
already open), and select the Sand material, then click Assign Material
To Selection.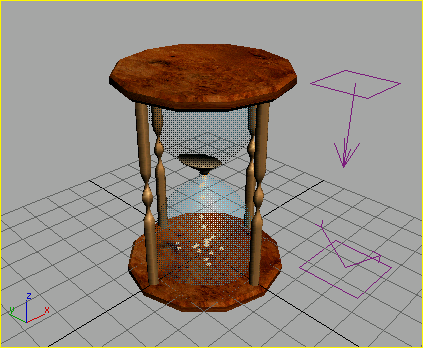
Sand made from particles and animated Slice modifier
To make the effect of the particles disappearing, you'll animate the Birth Rate of the particles.
 In the
animation controls section, near the lower-right corner of the interface,
click the Time Configuration button. On the Time Configuration dialog,
in the Animation group, set Length to 120. Click OK.
In the
animation controls section, near the lower-right corner of the interface,
click the Time Configuration button. On the Time Configuration dialog,
in the Animation group, set Length to 120. Click OK. Click
the Auto Key button to activate it, then with the Snow emitter selected,
move the time slider to frame 102.
Click
the Auto Key button to activate it, then with the Snow emitter selected,
move the time slider to frame 102.In the Parameters rollout, change the Birth Rate to 0.0. This stops the particles emitting at frame 102, since the birth will stop.
The particles that were already emitted will continue to fall.
Next you'll move backwards in time to where the sand in the upper chamber is getting smaller and the stream in the lower chamber needs to be stronger.
This ensures a solid fall of sand at this frame.
This keeps the falling sand falling.
This adds momentum to the falling sand.
This keyframe starts the fall of the sand while the sand level drops in the upper chamber.
This will allow you to set a key at frame 106. Once the key is set you'll change its values using the track bar right-click menu.
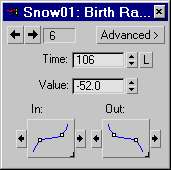
This works to end the stream of falling sand.
 Turn
off the Auto Key button and then play the animation.
Turn
off the Auto Key button and then play the animation.The sand descends, the stream falls in concert with the sand in the upper chamber.
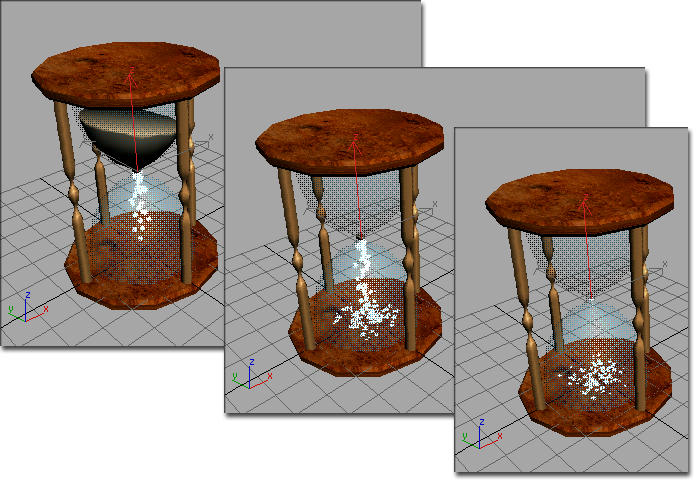
Sand falling at frames 15, 86 and 120
If you had any trouble, you can open sands_of_time4.max to see the file with the correct settings. It's easy to miss a step or make a mistake and not get the correct results.
Next you'll use an animated hemisphere to create the sand building up in the bottom of the lower chamber.