Creating Glass and Sand Materials

Creating a Realistic Hourglass

Animating the Falling Sand

Animating the Sand Level with Slice Modifiers
The Slice modifier is a handy tool for creating
the sand in the upper chamber of the hourglass. You'll use two Slice
modifiers, and then animate the Slice gizmo to create the effect
of the sand level sinking in the glass.
- Select
the tapered cylinder object in the viewport.
- On
the menu bar, choose Edit > Clone.
The Clone Options dialog appears.
- In
the Clone Options dialog, click Copy, and then name the clone Sand
in upper globe. Click OK.
- Right-click
the Perspective viewport and choose Hide Unselected. Everything
should be hidden in the viewport except for the Sand in upper globe object.
-
 In the
Material Editor, click the Assign Material To Selection button.
In the
Material Editor, click the Assign Material To Selection button.The object in the viewport is assigned the sand
material.
- Go
to the Modify panel. In the modifier stack, click to highlight the
FFD(cyl) modifier, then on the menu bar, choose Modifiers > Parametric
Deformers > Slice.
The Slice plane is displayed in the viewport.
- In
the stack display, expand the Slice modifier's hierarchy, and highlight
Slice Plane.
- In
the Slice Parameters rollout, turn on Remove Bottom.
-
 On the toolbar, click to turn on the Select and Move button.
 - In
the viewport, select the Z arrow of the Transform gizmo and move
the mouse upward so that the Slice plane causes the lower half to disappear
entirely from view.
TipIf
Necessary, watch the other viewports to gauge how much slicing occurs.
- In
the modifier stack, click Slice again to deselect the Slice Plane. Now
right-click the stack display, choose Copy, right-click again and choose
Paste.
A second Slice modifier appears in the Stack
above the original.
- Expand
the Slice modifier's hierarchy, and highlight Slice Plane.
- Move
the Slice plane two-thirds up the globe, and then in the Slice Parameters
rollout change Slice Type to Remove Top.
- Select
the Slice at the top of the modifier stack, and then on the menu
bar, choose Modifiers > Mesh Editing > Cap Holes.
- In
the Parameters rollout, turn on Smooth With Old Faces.
- Scroll
down to the bottom of the modifier stack and select Cylinder, then
reduce the Radius to 2.8.
This will make the sand look like as if it's
inside the glass.
- Right-click
in the viewport and choose Unhide All.
- On
the toolbar, click Select and Rotate. In the modifier stack, select
the uppermost Slice Plane. Rotate the Y axis of the gizmo so that
the level of the sand looks a little uneven.
-
 Click
to turn on the Auto Key button.
 - Move
the time slider to frame 100. In the modifier stack, highlight the
top Slice Plane.
-
 On the
toolbar, click Select and Move button. Then move the Slice Plane
downward along the Z axis of the Transform gizmo in the viewport
until the sand completely disappears.
-

 Turn
off the Auto Key button, then click the Play button.
Turn
off the Auto Key button, then click the Play button.The sand level in the upper globe slowly descends.
- Save
your work. Choose File > Save As and save your file as MyHourglass5.max.
Next, you'll create the illusion of the falling
sand by using the Snow particle system.
 In the
Material Editor, click the Assign Material To Selection button.
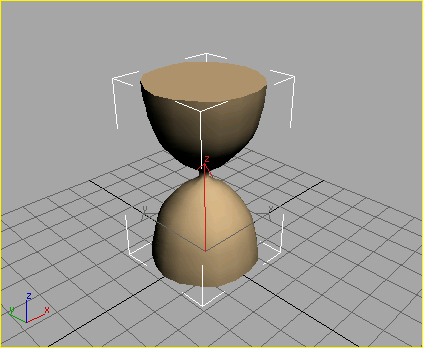
 On the toolbar, click to turn on the Select and Move button.
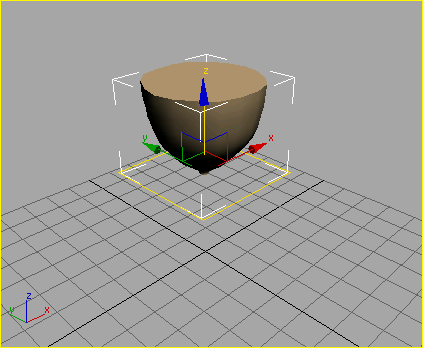
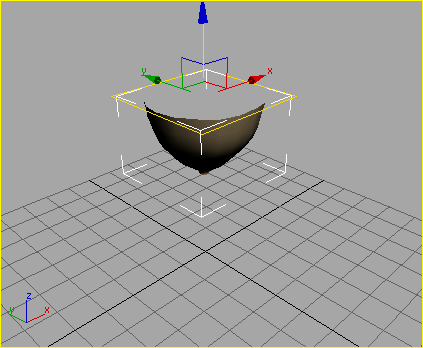
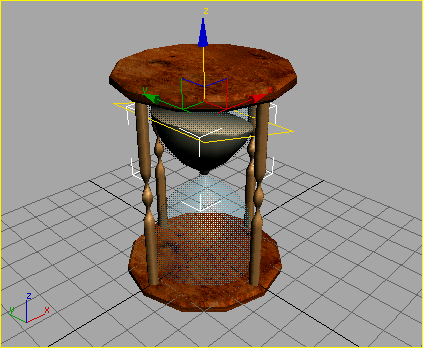
 Click
to turn on the Auto Key button.
 On the
toolbar, click Select and Move button. Then move the Slice Plane
downward along the Z axis of the Transform gizmo in the viewport
until the sand completely disappears.
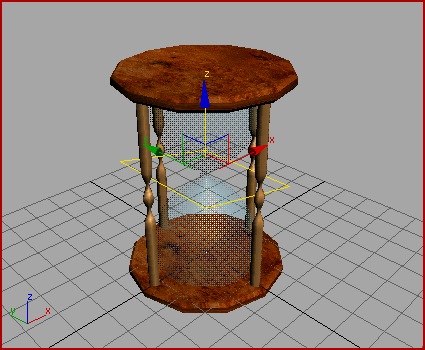

 Turn
off the Auto Key button, then click the Play button.