


Creating Glass and Sand Materials
In this lesson, you'll make a transparent material to simulate glass and a new solid material to represent sand. For the glass materials, you'll add transparency falloff and increase the glossiness, then make the material two-sided so you can see through to the inside of the glass.
Giving your materials logical names helps you keep track of what you've made. Any materials that you make can be stored in custom material libraries so you can reuse them in the future.
The hourglass should turn gray; the same as the sample sphere.
 In the
Material Editor, click the Background button (right side of sample
spheres). A checkered background displays behind the purple sphere.
This background is helpful in seeing transparencies in materials.
In the
Material Editor, click the Background button (right side of sample
spheres). A checkered background displays behind the purple sphere.
This background is helpful in seeing transparencies in materials.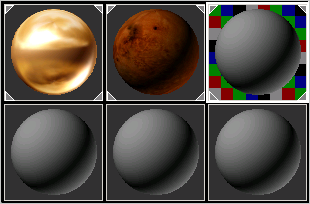
There are four options you need to adjust before the material will start to look like glass. You'll change the opacity, the color, the specular values, and set it to be two-sided.

Changes to the material are automatically reflected on the model.
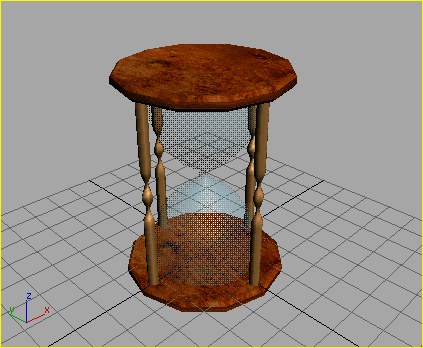
Glass material.
On the Shader Basic Parameters rollout, turn on 2–Sided.
This option controls the visibility of the inside of the hourglass so that it displays.
You'll now create the sand material, which is easy to do because it doesn't require as many settings as the glass material.
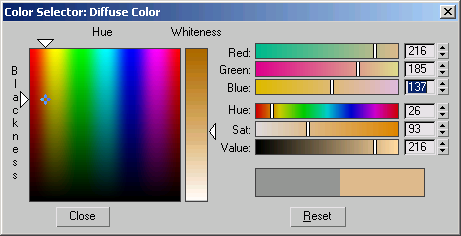
The Red/Green/Blue settings for sand.
Now that the Glass and Sand materials are created, you'll create the sand in the hourglass. Once you've created it, you'll apply the sand material.