


Adding the Caps Using AutoGrid
The AutoGrid option lets you create an object aligned to the surface of another one. For this part of the exercise, you'll use AutoGrid to create a cap for the top of the hourglass.
 Click
Arc Rotate, and then drag the cursor around in the viewport so that
the top part of the hourglass is clearly visible.
Click
Arc Rotate, and then drag the cursor around in the viewport so that
the top part of the hourglass is clearly visible.The Extended Primitives category, like Standard Primitives, is a collection of 3D geometrical objects built into 3ds Max that you can create with a few clicks. These objects tend to be more complex than the standard primitives. For example, the Chamfer Cylinder primitive is similar to a standard cylinder, but gives you the additional option of fillets at the caps, so that the circular edges appear to be filed off.
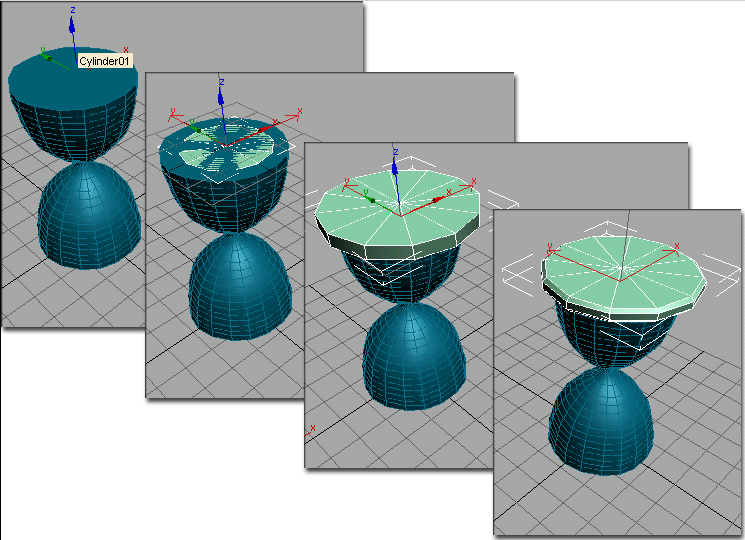
Use AutoGrid to create one object on the surface of another.
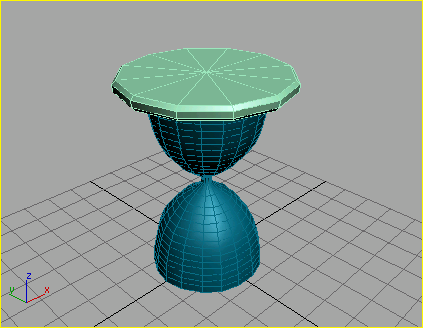
Next, you need to align the Chamfer Cylinder so that it is centered over the hourglass.
The Cylinder Cap is now centered over the top of the hourglass shape.
Add the cap of the hourglass using Chamfer Cylinder.
Although you can repeat the process to create the bottom cap, we'll use a simpler method.
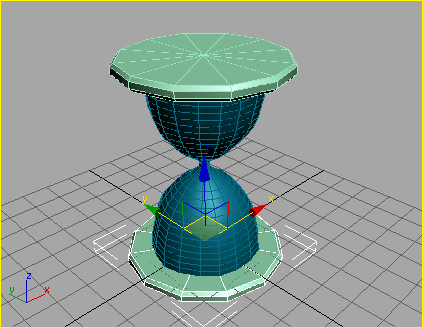
Create a clone by using Mirror with Offset.