Add twist links:
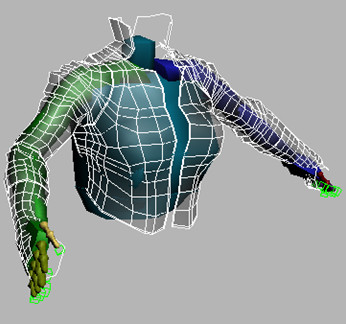
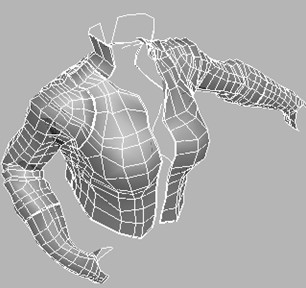
This model was provided courtesy of Paul Neale and Erin Nicholson. Some objects were hidden so you can concentrate on the arms.
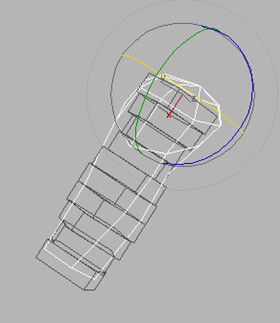
The hand flips over to twist the lower arm.
 On the
Biped rollout, click Figure Mode, and then expand the Structure
rollout.
On the
Biped rollout, click Figure Mode, and then expand the Structure
rollout.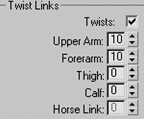
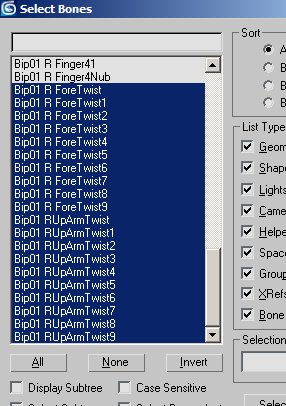
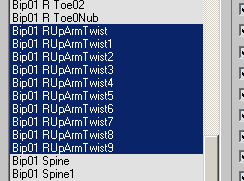
Twist Links group
These settings specify the number of twist links for each body part.
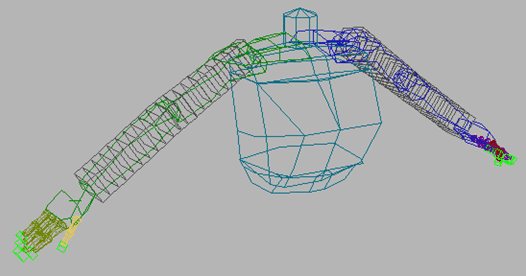
Upper Arm and Lower Arm twist bones set to 10
You can see the twist bones changing in the lower arm. In order for these to better influence the mesh, you can add them to the Skin modifier.
Set twist poses:
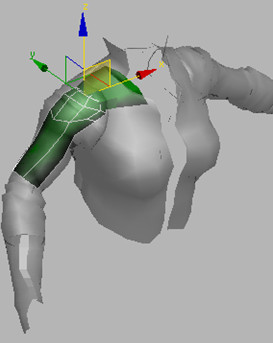
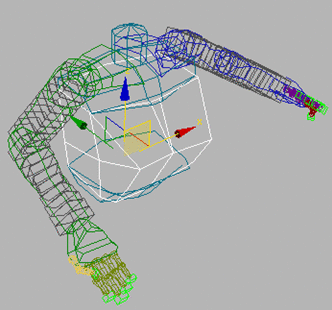
Upper arm bone selected
Hide the other objects to see the bias affecting the chain.
In this exercise, you learned how to enable and adjust twist link values on biped parts such as upper arms and forearms. You can use the same techniques with leg limbs. You also learned how to set up twist poses with initial angle values and bias control.


