


Autodesk 3ds Max Tutorials > Character Animation Tutorials > Biped Beyond the Basics > Working with Motion-Capture Data >
Editing with Layers
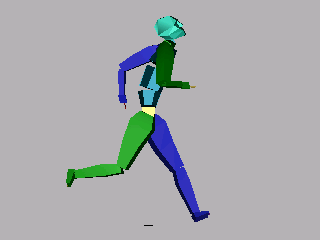
In this lesson, you’ll import a file and use layers to add changes. The motion file is a sprinting motion. You’ll add a layer and rotate the center of mass so the character is running on a wall.
Set up for this lesson:
Load the motion:
 Open
the Motion panel. In the Motion Capture rollout, click Load Motion
Capture File.
Open
the Motion panel. In the Motion Capture rollout, click Load Motion
Capture File.The motion file loads with keys at every frame.
Add a layer:
The following steps illustrate the use of Snap Set key to alter the runner's original position.
 On the
Layers rollout, click Create Layer.
On the
Layers rollout, click Create Layer.A layer is created.
This selects the center of mass rotation track.
The character is running on an invisible wall.
 In the
Layers rollout, click Snap Set Key.
In the
Layers rollout, click Snap Set Key.The character snaps to his original position.
The right foot is just touching down.
On the
Layers rollout, click Snap Set Key.The character snaps to his original position.
The character runs on the ground, then on the wall, and back to the ground again.
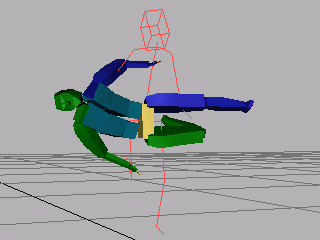
To improve the effect, you can rotate the spine objects and stretch the legs to make it appear that the character is jumping on the wall.