


Autodesk 3ds Max Tutorials > Character Animation Tutorials > Biped Beyond the Basics > Animating a Multi-legged Character >
Adding Extra Limbs
In this lesson, you'll add bones as appendages to a biped, creating a pair of wings, and learn how to animate them.
Note that the extra limbs become 3ds Max objects, and must be animated with rotations. They do not respond to Biped Figure mode or inverse kinematics.
Set up the lesson:
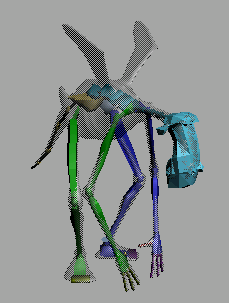
This file shows Wally in See-Through mode. He has wings, but no means of moving them. You'll remedy that in the next few procedures.
Add the wing bones:
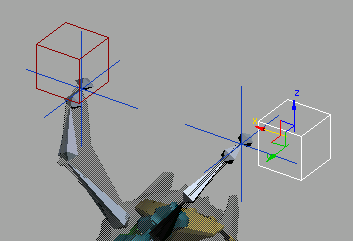
 In the
Left viewport, use Region Zoom to focus on the area around the wings.
In the
Left viewport, use Region Zoom to focus on the area around the wings.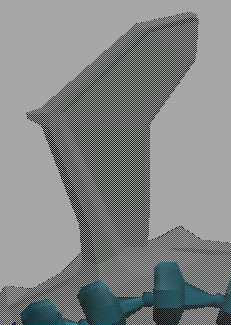
The view after zooming.

 Open
the Create panel, and click the Systems button.
Open
the Create panel, and click the Systems button. On the
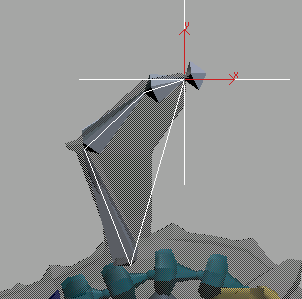
Object Type rollout, turn on Bones. In the Bone Parameters rollout
> Bone Objects group, set the Width and Height values to 3.0.
On the
Object Type rollout, turn on Bones. In the Bone Parameters rollout
> Bone Objects group, set the Width and Height values to 3.0.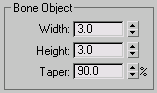
In this case, the Width and Height defaults of 10.0 would produce clumsy-looking bones.
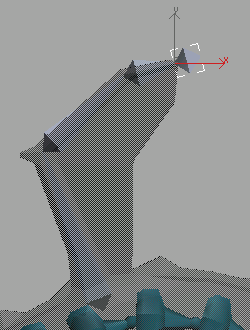
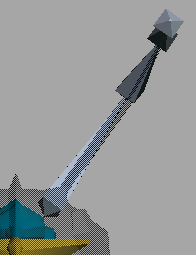
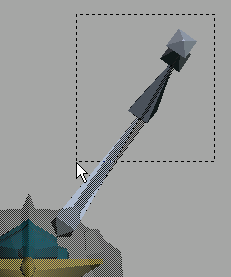
Bones along the leading edge of the wing.
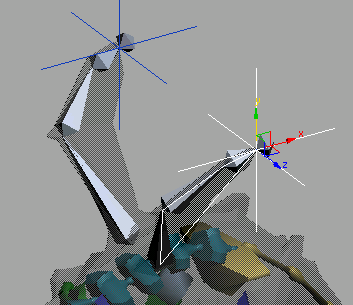
 Turn
on Rotate. In the Front viewport, select Bone01 and rotate
it about –35 degrees around the Z-axis.
Turn
on Rotate. In the Front viewport, select Bone01 and rotate
it about –35 degrees around the Z-axis.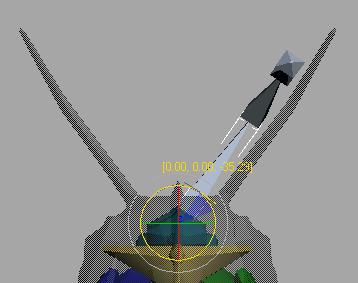

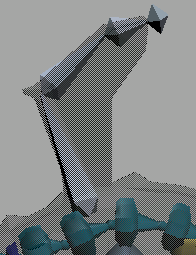
 Working between
the Front and Left viewports, use Move, Rotate, and Scale to adjust
the bones so they match the following illustrations.
Working between
the Front and Left viewports, use Move, Rotate, and Scale to adjust
the bones so they match the following illustrations.
Mirror the bones:
Now that one wing is created, you'll mirror the wing and set the proper IK solution.
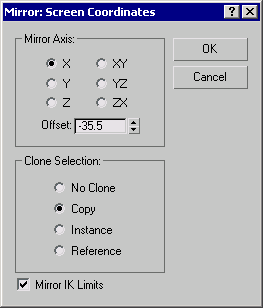
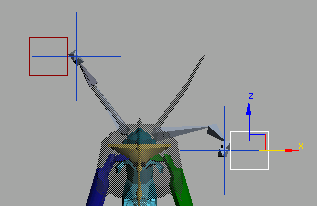
 On the
main toolbar, click the Mirror Selected Objects button to display
the Mirror dialog.
On the
main toolbar, click the Mirror Selected Objects button to display
the Mirror dialog.This creates four matching bones on the other side, named Bone05 through Bone08.
Both wings have IK solutions.
Add dummies to control the wings:
You'll now add two dummy objects to act as control handles for the wings.
 Open
the Create panel, and click the Helpers button. In the
Front viewport, move the dummy object up to the wing tip.
Open
the Create panel, and click the Helpers button. In the
Front viewport, move the dummy object up to the wing tip.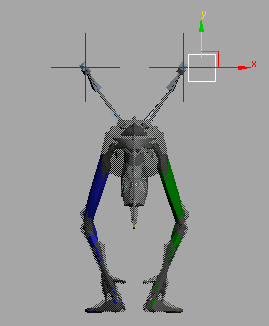
The dummies will be used as control handles instead of the end effectors.
 Select
both dummy objects and the base bones of the left and right wing.
On the main toolbar, turn on Select And Link, and then drag a link
to Wally Biped Spine2.
Select
both dummy objects and the base bones of the left and right wing.
On the main toolbar, turn on Select And Link, and then drag a link
to Wally Biped Spine2.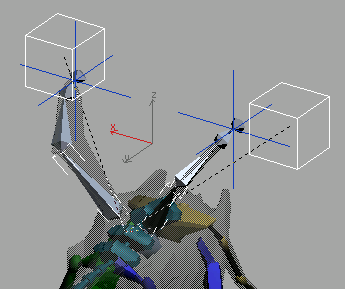
If you move the biped, the wing bones and dummies will move along with the rest of the model.
Select IK
Chain01 and link it to Dummy01. Repeat
this step by selecting IK Chain02 and linking it to Dummy02. Select IK Chain01 and
open the Motion panel.
Select IK Chain01 and
open the Motion panel.Animate the wings:
 Move
the time slider to frame 5, and turn on Auto Key. From
the Front viewport, select Dummy01. Move it down and to the
right a little.
Move
the time slider to frame 5, and turn on Auto Key. From
the Front viewport, select Dummy01. Move it down and to the
right a little.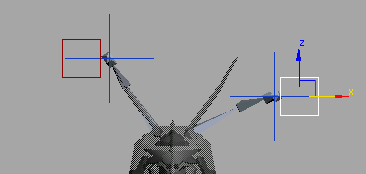
When you're done, you've animated Wally flapping his wings.

After building the character model, a biped was added and adjusted to fit properly. Next, extra bones to control the wings were added. The Physique modifier was applied to Wally, and envelopes were adjusted to enclose the mesh. Finally, the character was animated.