


Autodesk 3ds Max Tutorials > Character Animation Tutorials > Biped Beyond the Basics > Interacting with Objects >
Creating the Illusion of Weight
There are two techniques for giving the illusion of weight to a biped object in an animation. Both affect the biped center of mass.
The first technique uses Balance Factor, which moves the center of mass. Balance Factor is available on the Body Horizontal track. This technique creates the illusion of lifting a heavy object. It lets you keyframe the center of mass moving in and out of the body.
The second technique uses Figure mode to turn on Rubber Band; you then move the center of mass in front of or behind the body. This technique creates the illusion of the biped pushing or dragging a heavy object. You can’t keyframe the center of mass with this technique; instead, you set it for the entire animation.
Set up for this part of the lesson:
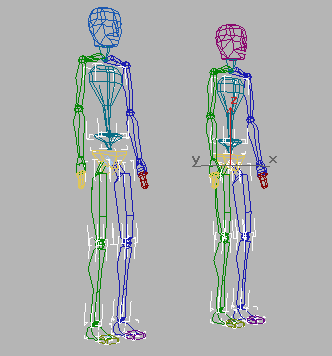
Two bipeds have planted keys set on their feet, with the pivot points set at their toes.
Use Balance Factor:
 On the
Track Selection rollout, click the Body Horizontal button.
On the
Track Selection rollout, click the Body Horizontal button.The Balance Factor is available because this file contains a keyframe on the Body Horizontal track at frame 0.
 Move
to frame 15, then turn on Auto Key mode.
Move
to frame 15, then turn on Auto Key mode.Notice that the upper body rotates, while the legs stay firmly planted.
Only the upper body rotates.
Animate the Balance Factor:
Now Balance Factor is available.
This time the hips move back as the torso rotates forward. If you rotate the torso enough, the feet move off the floor.
Notice also that the center of mass is now in front of the body.
Hips move back, torso rotates forward.
The center of mass moves back closer to the biped.
Watch how the center of mass moves outside the biped, then back again.
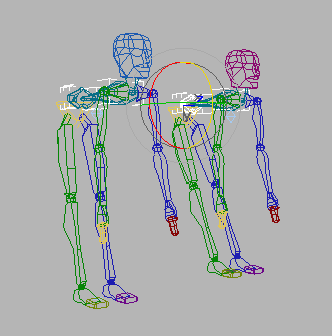
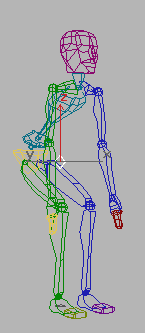
The biped appears to be lifting something heavy because of the positioning of the knees and spine.
Set up for this part of the lesson:
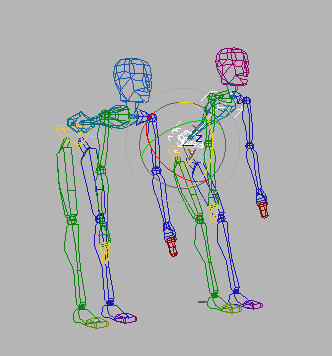
The biped is pushing a box along the floor. Notice that the center of mass is behind the biped.
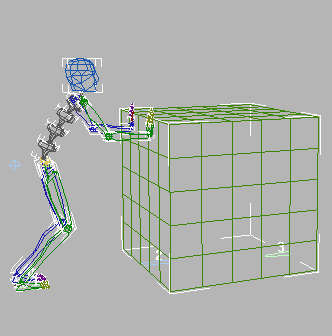
Adjust the center of mass with Rubber Band:
The biped moves so his hands are no longer touching the box. Notice that, for this figure, the spine objects are rotated so the biped has a rounded back.
In Track
Selection rollout, click Body Horizontal. Expand
the expansion bar in the Biped Rollout. In the Modes group, turn
on Rubber Band Mode. Then move the biped’s center of mass so it's
back inside the body.
Expand
the expansion bar in the Biped Rollout. In the Modes group, turn
on Rubber Band Mode. Then move the biped’s center of mass so it's
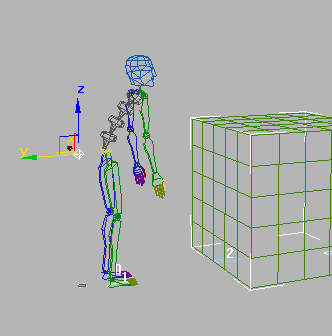
back inside the body.The upper torso moves back over the feet. The illusion of weight is diminished.

The biped leans into the box, as though the box were quite heavy.
