


Autodesk 3ds Max Tutorials > Character Animation Tutorials > Biped Beyond the Basics > Interacting with Objects >
Making Feet Follow Objects
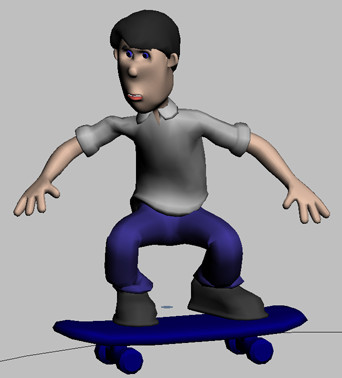
In this lesson, you’ll make a character ride a skateboard.
In practice, you could accomplish this animation by linking the skateboard to one of the biped’s feet and animating the entire biped. However, this would make it extremely difficult to animate the biped’s upper body leaning and dipping as he rides the skateboard. If you did so, every time you moved the biped’s foot or leg, the skateboard would skitter and slide unnaturally.
 You
can’t link the biped’s feet directly to the skateboard with Select
and Link. These body parts are already linked to the legs, and linking
them to another object would cause them to become disengaged from
the legs and the rest of the body.
You
can’t link the biped’s feet directly to the skateboard with Select
and Link. These body parts are already linked to the legs, and linking
them to another object would cause them to become disengaged from
the legs and the rest of the body.
Instead, you’ll use IK linking to make the biped feet and body follow an animated skateboard. With this method, you can animate the upper body leaning and turning without interfering with the motion of the skateboard. This feature makes it easy to animate a character doing any motion where the feet need to stay stuck to the apparatus while the body moves freely, such as pedaling a bicycle or skiing down a slope.
Set up for this lesson:
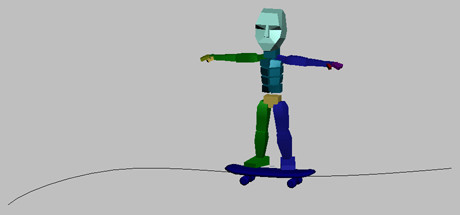
This scene features Wilson on a skateboard.
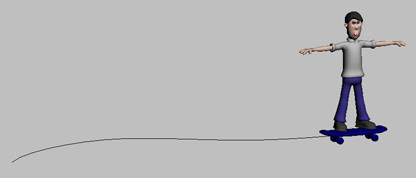
The skateboard follows a path, but Wilson doesn’t go with it. You’ll work with Wilson’s biped to make him ride the skateboard.
Position the feet:
 Go to
the Motion panel.
Go to
the Motion panel.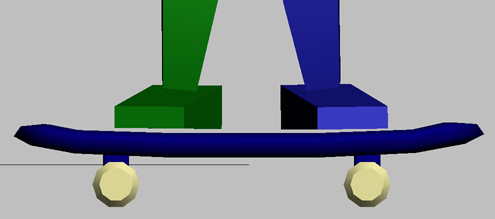
Link the feet to the skateboard:
In order to link the feet to the skateboard, each needs a key set at frame 0. You have already created keys for the feet by posing them on frame 0. If you hadn’t, you could use the Set Key button on the Key Info rollout to set keys for each foot/leg.
You can select any part of the leg or foot to link it to the skateboard.
 Click
Select IK Object, and click the top portion of the skateboard.
Click
Select IK Object, and click the top portion of the skateboard.The object name Skateboard Top appears to the left of the Select IK Object button.
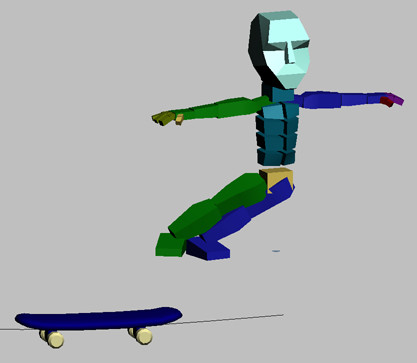
The biped tries to follow the skateboard, but he’s not very successful. The legs extend as much as they can, but the skateboard moves away and the biped's center of mass stays in the same place.
To make the entire body go along with the skateboard, you’ll link the center of mass to it.
Link the COM to the skateboard:
The center of mass object (COM) is the only object in the biped that isn’t linked to other objects in the biped. It can be linked to any object with Select And Link to make the entire body follow along with the object.
On the
Main toolbar, click Select And Link.The entire biped moves with the skateboard.
Animate the upper body:
The linking method you’ve used allows you to animate the upper body freely without interfering with the skateboard motion.

The biped rides the skateboard, leaning and dipping to keep his balance.
See the animation on the character mesh:
You can see a finished version of this animation in the file skating_complete.max.