The process of animating a character starts with a biped. In this lesson, you will learn to work with biped parts, creating a skeleton with the appropriate body parts to fit your mesh.
Set up the lesson:
Create a biped:
 On the
Create panel, click Systems.
On the
Create panel, click Systems.The Biped button turns gold.
A biped appears and grows with your cursor movement.
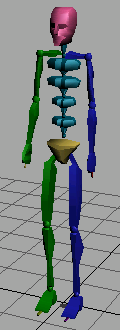
The biped is a hierarchy of special objects. Its parent object (Bip01) is also called the center of mass or COM. The COM is displayed in the viewports as a small tetrahedron, initially centered in the biped’s pelvis. After you create a biped, only the center of mass object is selected (not the entire biped).
After creating the biped, you change the values on the Create Biped rollout to give the biped the appropriate links for your mesh.
Change the number of fingers and toes:
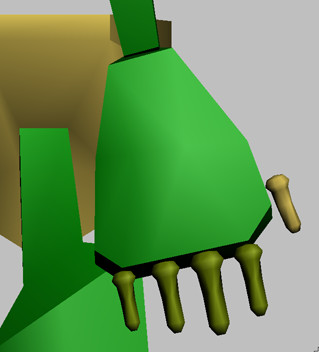
Five fingers
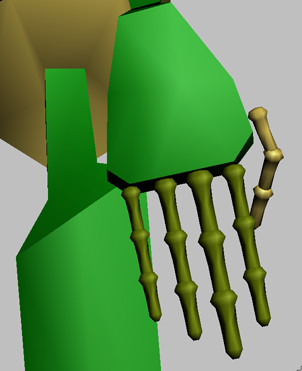
Five fingers with three finger links
Add a tail and ponytails:
For non-human characters such as animals, you will need tail and ponytail links to control the mesh.
In the Left viewport, you can see the biped growing with a tail.
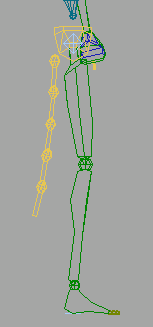
Biped with tail
As long as this biped remains selected, you can make changes to the biped parameters and see the effects.
In the Left viewport, you can see the ponytail growing from the base of the head. If necessary, two ponytails can be added.
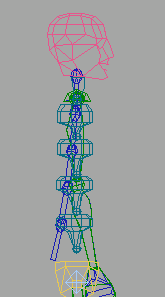
Biped with one ponytail (in blue)
Add props:
Props are extensions of the biped skeleton. Props are linked to the COM, and can be animated to pass from hand to hand. You can use props to animate objects the biped is holding, such as tools or weapons.
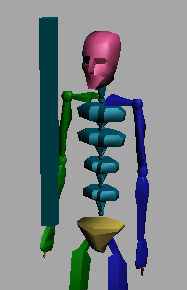
Biped with Prop 1 activated
Once you have determined the appropriate parts for your biped, the next step is to align the biped to the mesh.