


Animating the Biped with Freeform Animation
There are two types of animation that a biped can perform: Freeform animation and Footstep animation. In this lesson, you'll use Freeform animation to make Dr. X do a series of deep knee bends. Freeform animation does not use footsteps. You manually set all the keys in a Freeform animation.
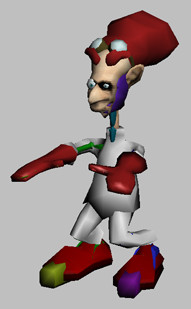
To get an idea of how your animation should turn out, view the preview animation, drxkneebends.avi, in the tutorials\character_animation\quick_start folder.
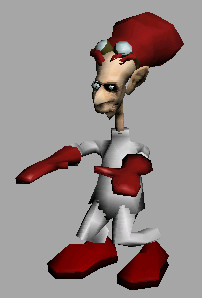
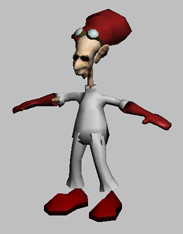
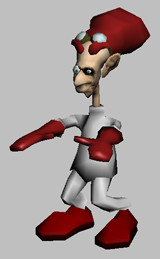
Dr. X doing his deep knee bend exercises
Set up for this lesson:
This scene contains Dr. X with properly adjusted envelopes.
Plant the feet:
Since Dr. X is doing squats, his feet are not required to move. You'll plant his feet to keep them from moving throughout the exercise.
 Open
the Motion panel.
Open
the Motion panel.The left foot is selected, so you can set a key for it.
 In the
Key Info rollout, click Set Planted Key.
In the
Key Info rollout, click Set Planted Key. In the Track Selection rollout,
click the Opposite button to select DrX Biped R Foot. Click
Set Planted Key to set a key for the right foot.
In the Track Selection rollout,
click the Opposite button to select DrX Biped R Foot. Click
Set Planted Key to set a key for the right foot.Animate the first knee bend:
You'll start by animating the knee-bending motion. Dr. X will start the knee bend in his current stance with arms outstretched, and perform a total of four squats. When completed, he'll return to his original stance.
When the feet are planted, you animate the knees bending by moving the biped's center of mass up and down.
 In the
Track Selection rollout, click Body Vertical.
In the
Track Selection rollout, click Body Vertical.This selects the center of mass's body vertical track.
 Turn
on Auto Key.
Turn
on Auto Key.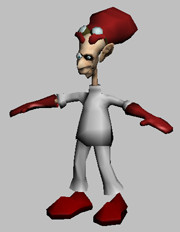
This places a key for the center of mass's body vertical track at frame 0.
 Move
the COM down about –0.25m on the Z-axis.
Move
the COM down about –0.25m on the Z-axis.Watch the Coordinate display Z-field until it reaches about –0.25m and release the mouse button. A key is automatically created at frame 15. This is Dr. X's squatted pose.
Copy and paste the standing posture:
The tools on this rollout enable you to quickly copy and paste keys from one frame to other frames. By default, the Posture option is selected. This option pastes keys from individual body parts.
 In the Copy/Paste rollout,
click Create Collections. Name the Collection Dr. X poses.
In the Copy/Paste rollout,
click Create Collections. Name the Collection Dr. X poses. Click
the Copy Posture button.
Click
the Copy Posture button. Make
sure Auto Key is still on.
Make
sure Auto Key is still on. On the
Copy/Paste rollout, paste options group, click the Paste Vertical
button.
On the
Copy/Paste rollout, paste options group, click the Paste Vertical
button. Click
Paste Posture.
Click
Paste Posture.Dr. X stands up again. When you paste a posture with Auto Key turned on, a key is created at the current frame with the new posture. Here, a new key was created for the COM's Body Vertical track at frame 30.
Copy and paste the squatting posture:
On the
Copy/Paste rollout, click the Copy Posture button. Rename the posture Squatting. Go to
frame 45, and click Paste Posture.Paste the remaining postures:
Now that you've stored the two postures, you can easily paste them to other frames.
You have now created all the knee-bend motions for this animation. If you like, you can play the animation to see the motion.
Turn
off Auto Key.Animate the arms:
Now that the legs are set to bend, you'll rotate the arms and lock the upper body. As Dr. X dips down, his arms are going to swing forward, then back out to his sides as he rises. You'll also set two keys to lock the upper body to keep Dr. X facing forward.
 From
the Track Selection rollout, click the Symmetrical button to select
the opposite upper arm.
From
the Track Selection rollout, click the Symmetrical button to select
the opposite upper arm. On the
Key Info rollout, click Set Key.
On the
Key Info rollout, click Set Key.This sets a key for the arms in their outstretched position.
On the
Copy/Paste rollout, click Copy Posture. Name the posture Arms
Out. Turn
on Auto Key. In the
Top viewport, rotate the arms about –75 degrees around the Z-axis.
In the
Top viewport, rotate the arms about –75 degrees around the Z-axis.Look at the Z-field in the Coordinate display Z-field when rotating the arms. A key is added, and Dr. X's arms are in the forward position.
Turn
off Auto Key.Play the animation:
Save a motion clip:
When you're happy with the results of the animation, you want to save it so that in the future you can apply the motion to other bipeds in other scenes. When you save a motion, it is saved in the .bip file format, the native format for biped character movement.
 From
the Biped rollout, choose Save File.
From
the Biped rollout, choose Save File.The Save File dialog displays.
The motion is saved as a BIP file.
To learn more about freeform animation, see the tutorial Animating with Freeform .