Looking at Things Differently
reactor allows you to use display proxies for objects; this means that a rigid body can have a different display body for use in the preview window. This improves the window's performance, especially when you are simulating more than one object with the same display body. If you have a lot of objects that all look the same, then your display only needs to keep track of one instance of the display body when display proxies are used. As a bonus, you increase simulation setup speed, because you create only one instance of the display body.
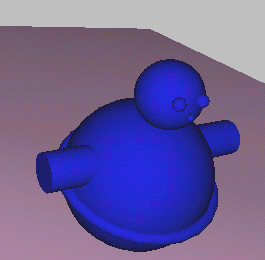
In this lesson you'll create a display proxy for the toy. This is so that when you create copies of the toy later in the tutorial, your setup and display speed won't be adversely affected.
Continue using the scene from the previous lesson, or open reactor_intro_7.max from \tutorials\reactor\introduction.
Create a display proxy for a rigid body:
Move the copy away from the other objects.
You now have a single mesh representing the toy that you can use as a display proxy.
You need to select the group parent rather than any of the toy's constituent objects, because the group parent represents the rigid body and display proxies are applied to rigid bodies, not primitives.
 Open
the Rigid Body Properties dialog, and on the Display rollout, turn
on Proxy.
Open
the Rigid Body Properties dialog, and on the Display rollout, turn
on Proxy.This activates the display proxy pick button.
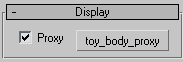
The button displays the name of your proxy object, in this case toy_body_proxy.
You have now assigned an alternative display body to your compound rigid body.
This will keep it out of your way.
 Select
a component of the group, and choose Group menu > Close, then
click Preview Animation.
Select
a component of the group, and choose Group menu > Close, then
click Preview Animation.Your toy will use the new mesh as its display object. If you make changes to the editable mesh, these will be displayed whenever you use the preview window.