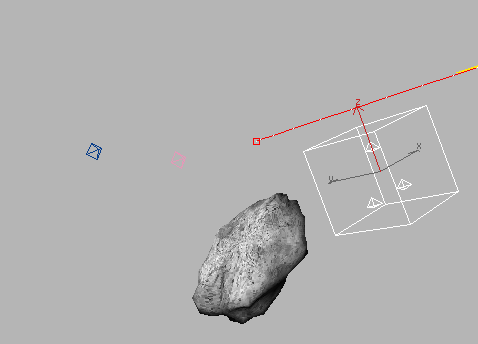
At this point, the asteroid, laserblast, and explosion are all animated. Next, you'll add particles to simulate the asteroid breaking up as it explodes.
Setup:
Create a particle system in the scene:

 Go to
Create panel > Geometry and choose Particle Systems from the
drop-down list.
Perspective viewport view of the PArray gizmo
The name of the asteroid, in this case Sphere01, is displayed below the Pick Object button to show that the particle system has been linked to the asteroid.
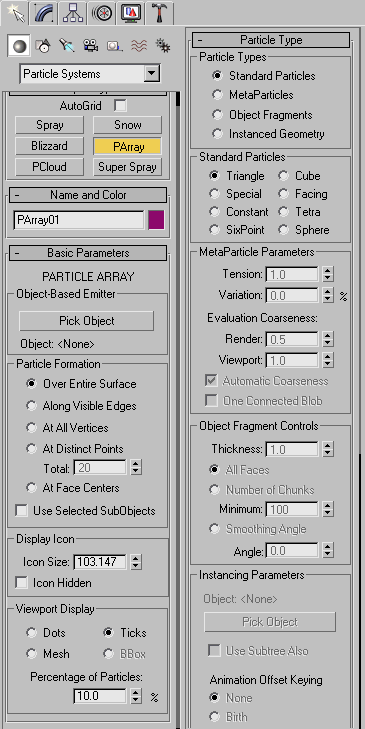
Expand the command panel and adjust the PArray settings:
Next, you'll expand the command panel so you can see more of the particle system rollouts.
The cursor changes to a double arrow.
A second column of the command panel appears.
The Particle Type rollout is now displayed in the second column.

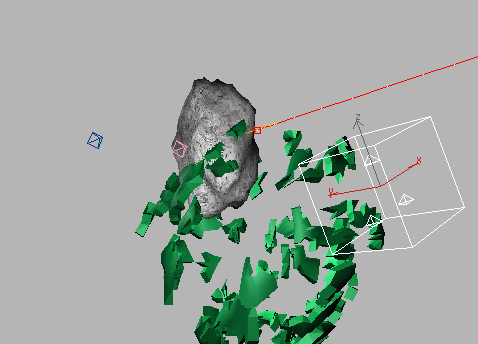
Move the time slider to see asteroid chunks appear in the viewport.
