Synchronizing the Animated Maps

Creating Explosions

Breaking the Asteroid into Flying Pieces with Particle Array

Cloning the Explosion Plane
In
this topic, you’ll make a copy of the explosion plane, and set the
copy in front of the asteroid. With two planes, the asteroid appears
to be in the middle of the explosion, rather than in front of it.
Clone
the explosion plane:
- If
it's not already selected, select Explosion Plane01.
Press the Spacebar to lock
your selection.
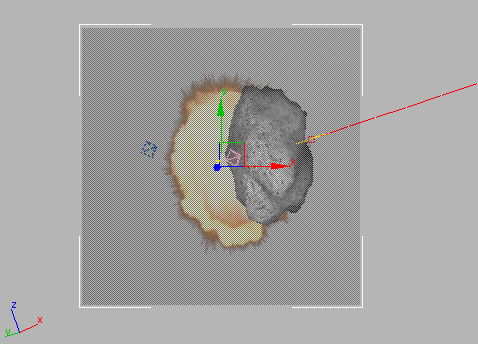
- In
the Top viewport, right-click the plane and choose Move from the
quad menu.
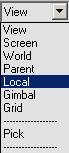
- On
the toolbar, open the Reference Coordinates System list, and choose Local.
This will
let you move the plane parallel to itself.
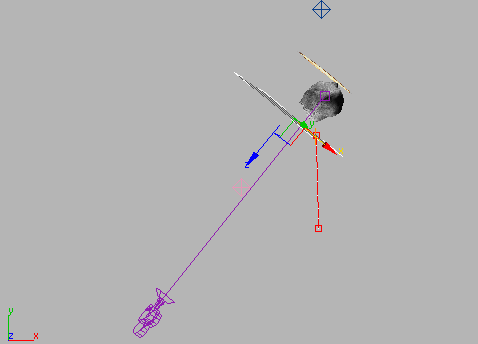
- Hold
down SHIFT and drag a copy of Explosion Plane01 in
the Z axis. Position the plane so it is in front of the asteroid.
- A Clone
options dialog is displayed. The program has automatically named
the new plane Explosion Plane02. Leave the settings
at their default, and click OK.
NoteThe
copy of the plane is now selected, and the Selection Lock Toggle automatically
turns off.
Set
the new plane's properties, and make a named selection set:
- Right-click
the new plane and choose Object Properties. In the Display Properties
group turn on See-Through. Click OK.
The cloned
explosion plane now lets you see through it in the viewport. This
doesn't affect the rendering.
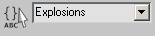
- Select
the two plane objects. In the Named Selection Sets field on the
toolbar, type the name Explosions and press Enter.
You can
now reselect the two planes at any time by choosing this name from
the Named Selection Sets drop-down list.
- Right-click
the selected planes and choose Hide Selection from the quad menu.
The two
planes are hidden from view.
- Save
your scene as myexplosion2.max.