Now the explosion appears on the plane. The next step is to make the plane invisible so all you see in the scene is the explosion.
Add an opacity map:
 In the
Material Editor toolbar, click Go To Parent.
In the
Material Editor toolbar, click Go To Parent.The file herculesm.avi is a black-and-white mask of the animated explosion. Using the map’s alpha channel, the Opacity map makes the plane invisible and allows only the explosion to appear in the scene.
View the opacity map's effect:
 On the
Material Editor toolbar, click Go To Parent. Close the Maps rollout.
On the
Material Editor toolbar, click Go To Parent. Close the Maps rollout. On the
Material Editor toolbar, click to turn on Show Map In Viewport.
On the
Material Editor toolbar, click to turn on Show Map In Viewport.The plane is now invisible in the viewport.
 On the
Material Editor vertical toolbar, click to turn on Background.
On the
Material Editor vertical toolbar, click to turn on Background.This turns on a checkered background that helps you visualize the opacity mapping.
Adjust the material settings:
This removes any shininess from the plane.
Adjust the plane properties:
When using this mapping technique, you don’t want the invisible plane to cast or receive shadows, so you'll turn those attributes off.
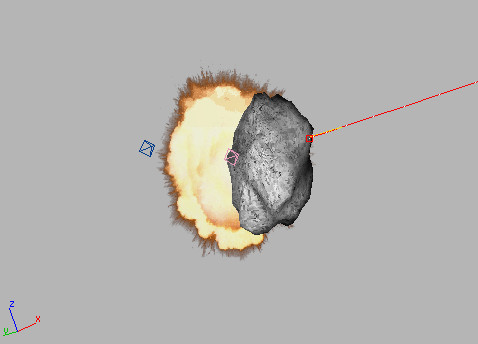
View the results:
The plane doesn’t move with the asteroid. That’s okay, because you need the plane only at the point where the explosion occurs.


