Animating the Asteroid

Creating Explosions

Creating a Material for the Explosion

Creating a Plane for the Explosion
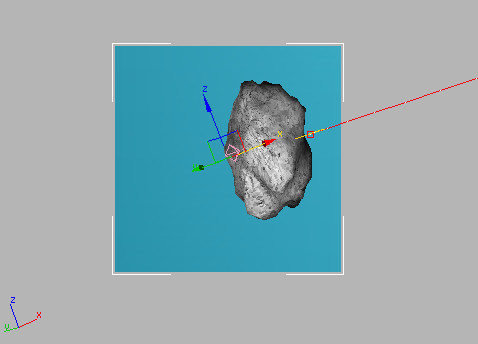
Now
that the asteroid and laserblast are animated, it’s
time to create the explosion that will blow it up.
There are several different ways you can create
an explosion in 3ds Max.
One technique is to use an animated map. This allows you to apply
a movie of a real explosion to a simple planar object.
Setup:
- Continue
working with the previous file or open rotating_asteroid.max.
Create
a plane:
- Move
the time slider to frame 10 if it's not already there.
- Right-click
to activate the Front viewport, and then press Alt+W on the keyboard to maximize
the viewport.
-

 Use
Zoom and Pan to navigate the viewport so the asteroid is in or near
the center of the view.
Use
Zoom and Pan to navigate the viewport so the asteroid is in or near
the center of the view.
-

 Go to
the Create panel > Geometry > Standard Primitives category.
On the Object Type rollout, click Plane.
Go to
the Create panel > Geometry > Standard Primitives category.
On the Object Type rollout, click Plane. - In
the Front viewport, drag a plane over the asteroid.
TipYou
can turn off snaps by pressing the S key.
This is handy for toggling the snaps settings when you are in the
process of creating or moving an object.
- In
the Name And Color rollout, change the name to Explosion
Plane01.
- In
the Parameters rollout, set the Length and Width of the plane to 300.0. Set
the Length and Width Segs (segments) to 1.
The size
and complexity of the Plane update in the viewport.
- Right-click
in the viewport, and press Alt+W to
return to four viewports.
-
 Right-click
the Top viewport to activate it, and move the plane along its Y
axis so it's behind the asteroid.
Right-click
the Top viewport to activate it, and move the plane along its Y
axis so it's behind the asteroid.
- Right-click
the Camera viewport to activate it without losing the selection of
the plane.
- In
the Tools menu, choose Align To View.
- In
the Align To View dialog, make sure Align Z is chosen, and click
OK.
The plane is now aligned to the Camera view.