We won't take you through the entire process of modeling a scene. Instead, you'll open a file that is already developed. The pieces are all ready, so you can focus on animation.
Setup:
All the files necessary for this tutorial are provided on the program disc in the \tutorials\intro_to_animation directory. Before starting the tutorials, copy the \tutorials folder from the disc to your local program installation.
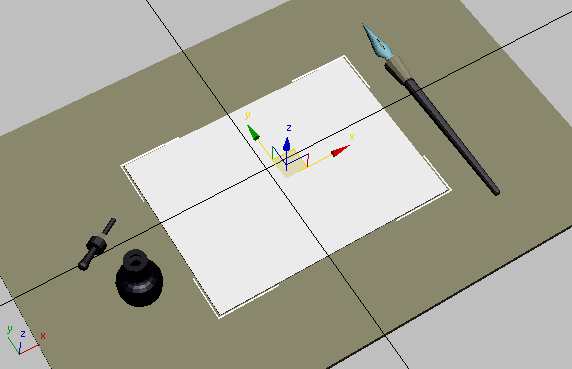
The sample file, write_on_start.max.
You see a piece of paper on a drawing board, and a pen and a bottle of ink on either side.
Before you draw the path, you'll change the color of the paper to black. This will make it much easier to see the line as you draw.
Change the paper color:
 On the
toolbar, choose Select By Name.
On the
toolbar, choose Select By Name.The paper object is selected in the viewport, and its parameters are visible in the Modify panel on the right.
 click
the Material Editor button to open the Material Editor.
click
the Material Editor button to open the Material Editor.The Material Editor displays the materials used in the scene.
 On the
Material Editor toolbar, click Assign Material To Selection. The
paper is now black.
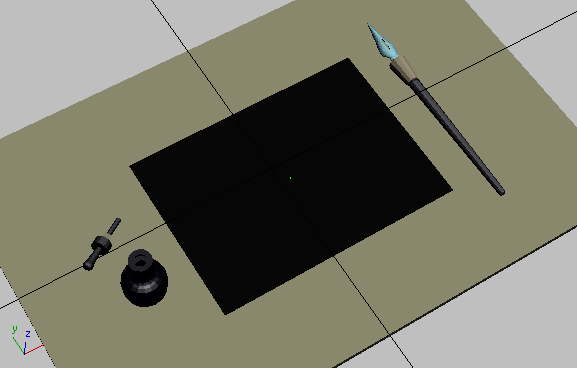
Black paper makes it easier to see the lines you draw.
While you still have the paper selected, you'll make one more change.
Add segments to the paper:
This shading mode displays shaded faces and edges.
The black paper segments are now visible in the viewport.
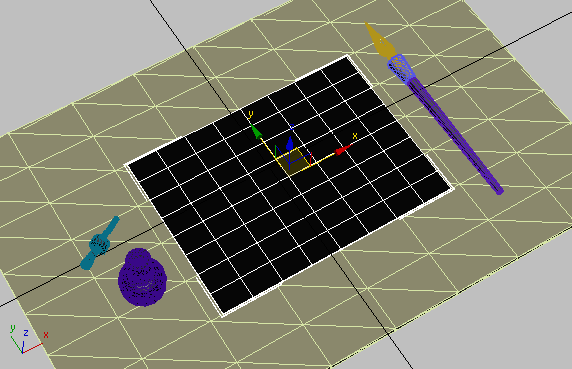
Increased box segments
You will snap to the faces on the black paper when you draw the line.
Use snaps with lines:
All the setting up is done; now it's time to draw the word yes.
 On the
toolbar, turn on 3D Snap.
 On the
Create panel click the Shapes button, then in the Object Type rollout,
click Line.
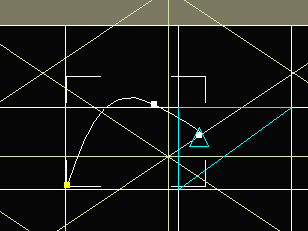
Snap To Face cursor
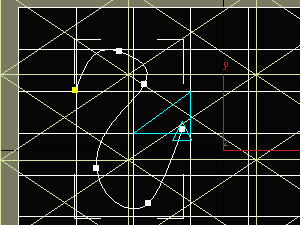
Click and drag to create rounded splines.
You can see the flat line segments that are used to create the splines, particularly obvious in the tail of the Y. Don't worry about these, you can increase the segmentation later to create a smoother line.
Create sharp corners:
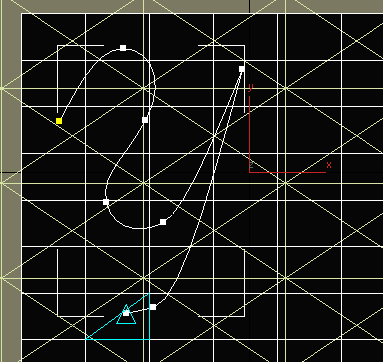
For a sharp corner, such as the upper-right angle of the letter Y, click once instead of dragging.
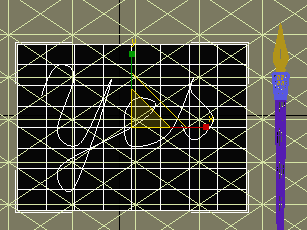
Right-click to finish.