Now that you've drawn the path on the paper, you can animate the pen using a path constraint.
Setup:
Change material and color:
 The paper material
should be visible in a sample slot, but you can also find it by
clicking Get Material, then browsing from Mtl Editor.
The paper material
should be visible in a sample slot, but you can also find it by
clicking Get Material, then browsing from Mtl Editor. Select
by pressing the H key or click
on the toolbar.
Select
by pressing the H key or click
on the toolbar.The line is now visible in the viewport.
Animate the pen with path constraints:
The components of the pen (the wood, the cork, and the nib) are already linked into a hierarchy for animation. This is indicated by the indented list. The nib is the parent of the hierarchy. When you animate the nib parent object, the cork and the wood child objects will follow.
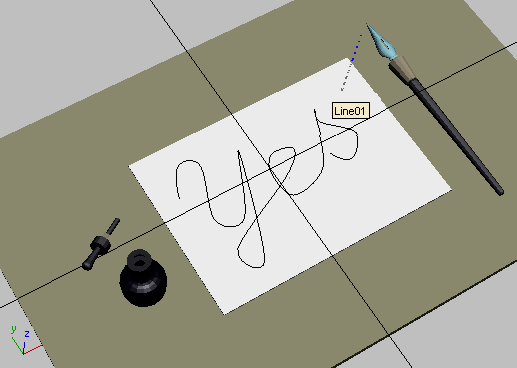
The pen nib is now selected in the viewport.
As you move your mouse over the viewport, you'll see a dotted line connecting your cursor to the nib.
Constraining the pen to the path
The pen jumps to the start of the path. It is also partly buried in the paper.
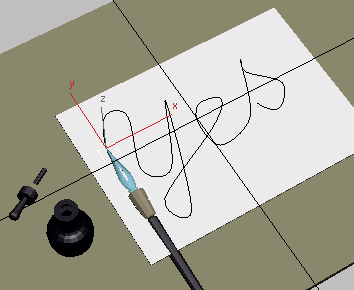
Pen jumps to the start of the path.
 On the
toolbar, turn on Rotate Mode. Rotate the pen in the viewport, approximately –30 degrees
about X, and 17 degrees about Z, so the pen
is not buried in the paper.
On the
toolbar, turn on Rotate Mode. Rotate the pen in the viewport, approximately –30 degrees
about X, and 17 degrees about Z, so the pen
is not buried in the paper.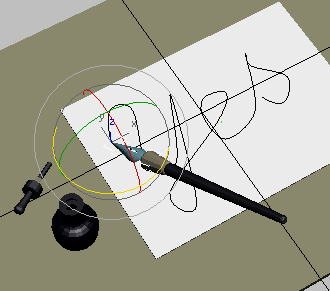
Rotate the pen so that it's above the paper.
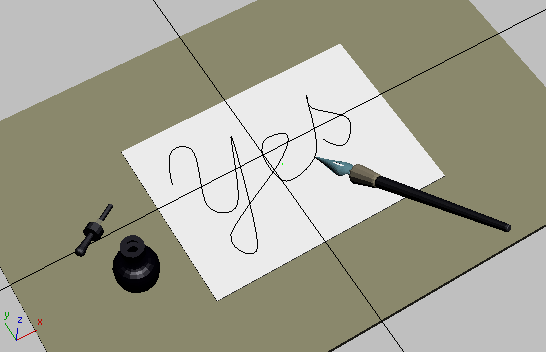
Pen moves along the path.
The next order of business is to create a growing line to follow the end of the pen. To do this, you will use a PathDeform modifier.


