In this lesson you'll start learning how to animate in 3ds Max.
Animate the ball using the Move transform:
The file can be found in the\tutorials\intro_to_animation directory.
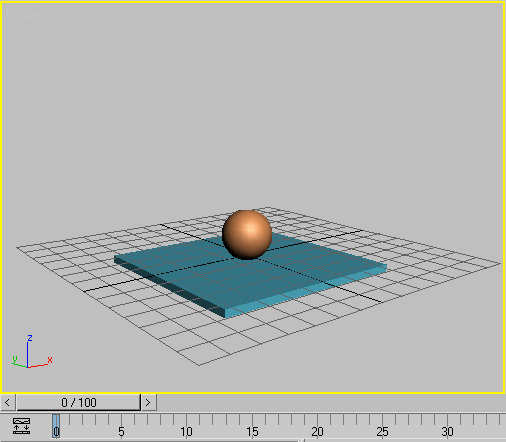
Perspective viewport: bounce_start.max
This file has the Perspective viewport on the left. This is not the standard viewport layout; the layout has been customized for this lesson.
 Click
Auto Key to turn on this feature.
 The
Auto Key button and the time slider background turn red to indicate
that you are in animation mode. The viewport is outlined in red, as
well. Now, when you move, rotate, or scale an object, you create
keyframes automatically.
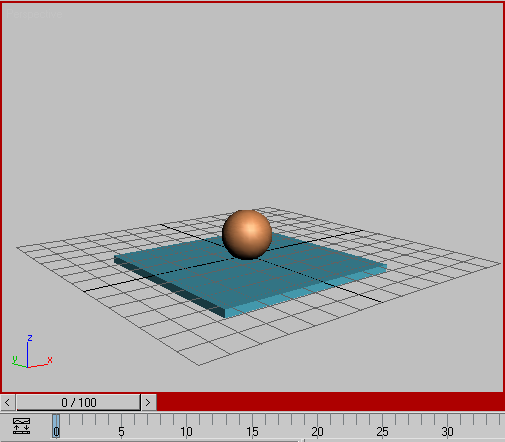
Time Slider background turns red
 Click
to select the ball in the Perspective viewport.
Click
to select the ball in the Perspective viewport.It is displayed within white selection brackets, indicating that it’s selected.
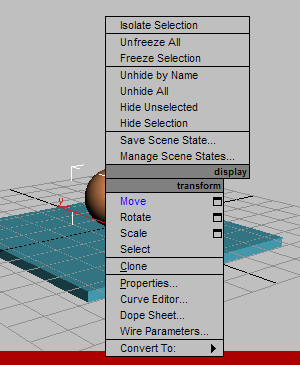
The Transform gizmo appears in the viewport. The Transform gizmo lets you easily perform constrained movements. As you move your cursor over the Transform gizmo, the different axes and their labels turn yellow.
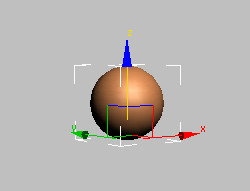
As you move the ball up in the air, notice the Z value changing in the Coordinate Display below the track bar.
The ball's position at frame 0 is now fixed above the box.
A Position key is created when you do this. The key is displayed on the track bar.
The track bar displays the keys for whatever is selected in the viewport. The track bar is found directly beneath the time slider and above the prompt area.
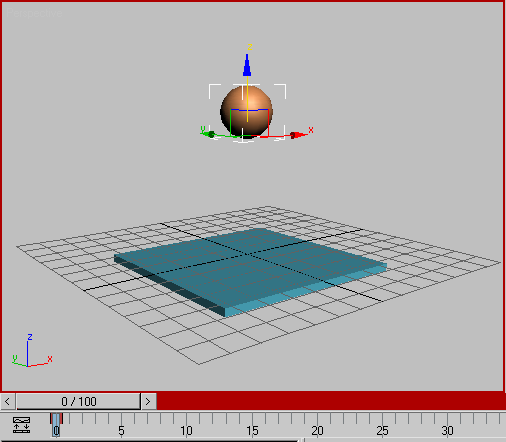
Keyframe created in Auto Key Mode
To move the ball precisely down to the table surface, put your cursor in the Coordinate display Z field, and change the value to 0.

Coordinate Display type-in for precision animation.
The box is built off the world origin, so a Z position value of 0 will set the ball directly in contact with the box.
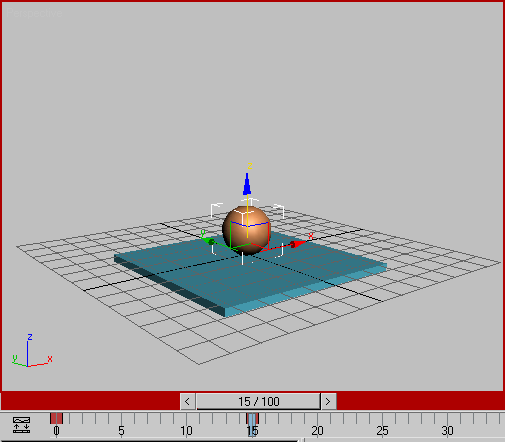
Frame 15: Ball is in contact with the box
You need to make the ball rise up to its original position at frame 30. Instead of moving to frame 30 and moving the ball back up in the air, you'll use a different method.
The Create Key dialog appears.
This copies the key from frame 0 to frame 30.
 Click
Play Animation to play the animation, or drag the time slider back
and forth between frames 0 and 30.
 The ball moves down and up between frames 0 and 30, and stays up in the air between frames 30 and 100.
 If you
clicked Play Animation, click Stop (the same button) to end the
playback.
If you
clicked Play Animation, click Stop (the same button) to end the
playback.Next, you’ll set the length of the active time segment to 30 frames.
 In the
time controls, click Time Configuration.
3ds Max lets you work in an active time segment that’s a part of a larger animation. Here you are making frames 0 through 30 the active time segment. Notice that the time slider now shows only these frames. The other frames still exist, they just aren't part of the active segment at the moment.
The ball goes up and down. Since the first and last frames are the same, the animation appears to cycle as it plays.
The ball moves, but it doesn’t have “bounce” yet.
3ds Max made decisions on how the in-betweens are being distributed. Right now they are evenly distributed so the ball has no acceleration. It doesn’t speed up or slow down; it just floats along with no sense of weight.
You need to simulate the effect of gravity so that the ball slows to a stop at the top of its bounce, speeds up as it approaches the table, and then bounces up again. To accomplish this, you'll use the key interpolation curves available on the Curve Editor. You'll also use the Ghosting feature to help visualize what the interpolation curves are doing.