


Autodesk 3ds Max Tutorials > Materials and Mapping Tutorials > Introduction to Materials and Mapping >
Accessing Materials
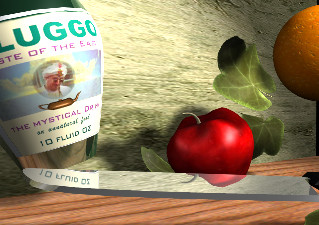
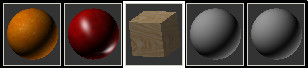
Examples of different materials
When you work with 3ds Max, you access materials from three different places: from the Material Editor, from scenes, or from an external collection of predesigned materials called a material library. The next exercise shows you how to load materials from a material library into the Material Editor.
The files for this lesson can be found in the \tutorials\intro_to_materials folder.
Load a material library:
If you receive the dialog asking if you really want to reset the program, answer Yes.
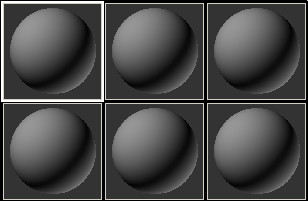
The sample slot in the upper-left corner has a white border around it, indicating that it is active.
 On the
Material Editor toolbar, click Get Material.
On the
Material Editor toolbar, click Get Material.The Material/Map Browser appears.
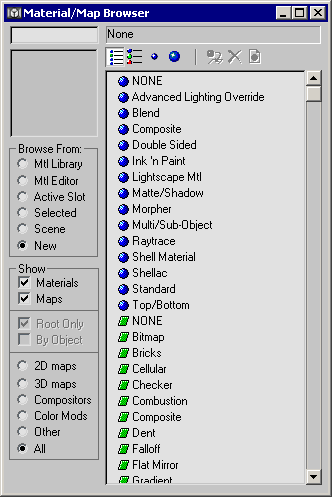
The default Material Library, 3dsmax.mat, is displayed. A number of others might be listed as well.
The names of the materials appear in a list.
 On the
Material/Map Browser toolbar, click View List+Icons.
On the
Material/Map Browser toolbar, click View List+Icons.A thumbnail of each material appears next to its name.
Transfer materials to the Material Editor:
A larger thumbnail of the Orange material appears in the preview window.
The material appears in the sample slot. The name orange appears in the drop-down list just below the palette.
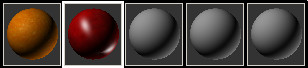
The third sample slot activates, displaying the wood countertop material.
Get materials from a MAX file:
You can just as easily get materials from MAX scene files as from material libraries. The procedure is nearly the same.

The leaf material is transferred from the MAX file to the Material Editor.
Get materials from objects in the scene:
There is a material already at work in this scene, but it is not in the Material Editor. It is applied to all the objects in the scene, so that they look like they are all made of the same substance. You can transfer the material from the scene to the Material Editor using the eyedropper cursor to sample the material.
 In the
Material Editor, click Pick Material From Object. The button is
located next to the material name, below the top row of icons (under
the sample slots).
In the
Material Editor, click Pick Material From Object. The button is
located next to the material name, below the top row of icons (under
the sample slots).The material, beige putty, appears in the sample slot. Because the material is currently assigned to objects in the scene and in the Material Editor, the corners of the sample slot display triangles. In 3ds Max parlance, this is called a "hot" material.
For practice:
 To remove
a material from a sample, click Reset Map/Mtl To Default Settings.
To remove
a material from a sample, click Reset Map/Mtl To Default Settings.  Pan
the sample palette by dragging in between the slots.
Pan
the sample palette by dragging in between the slots.