


Autodesk 3ds Max Tutorials > Materials and Mapping Tutorials > Introduction to Materials and Mapping >
Assigning Materials to Objects
In this lesson, you will learn two ways to assign materials to objects.
Set up the lesson:
Assign a material to a selected object:
Making your selection before assigning a material to it ensures that the material goes exactly where you want it to go. Use this approach for mapping complex scenes, or when you want to assign materials to sub-object selections.
 Click
Assign Material to Selection. The object turns orange in the Camera01
viewport.
Click
Assign Material to Selection. The object turns orange in the Camera01
viewport.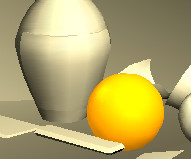
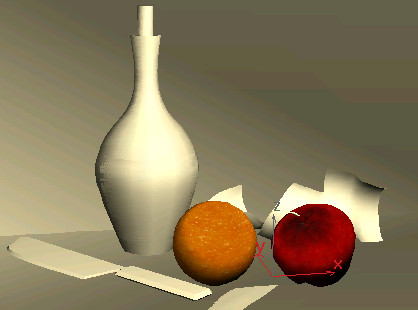
Assign a material using drag and drop:
Drag and drop is the most direct way to assign materials to objects. Use this approach when the objects you want to map are clearly visible in the scene.
See the results:
 On the
toolbar, click Quick Render. The view from the camera renders line
by line in a separate window.
On the
toolbar, click Quick Render. The view from the camera renders line
by line in a separate window.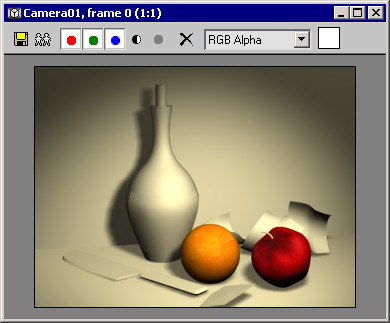
For practice: