


Refining the Reactions
Now that you have defined the basic reactions that uniformly curl and uncurl the fingers and thumb, you can use Reaction Manager to add some subtlety to the finger movement.
Set up the lesson:
If the Reaction Manager dialog is not open, choose Animation menu > Reaction Manager to display it.
Adjust the finger curling:
Real finger joints don't rotate uniformly; to simulate that movement you will adjust the reaction curves on a bone-by-bone basis.
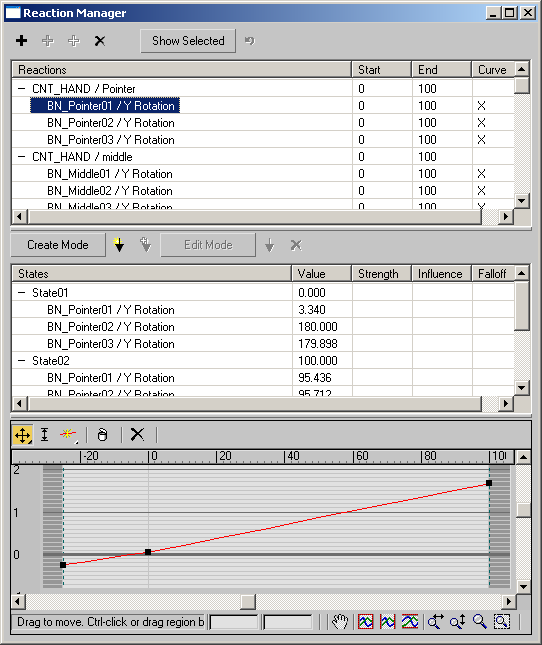
A single curve appears in the graph section of the Reaction Manager dialog, representing the reaction states for this Reaction controller. You will edit this curve to add some variety to the movement of the different joints.
Next, you 'll adjust the other fingers.
Repeat the steps in this procedure for the remaining fingers.
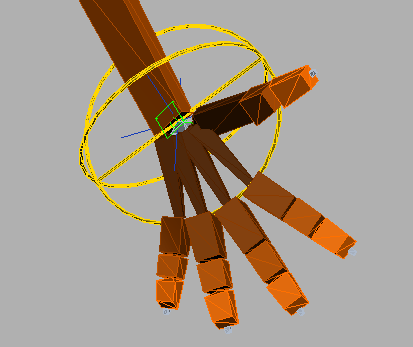
Set up the splay:
In this procedure, you'll define one more reaction controller: the Splay attribute.
 On the
Reaction Manager dialog, click the Add Master button. Select the CNT_HAND object
in the viewport, and choose Modified Object > Attribute Holder
> Custom_Attributes > Hand Splay from the menu.
On the
Reaction Manager dialog, click the Add Master button. Select the CNT_HAND object
in the viewport, and choose Modified Object > Attribute Holder
> Custom_Attributes > Hand Splay from the menu. On the
Reaction Manager dialog, with the bones still selected, click the
Add Selected button. Navigate the menus to choose Transform >
Rotation > Z Rotation.
On the
Reaction Manager dialog, with the bones still selected, click the
Add Selected button. Navigate the menus to choose Transform >
Rotation > Z Rotation. Click
the Create Mode button to turn it on.
Click
the Create Mode button to turn it on.
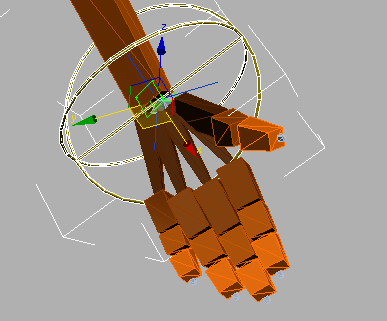
 Make
sure the Reference Coordinate System is set to Local.
Make
sure the Reference Coordinate System is set to Local. On the
Reaction Manager dialog, click the Create State button.
On the
Reaction Manager dialog, click the Create State button.
On the
Reaction Manager dialog, click the Create State button. Click
the Create Mode button to turn it off.
Click
the Create Mode button to turn it off.You've now captured the movement of individual digits on the hand, making it easy to animate the motion of the fingers and thumb. Try selecting CNT_HAND and sliding each of the sliders to see their effect, and how they work with each other. Compare your results to those in the finished file hand_reactions05.max.
Experiment with keyframing the locations of the sliders to create different finger animations.
In this tutorial, you have learned how to use Reaction Manager to establish master-slave relationships between controllers and parameters, how to define reaction states, and how to fine-tune reaction states to simulate realistic movement.