Adding Glass and Columns

Building an Architectural Model from a Concept Sketch

Producing a Shadow Study

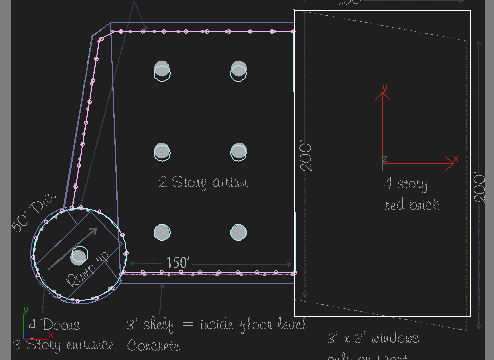
Creating the Second Building
In
this section, you will create a simple primitive to represent the
second part of the building. The shape is a trapezoid with no visible
windows.
Set
up the lesson:
To start from this point, do one of the following:
- Continue
from the previous step, or open your saved file, mybuilding.max.
- If
you want to begin the tutorial at this point, open building1_complete.max from the \tutorials\arch directory.
Create
and modify a box:
-
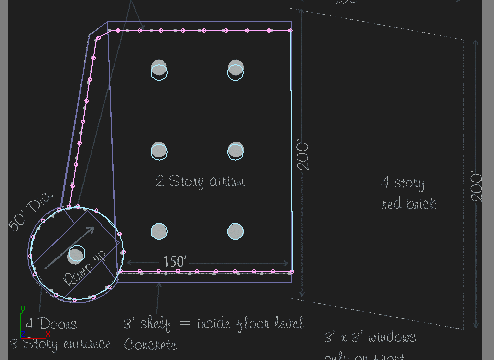
 In the
Top viewport, use the Pan tool to bring the brick building area
of the drawing (labeled "4 story red brick") into view. Zoom back
a little so the entire new building is visible.
In the
Top viewport, use the Pan tool to bring the brick building area
of the drawing (labeled "4 story red brick") into view. Zoom back
a little so the entire new building is visible.
- In
the Create panel > Geometry > Object Type rollout, click Box.
- In
the Top viewport, create a box as shown below, with a height of 30.0m.
- In
the Create panel > Name And Color rollout, type Brick
Building.
- Apply
an Edit Mesh modifier.
-
 Go to
the Vertex sub-object level
Go to
the Vertex sub-object level - In
the Top viewport, use Rectangular Region Selection to select the
vertices on the right side. Move them down in the Y axis until they line
up with the sketch.
- Select
the vertices along the bottom of the box.
- Move
them up in the Y axis, until they line up with the sketch.

- In
the Modify panel > Selection rollout, click Vertex to return
to the object level.
Save
your work:
- On
the menu bar, choose File > Save As. Name the file mybuildings.max.