Working with Hair Presets
Presets let you save or load the various hair settings.
Set up the scene:
Save your work:
Now that you have adjusted the hair parameters, you will save a hair preset for later recall.
 With
the Hair object selected, go to the
Modify panel and expand the Tools rollout.
With
the Hair object selected, go to the
Modify panel and expand the Tools rollout.Load a new preset:
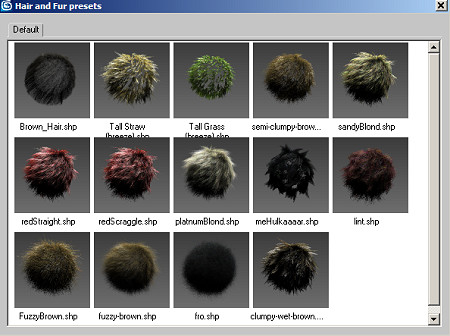
The Hair And Fur Presets dialog appears. The preset you just saved is displayed in a thumbnail called Brown_Hair.shp.


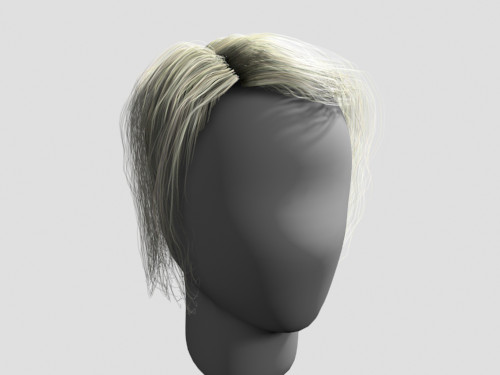
Platinum blond hair: default preset settings
Presets are a good way to load hair settings, but often you need to adjust the preset parameters to get the effect you are aiming for. In this case, it looks like the hair ought to be finer and straighter than the default settings show.
Adjust the preset settings:

Blond hair after adjusting the preset settings
Feel free to experiment with other settings.