Autodesk 3ds Max Tutorials > Modeling Tutorials > Modeling a Low-Poly Character > Modeling a Low-Poly Body >
Creating the Torso
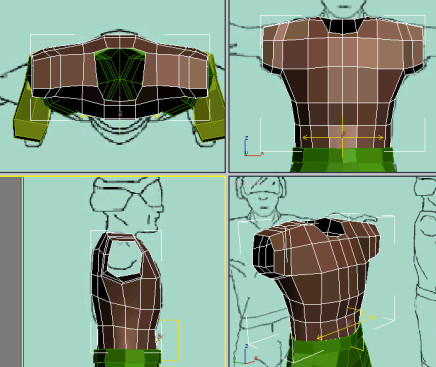
In this lesson, you create the torso for the helicopter pilot: mostly the T-shirt he’s wearing. In previous exercises, you started with simple primitives such as a box or a cylinder and you mostly extruded polygons to modify the shape. In this exercise, you'll use a slightly different approach. You'll start with an even simpler primitive, a plane object, but you'll do most of the work using edge sub-selection. This method of modeling is powerful and intuitive.
Create the T-shirt
You'll expand this object into a T-shirt.
 On the
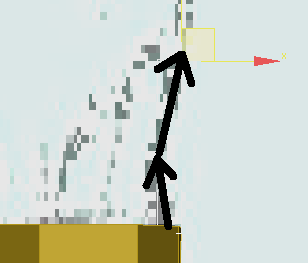
Modify panel > Selection rollout, click the Edge button.
On the
Modify panel > Selection rollout, click the Edge button.

Edit the T-shirt:
Ensure
that you're still at the Edge sub-object level.
A new polygon connects the two edges.

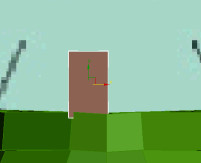
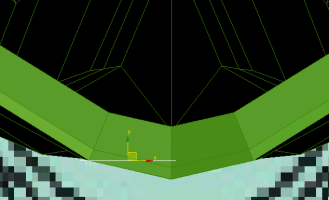
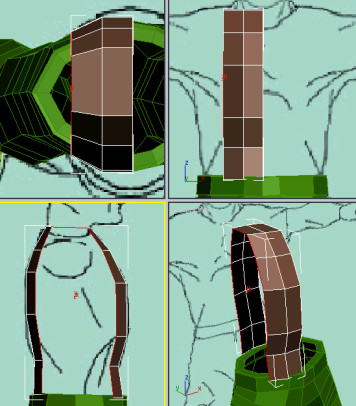
 Switch
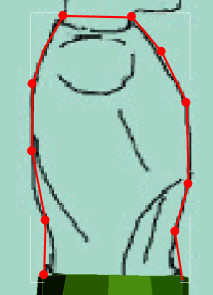
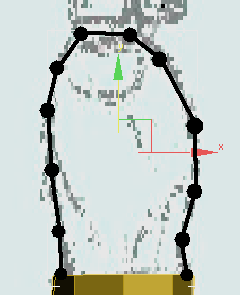
to Vertex sub-object level. Use the Move tool to fine-tune the position
of the vertices, based on the reference images.
Switch
to Vertex sub-object level. Use the Move tool to fine-tune the position
of the vertices, based on the reference images.
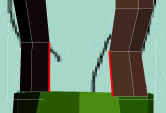
Create the sleeve:
 On the
Selection rollout, access the Border sub-object level.
On the
Selection rollout, access the Border sub-object level.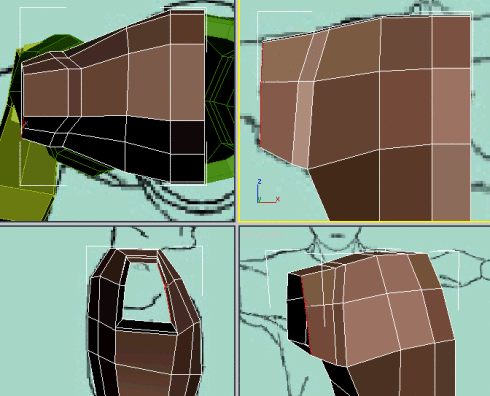
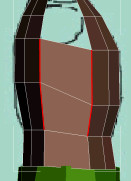
Add detail:
Access
Edge sub-object level.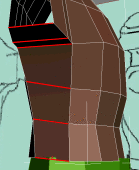
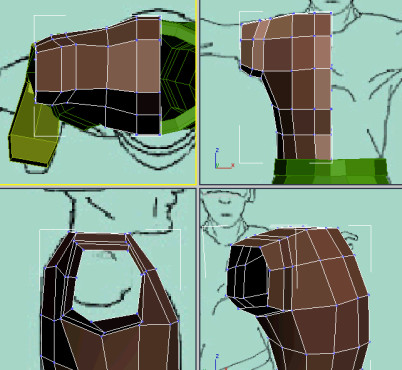
Create the collar:
Make
sure you're still at Edge sub-object level.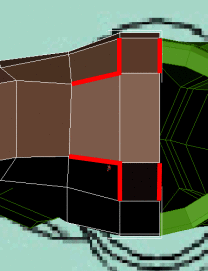
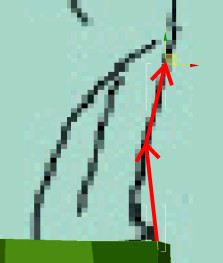
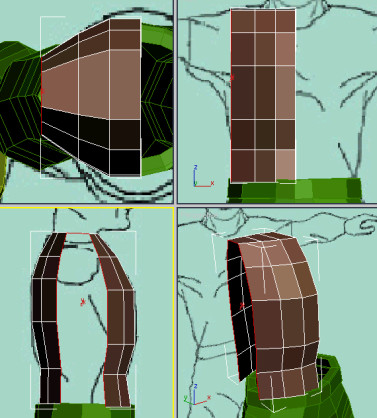
Switch
to Vertex sub-object level. Use the Move tool to fine-tune the shape
of the collar based on the reference images.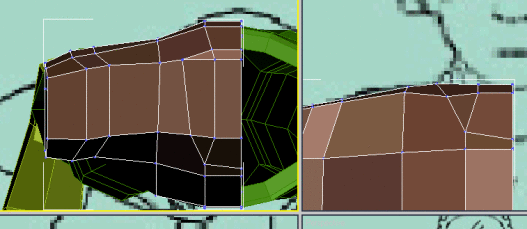
 Go to
Polygon sub-object level.
Go to
Polygon sub-object level.
Add a symmetry modifier: