Creating the Boots

Modeling a Low-Poly Body

Creating the Torso

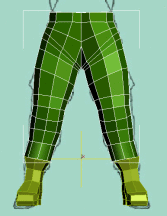
Creating the Pants
In
this lesson, you create the pants for the helicopter pilot. As with
the boots, you'll base the pants on a primitive; this time a cylinder.
You'll create one leg first and then use the Symmetry modifier to
create the other leg.
Creating
a leg:
- Continue
working on your file from the previous exercise, or load the file soldier01.max from \tutorials\low_polygon_modeling.
- In
the top viewport, zoom in on the pilot’s right foot.
- From
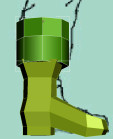
the Create menu, choose Standard Primitives > Cylinder.
- In
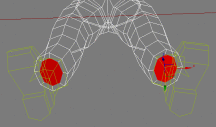
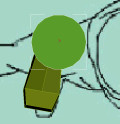
the Top viewport, create a cylinder centered on the right boot.
-
 Go to
the Modify panel. Set the cylinder Parameters as follows:
Go to
the Modify panel. Set the cylinder Parameters as follows:Radius: 20
Height: 20
Height Segments: 1
Sides: 8
Smooth: Off
- In
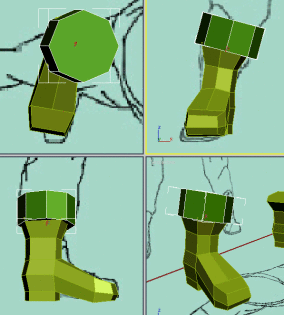
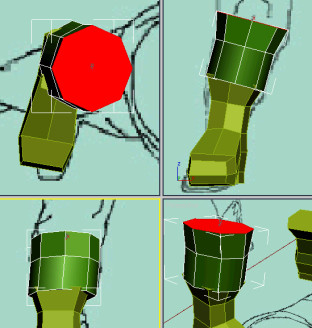
the Left viewport, move the cylinder downward until it intersects
slightly with the boot.
- In
the Front viewport, rotate the cylinder so that it is aligned with
the pants leg in the reference image.
- On
the main toolbar, click Scale and then set the Reference Coordinate
System to Local.
- In
the front viewport, scale the cylinder on its local x axis so that it
better fits the reference image.
- Right-click
the cylinder in any viewport and choose Convert to > Convert
to Editable Poly.
-
 On the
Modify panel, click the Polygon sub-object level button.
 - In
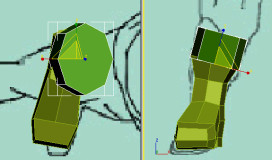
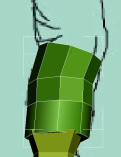
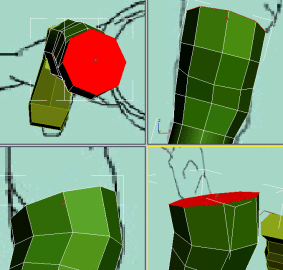
the Top viewport, click the cylinder’s top polygon.
- On
the Edit Polygons rollout, click the Extrude button.
- In
the Top viewport, drag the selected polygon to extrude it by about
half the original height.
- Use
Move and Local Scale to fit the selected polygon to the reference
image in the various viewports.
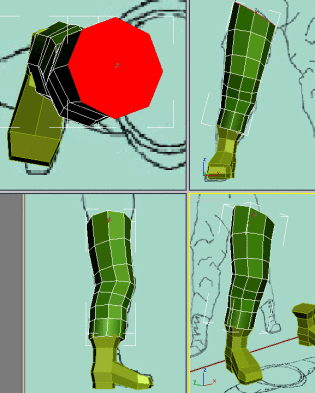
- Perform
another extrusion to right below the knee. Again, use the transform
tools such as Move and Scale to match the polygon to the reference
image. You might also want to use Rotate.
Joints such as knees and elbows require additional
detail so they deform properly when animated.
- Add
two more extrusions to complete the knee, adjusting each as you
go.
- Add
one extrusion to create the thigh, and another all the way to the
hip joint.
You can add more detail later if you miss a
spot.
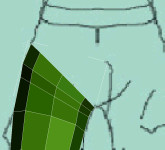
- Add
two more extrusions to provide the necessary mesh resolution for
the hip joint.
- Add
another extrusion to reach the lower part of the belt. Use the transform
tools to align the polygon with the belt line. Don't worry about
the right side; applying the Symmetry modifier will take care of that.
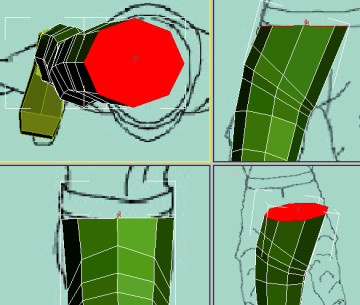
- Add
one final extrusion for the belt.
Before you apply a Symmetry modifier to create
the opposite leg, you need to adjust the buttocks area, which is
too flat at the moment.
-
 On the
Selection rollout, click the Edge button.
 - In
the Left viewport, select any of the vertical edges below the belt.
- On
the Selection rollout, click the Ring button to select all edges parallel
to the selected one.
- On
the Edit Edges rollout, click Connect. This adds a series of edges
connecting the selected ones.
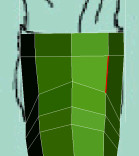
-
 On the
Selection rollout, click Vertex.
 - In
the Left viewport, drag a region selection of vertices around the
buttocks and then adjust their positions.
- Exit
the sub-object level when done.
Use
the reset XForm utility:
Before you apply a Symmetry modifier to create
the other leg, you'll use the Reset XForm utility to reset all rotation
and scale transforms on the existing object. Failing to do so would
result in faulty symmetry planes.
- Continue
working on your scene from the previous exercise.
-
 With
the pants-leg object selected, go to the Utilities panel.
 - Click
the Reset XForm button to invoke the Reset Transform rollout, and
then click Reset Selected.
- Go
back to the Modify panel.
The modifier stack now contains a new XForm
modifier that incorporates all the rotation and scale transforms.
- Collapse
the stack by right-clicking the leg in the viewport and choosing
Convert To > Convert To Editable Poly.
Use
the Symmetry modifier:
- Continue
working on your file from the previous exercise.
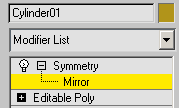
- Make
sure the leg is selected. On the Modify panel, access the Modifier
List and choose Symmetry.
- In
the modifier stack, expand the Symmetry modifier and click Mirror
This sub-object level lets you transform the
plane about which the symmetry occurs.
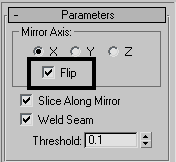
- In
the Parameters rollout, leave Mirror Axis set to X and turn on the
Flip option.
- In
the Front viewport, move the Mirror plane on the X axis so that
the symmetrical leg is in the right place.
- Exit
the Mirror sub-object level when done.
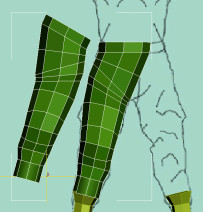
The pants are almost done. You still need to
fine-tune the area around the hips, though; you will use the Edit
Poly modifier to correct that.
Use
the Edit Poly modifier:
- Continue
working on your scene from the previous exercise.
- Make
sure the leg is selected. On the Modify panel, open the Modifier
List and click Edit Poly.
- In
the Perspective viewport, zoom in on the front of the belt.
-
 On the
Selection rollout, click the Edge button.
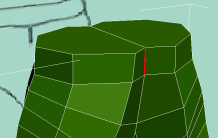
 - Select
the center edge of the belt.
- Press
and hold Ctrl and then
click the Loop upper spinner twice.
This expands the selection by two adjacent edges.
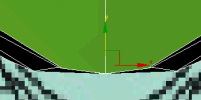
- In
the Top viewport, move the selected edges on the Y axis so that
you get a smooth curve instead of an inverted V.
- Similarly,
adjust the edges on the back side of the pants.
- Continue
fine-tuning the area around the hips. For better control, try alternating
between Edge and Vertex sub-object levels.
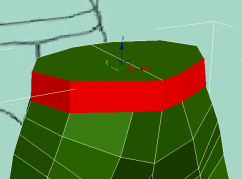
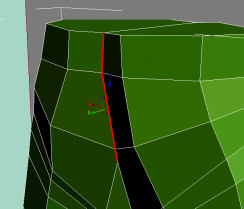
- At
the Edge sub-object level, choose one vertical edge on the belt line.
- On
the Selection rollout, click Ring to select all vertical edges around
the belt.
-
 Press
and hold Ctrl, and then
click the Polygon button to convert the edge selection to a poly
selection.
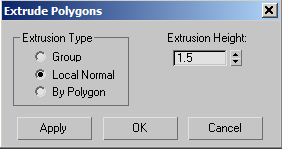
- On
the Edit Polygons rollout, click the Extrude Settings button.
This opens the Extrude Polygons dialog.
- Set
Extrusion Type to Local Normal and the Extrusion Height to 1.5.
- Click
OK to apply the changes and close the dialog.
Remove
unwanted polygons:
- Continue
working on your scene from the previous exercise.
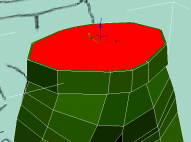
- Select
the two polygons at the top of the pants.
- On
the Edit Polygons rollout, click the Inset Settings button.
This opens the Inset Settings dialog.
- Set
the Inset Amount value to 5.0, and then
click OK to accept the changes and close the dialog.
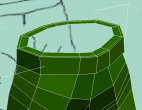
- Press Delete to eliminate the selected polygons.
- Repeat
the procedure to inset and then delete the polygons at the bottom
of the pants legs.
- Exit
the sub-object level. On the Modify panel, rename the object Pants.
- Save
the file as My_Soldier_Pants.max.
 Go to
the Modify panel. Set the cylinder Parameters as follows:

 On the
Modify panel, click the Polygon sub-object level button.
 On the
Selection rollout, click the Edge button.
 On the
Selection rollout, click Vertex.
 With
the pants-leg object selected, go to the Utilities panel.
 On the
Selection rollout, click the Edge button.

 Press
and hold Ctrl, and then
click the Polygon button to convert the edge selection to a poly
selection.