


Adjusting Envelopes
The bulk of the work in Physique consists of adjusting the size and overlap of envelopes to fine-tune mesh behavior as the character moves.
For the best results, each area of the mesh requires some attention.
As you adjust the envelopes, inspect the mesh from various angles. A test animation will also reveal different flaws in the mesh as the biped posture changes.
Set up for this lesson:
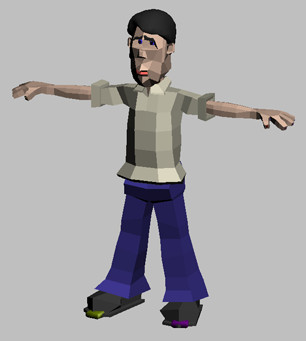
This scene contains the character Wilson and a posed biped. MeshSmooth has been removed from the character for the time being. Physique has been applied to the model, but the envelopes haven't been adjusted.
The biped isn't needed for envelope adjustment, so you can hide it for now.
The biped is hidden, and you have a better view of the mesh.
The biped is animated very simply, just enough to show you the main problem areas. The problems with the mesh are:
If you're using scene you created with the last two lessons, it's possible that your biped pose differs slightly from the file included on the CD, producing different problems with the hands, fingers, legs, or feet.
In this lesson, you'll learn to fix the first two problems listed above. You can apply the same principles to other body parts, such as fingers and toes.
Adjust the arm envelopes:
 Go to
the Modify panel.
Go to
the Modify panel.The links in the body turn yellow.
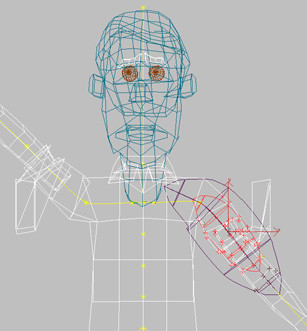
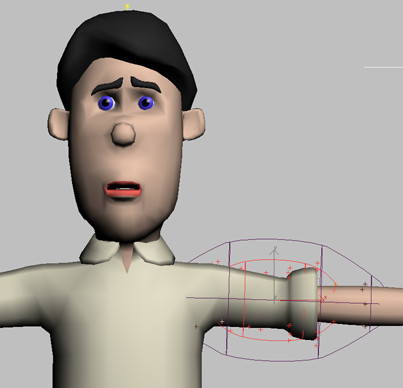
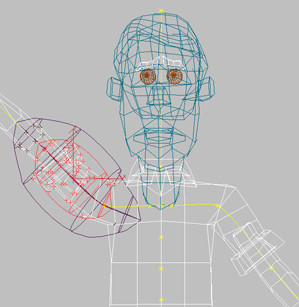
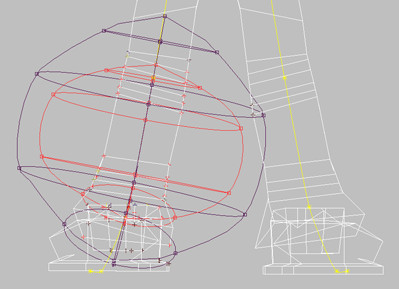
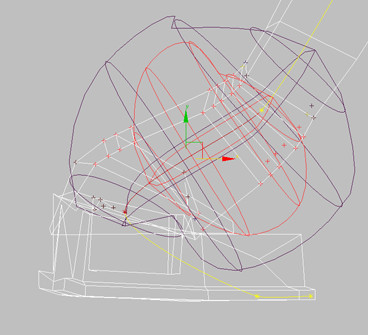
Two envelopes appear around the arm link. The vertices inside the envelopes are influenced by the bone. The inner red envelope indicates the area of most influence. The link's influence decreases until it reaches the purple outer envelope. Vertices outside the envelopes are not affected at all by the bone.
Vertices affected by the currently selected envelope turn various colors to show they are influenced by the envelope.
The radius of each envelope can be changed with the Radial Scale parameter. Increasing the radius enlarges the envelope to encompass more vertices, increasing the number of vertices affected by the bone.
To make the other arm's envelope the same, you can copy and paste the envelope settings.
The sleeve pops into place for the opposite arm.
Adjust the leg envelopes:
The envelopes for the lower legs don't fully encompass the entire pant leg near the ankle.
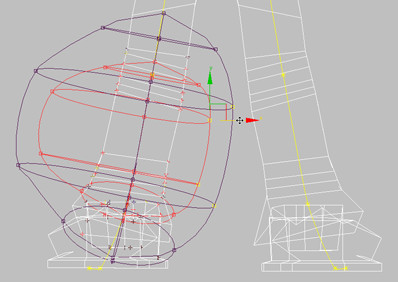
When you increase the Radial Scale enough to encompass the entire pant leg, the outer envelope includes some of the vertices on the other leg. You will solve this problem my moving control points.
The process of moving control points is easier if you put the character back into its figure pose.
The character jumps back to its figure pose.
 In the
Blending Envelopes rollout > Selection Level group, click the
Control Point button.
In the
Blending Envelopes rollout > Selection Level group, click the
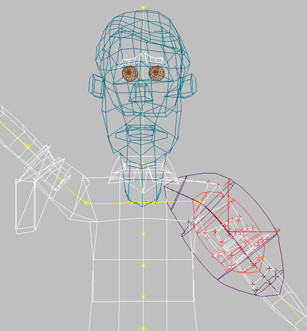
Control Point button.Control points appear on each envelope.
 In the
Blending Envelopes rollout > Selection Level group, click the
Link button. Click
Control Point.
In the
Blending Envelopes rollout > Selection Level group, click the
Link button. Click
Control Point.Control points appear on each envelope.
Adjust foot envelopes:
In the
Blending Envelopes rollout > Selection Level group, click the
Link button.Fine-tune the ankle area:
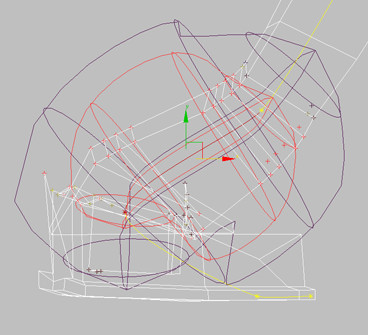
In looking at the pose on frame 10, you can see that parts of the shoe are affected by the calf link, causing spikes to appear on the shoe. You'll fix this problem by adjusting the Child Overlap parameter. This value changes the length of the envelopes in the direction of the child link. In this case, the foot link is the child of the calf link.
Although the hips are not deforming correctly just yet, the arms and legs should now deform properly without vertices being left behind or making unsightly spikes. If any problems remain, fix them by working with the Radial Scale, Parent Overlap, and Child Overlap parameters.
Assign a rigid envelope to the head:
The head is not expected to deform when the biped is animated. To keep it from deforming, you'll assign rigid vertices to it.
Vertices on the head turn green to indicate they are rigid.

Save your work:
A scene with adjusted envelopes can be found in the file envelopes_wilson_complete.max.