


Combining Motions with the Motion Mixer
In this lesson, you'll use the Motion Mixer with the two motion files you've just created. The Motion Mixer lets you create a smooth transition between Dr. X doing his deep knee bends and walking.
Set up for this lesson:
This scene contains Dr. X ready for animation.
Open the Motion Mixer:
The Motion Mixer is similar to a sound mixer, except you'll work with animation files instead of audio files. You'll add motion clips, which are .bip files, to the Motion Mixer, and create transitions between the clips to smoothly blend them together.
 Open
the Motion panel.
Open
the Motion panel. On the
Biped rollout, turn off Figure Mode if it is on.
On the
Biped rollout, turn off Figure Mode if it is on. In the
Biped Apps rollout, click the Mixer button.
In the
Biped Apps rollout, click the Mixer button.The Motion Mixer window opens.
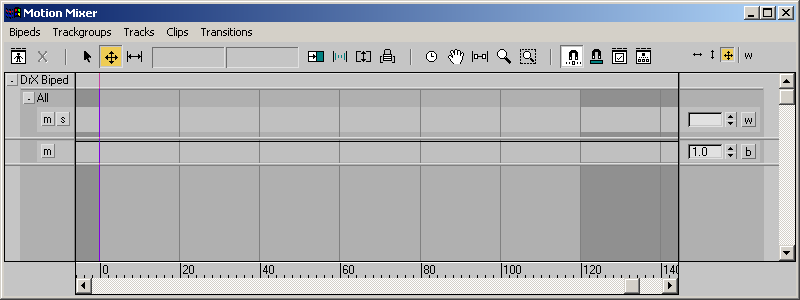
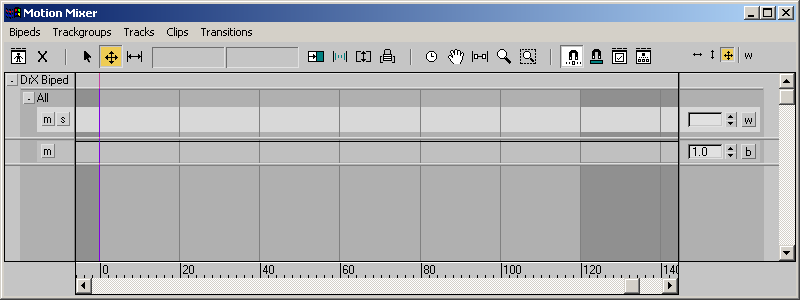
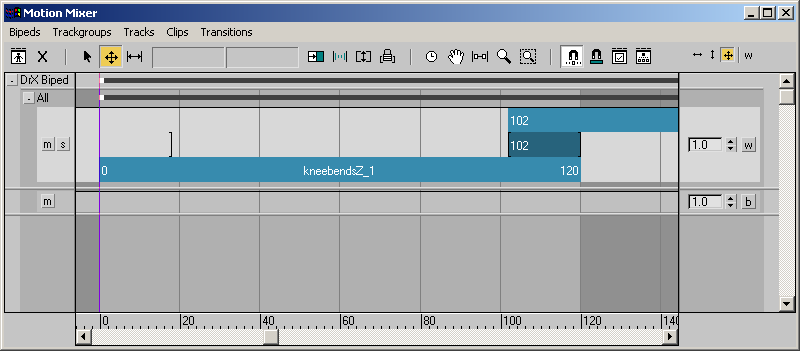
The biped is automatically displayed in the Mixer. It has a default trackgroup labelled All, where you will start laying out your tracks, motion clips, and transitions. The label All indicates that motions placed on tracks will apply to the entire biped, rather than specific body parts.
 Opening
the Motion Mixer also automatically turns on the Mixer Mode button
on the Biped rollout. When Mixer mode is on, the biped performs
the motions in the Motion Mixer.
Opening
the Motion Mixer also automatically turns on the Mixer Mode button
on the Biped rollout. When Mixer mode is on, the biped performs
the motions in the Motion Mixer.
Add the clips to the Mixer:
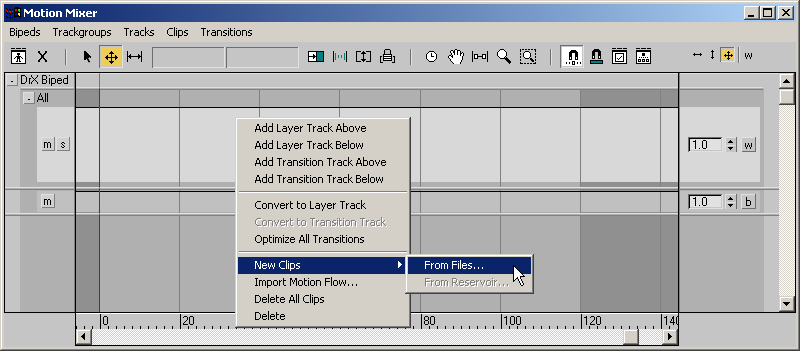
Trackgroups are populated by tracks, in the form of Layer tracks or Transition tracks. On each track, you add clips and transitions. The final product of your efforts is called a mix.
Here, you'll add two clips to the trackgroup with a transition between them.
By default, the topmost track is a layer track, which is designed for consecutive clips with no transitions between them. You want to create a transition between two clips, so you'll need a transition track.
![]()
The track is changed to a transition track that is taller than the original, with room for two tracks and a transition.
The Open dialog displays.
The clip holding the knee-bend motion is added to the track.
The second clip is added to the track, and a transition is automatically added between the two clips. The transition is colored with a darker version of the clip color, and spans the transition time between the two clips.
 On the
Motion Mixer toolbar, click Zoom Extents so you can see the entire
mix in the display.
On the
Motion Mixer toolbar, click Zoom Extents so you can see the entire
mix in the display.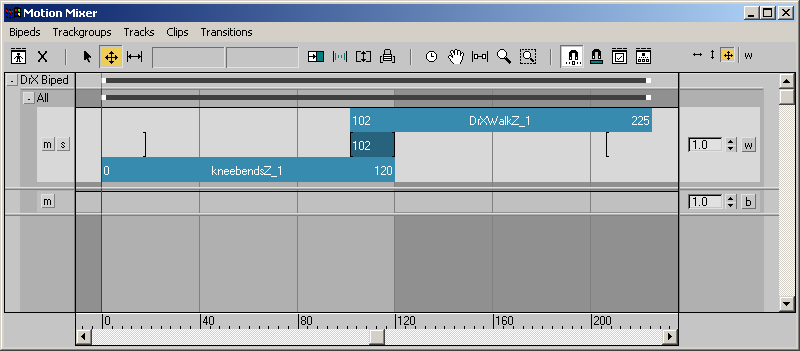
 On the
Motion Mixer toolbar, click Set Range.
On the
Motion Mixer toolbar, click Set Range.This feature automatically sets the length of the animation to the number of frames needed for the mix. In this case, it sets the animation length to 225 frames.
Play the mix:
You've just created a basic mix comprised of two clips and a transition. Now you'll play the animation.
In the
Biped rollout, turn on the Mixer Mode button if it's not already
active. Click
the Play Animation button on the 3ds Max status bar. Watch the
animation in the viewport and its progress in the Mixer window.
Click
the Play Animation button on the 3ds Max status bar. Watch the
animation in the viewport and its progress in the Mixer window.Dr. X does his knee bends in the first clip.
He smoothly transitions to walking in the second clip.
The feet slide a little during the transition. This problem can be fixed with the Mixer, but that's beyond the scope of this tutorial.