


Animating with Dummy Objects
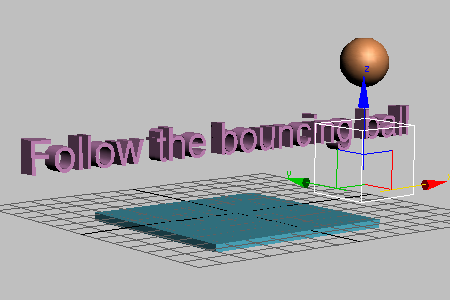
In this lesson, you will link the bouncing ball to a helper object. Then you can animate the helper so that the ball bounces across the top of some text. This animation technique is useful because you can control the ball’s bouncing and its traveling motion independently.
Set up the lesson:
This file is similar to the bouncing ball created in the last lesson. The only difference is that it has a text object prepared for you in the scene and it has a longer active time segment.
 If you
didn't open bounce_dummy.max.,
you'll need to extend the active time segment to 240 frames. Click
the Time Configuration button and then in the Animation group change
End Time to 240.
If you
didn't open bounce_dummy.max.,
you'll need to extend the active time segment to 240 frames. Click
the Time Configuration button and then in the Animation group change
End Time to 240.
Create a dummy object:

 On the
Create panel, click the helpers button, then on the Object Type
rollout click Dummy.
On the
Create panel, click the helpers button, then on the Object Type
rollout click Dummy.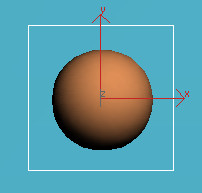
Make the dummy in the Top viewport.
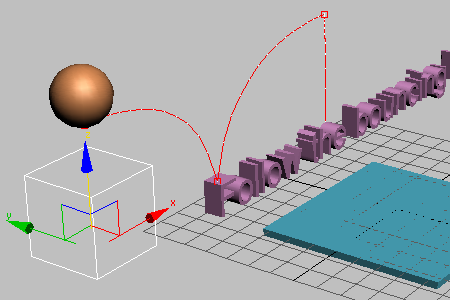
If you look in the Front viewport, you'll see that while the ball is up in the air, the dummy is positioned at the same level as the box.
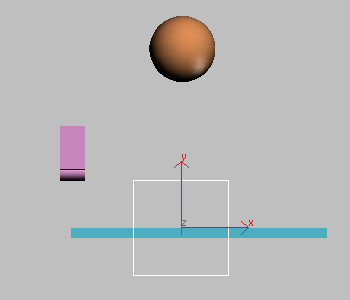
Dummy created below the ball
Next you will align the dummy so that it is centered over the sphere when viewed from the top.
 On the
toolbar, click Align. Then in the Top viewport, click the Sphere.
On the
toolbar, click Align. Then in the Top viewport, click the Sphere.The Align Selection dialog is displayed.
You'll see the dummy shift position so it is aligned to the sphere.
Next, you'll align the dummy's pivot point with its base, and you will position the dummy so that it sits on top of the box. The idea is to set up the dummy so that its pivot point will match where the ball bounces. Then placing the dummy on any frame in time will ensure the correct alignment.
 Select
the dummy object, and go to the Hierarchy panel.
Select
the dummy object, and go to the Hierarchy panel.Instead of moving the pivot, you will move the object using Affect Object Only. This moves the object but leaves the pivot unmoved.
The pivot icon is displayed in the viewport.
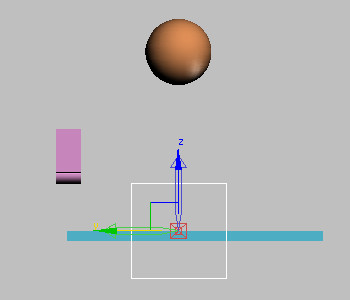
Pivot point tripod display
Now you can move the object to change its relationship with the pivot point.
 Turn on Select And Move,
and raise the dummy cube so its base is level with the pivot tripod.
Use the Transform gizmo so the dummy only moves up.
Turn on Select And Move,
and raise the dummy cube so its base is level with the pivot tripod.
Use the Transform gizmo so the dummy only moves up. You don’t want to move in any other axis, since the dummy is already centered properly in the other axes.
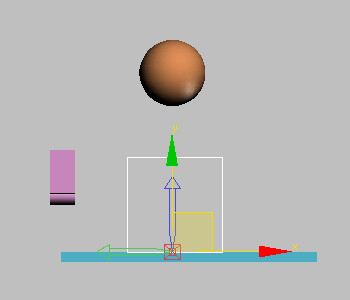
= key used to grow the transform gizmo
Now you will link the ball to the dummy. The dummy will become the parent to the bouncing ball.
Link the ball to the dummy:
 On the main toolbar, turn
on Select And Link.
On the main toolbar, turn
on Select And Link. The cursor changes to two interlinked boxes.
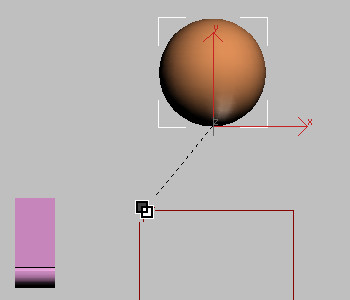
Link the ball to the dummy
You just linked the ball to the dummy.
You can also create linkages in Schematic View. For something this simple, it’s easier to link directly in the viewport.
When you've created a linkage, it's a good idea to test it out to make sure you did what you think you did.
Verify that you've created the hierarchy:
 On the toolbar, turn on
Select Object.
On the toolbar, turn on
Select Object.The Sphere01 object should appear indented below Dummy01 in the list.
Testing the linkage
Now you're ready to animate the dummy. You'll use simple Auto Key animation first, just so you can understand the process.
Animate the dummy:
 Turn
on Auto Key
Turn
on Auto Key On the main toolbar, turn
on Select And Move.
On the main toolbar, turn
on Select And Move. 
Dummy at frame 0
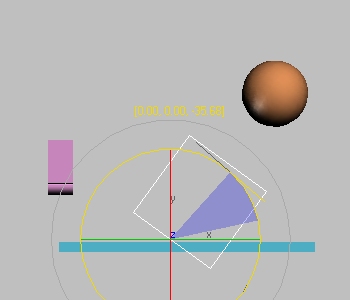
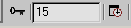 Use
the time slider to move to frame 15, or type 15 in the Go
To Frame field.
Use
the time slider to move to frame 15, or type 15 in the Go
To Frame field.
Dummy at frame 15
You just set two keys for the dummy, one at the start location at frame 0 and a second at frame 15.
Dummy at frame 30
You've now set a third key at frame 30. If you play the animation, you'll see the ball bounce off the box as if it had been tossed.
You can display the trajectory of the ball to help visualize the animation. Here's how.
On the main toolbar, turn
on Select Object.You can use any transform tool for this, but using Select Object ensures you don't accidentally transform the object.

Trajectory display for the ball
You see the ball bouncing onto the box and off, following the trajectory.
Try Layout mode:
If you turn off Auto Key and move the dummy, you will be moving the entire animation in space. When both Auto Key and Set Key are off, you are working in what is known as Layout mode. Here you will use Layout mode, so that instead of the ball bouncing on the block, the ball bounces off the letter F.
Turn
off Auto Key Mode.The red disappears in the time slider background and viewport outline.
Layout Mode lets you move the animation in space.
Bounce the ball on the letters:
Now you'll repeat what you've learned to create the ball bouncing on the letters.
The ball bounces 8 times, making contact with the letters at frames 15, 45, 75, 105, 135, 165, 195, and 220.
 Turn
on Auto Key.
Turn
on Auto Key.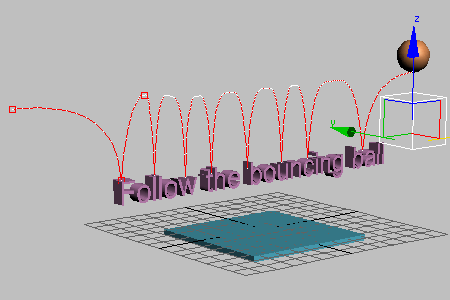
Next you will learn to use a multiplier curve to affect the height of the bouncing ball.
Add a multiplier curve:
The Curve Editor window is displayed, if it wasn't already visible.
In the Controller window, the Multiplier curve is added beneath the Z position track. It's not very noticeable in the Keys window on the right.
The scaling of the multiplier track is quite small, so the slightest change to a key could result in a large change in the animation. You can counteract this by zooming in on the multiplier track.
 On the
Navigation: Track View toolbar (at the lower right of the Keys window),
click the Zoom Region button. Drag a zoom region window around the
key at frame 240 on the multiplier track.
On the
Navigation: Track View toolbar (at the lower right of the Keys window),
click the Zoom Region button. Drag a zoom region window around the
key at frame 240 on the multiplier track. On the
Track View toolbar click Move Keys to turn it on, then move the
multiplier key downward, while observing the effect on the trajectory
in the Perspective viewport.
On the
Track View toolbar click Move Keys to turn it on, then move the
multiplier key downward, while observing the effect on the trajectory
in the Perspective viewport.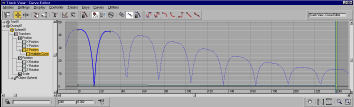
Lowering the multiplier curve shows effect on Z position curve in Keys window
Don't move it below the horizontal zero value, or you will get some strange effects.
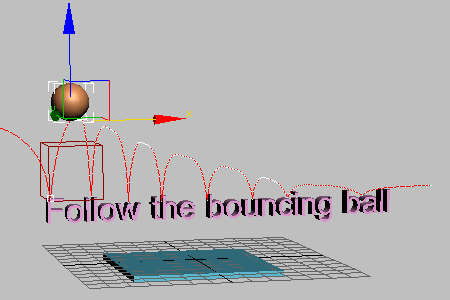
Multiplier curve shown on trajectory
While working with Multiplier curves, if you're not sure you like the results, you can just turn them off. Select the Multiplier curve in the Controller window, then on the Curves menu choose On/Off.
 Click
Zoom Horizontal Extents on in the Navigation toolbar to see the
entire curve again.
Click
Zoom Horizontal Extents on in the Navigation toolbar to see the
entire curve again.