


Autodesk 3ds Max Tutorials > Materials and Mapping Tutorials > Vertex Color and Interactive Shading > Painting Vertex Color >
Adding Radiosity to Vertex Color
You can take the lighting information from your file and add it to the vertex color information. In this exercise, you will open a scene of a garage, a typical game environment. The skylights and fluorescent tubes in the garage have advanced lighting override materials applied to them. You will calculate a radiosity solution then “bake” it in the vertex color channels using the Assign Vertex Colors Utility.
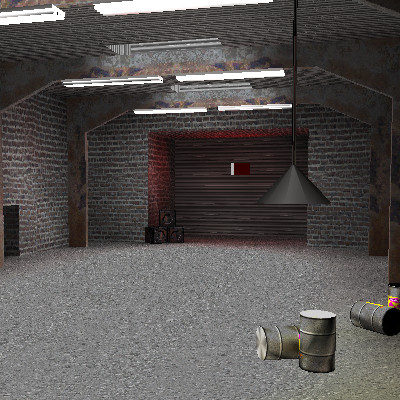
Radiosity with advanced lighting override materials
Set up the tutorial:
This file has been prepared so that it has advanced lighting override materials placed on the fluorescent tubes, the overhead skylights, the hanging lamp, and the rear red skylight in the back of the garage. First, you will adjust the luminance scale on these materials.
Adjust the Advanced Lighting Materials:
If you only see six material slots, do the next step.
Now you should be able to see 15 material slots.
The Advanced Lighting Override Material will give the illusion that the objects are casting lighting in the scene. By increasing these Luminance Scale values the garage will become more brightly lit, once the radiosity is solved.
Next, you will calculate the radiosity solution.
Calculate the radiosity solution:
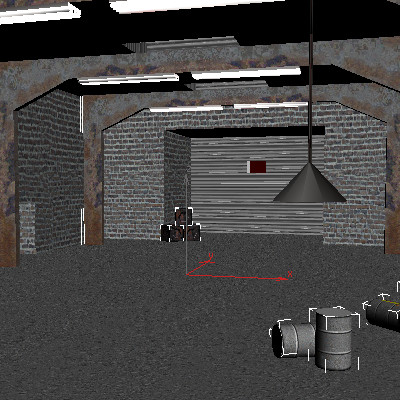
The Radiosity solution is created, and the viewport displays the shadowing created using the advanced lighting.
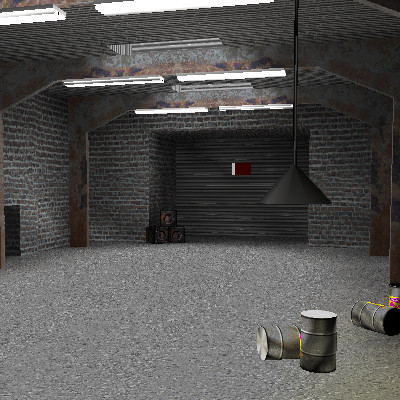
Radiosity displayed in viewport
You'll now repeat the technique you just used one more time.
On the Render Scene dialog, there is a message saying the Solution is invalid at the current time frame.
The viewport updates to reflect the reset Radiosity.
The radiosity solution calculates then displays in the viewport. The red light color is now splashed prominently on the back walls.
Red skylight color increased
Next, you will take the radiosity lighting information and add it to the vertex color information by using the Assign Vertex Color utility. This will create a vertex paint layer that you can manipulate.
Bake radiosity into the vertex paint layer:
This will select all the objects in the scene, except for the lights.
 On the
Utilities panel, choose More > Assign Vertex Colors.
On the
Utilities panel, choose More > Assign Vertex Colors.The Radiosity information is assigned object by object throughout the scene. You will see each object update in the viewport.
The vertex information has been applied to the geometry, but the vertex isn't properly displaying it yet. To see the vertex color information, you’ll use the floating vertex paintbox.
The floating vertex paintbox appears, and the Modify panel is now displayed instead of the Utility panel. The VertexPaint modifier is now visible in the stack. It appears in italics, indicating that it is an instanced modifier, shared by several objects in the scene.
Display the vertex color in the viewport:
At the top of the paintbox, a row of buttons allow you to control the viewport display as you work.

 Click
the Vertex color display – unshaded button.
Click
the Vertex color display – unshaded button.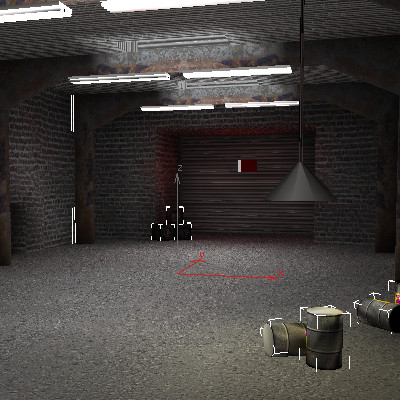
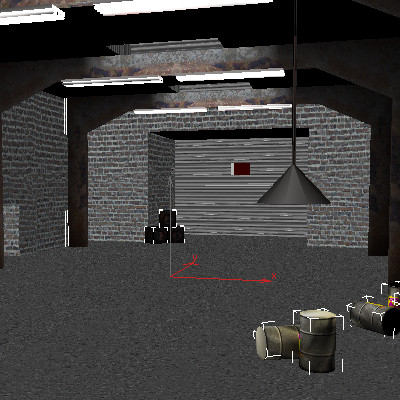
Unshaded vertex color displayed
The viewport now displays the vertex color without the viewport lighting.
 Click
the Vertex color display – shaded button.
Click
the Vertex color display – shaded button.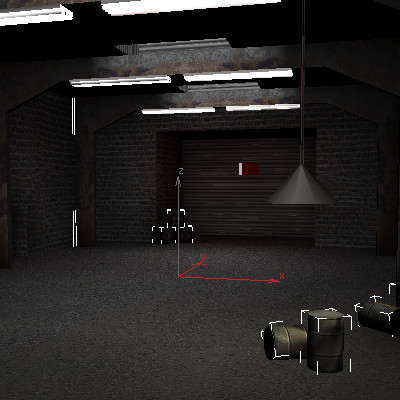
Shaded vertex color mode
The viewport now displays the vertex color with the viewport lighting.
 Click
the Vertex color display – disable vertex color button.
Click
the Vertex color display – disable vertex color button.The vertex color is hidden.
Vertex color disabled
Turn
display vertex color display – shaded on.This is the mode you will use when you do your vertex painting.
In the next section, you will explore using the vertex paint tools to blur shadows, adjust color and paint directly on the garage floor using multiple vertex color layers. But first you should save your work.