Using the Relax Tool on Texture Coordinates
An important tool in the Unwrap UVW modifier editor is Relax, which algorithmically spreads out texture coordinates to give more even coverage of the underlying texture. This makes it easier to assign specific texture coordinates to the desired areas of the texture.
The Relax tool in Unwrap UVW can save you time and effort by automatically spreading out mapping vertices. In some cases, you'll need to follow up by moving vertices to the desired final locations.
Set up the lesson:
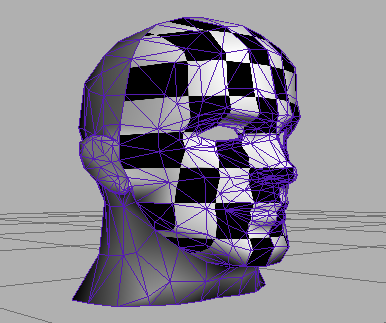
The scene contains a model of a head, with a UVW Map modifier set to Planar applied to the face. Also applied to the face is a material with a Checker map. The map helps show where the texture vertices might need to be adjusted.
Apply the Unwrap UVW modifier:
The Unwrap UVW modifier appears at the top of the stack, but doesn't provide a sub-object mode because you're applying it to an existing sub-object selection.
Edit the UVW mapping:
The Edit UVWs dialog opens.
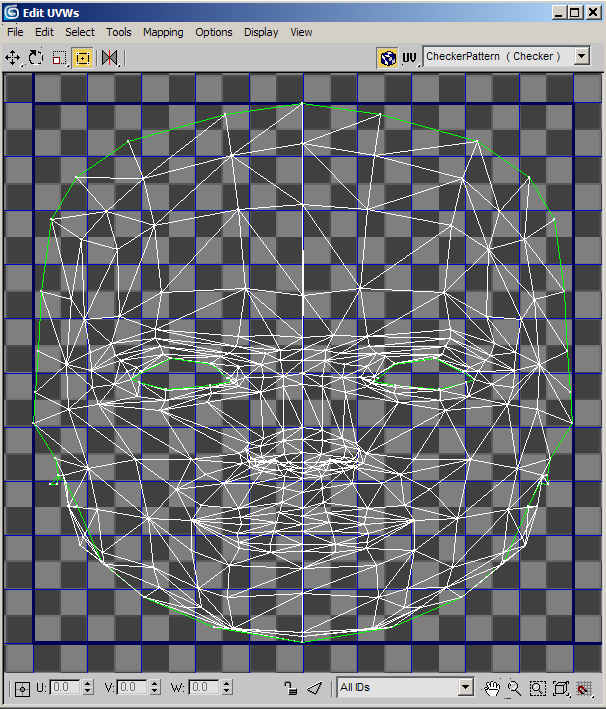
Only the selected parts of the mesh appear, and all texture vertices are selected.
Note that the texture vertices are most dense around the detailed parts of the face: the eyes, nose, and mouth. This is where you can use Relax to spread out the vertices for easier manual editing.
The Relax Tool dialog appears.

The Relax Tool dialog is modeless. It offers different algorithms to relax the mapping. The default mode, Relax By Edge Angles is often recommended as it minimizes the overlapping of edges.
The selected vertices move apart slightly.