Using Displacement Mapping with Surface Properties

Introduction to Materials and Mapping

Creating a Skin Material

Adding Stars to the Sky
Vincent van Gogh is not the only one who
gets to have fun painting the night sky. In this lesson you'll create
your own starry night using a Noise map in the environment background.
- The
files for this lesson can be found in the tutorials/intro_to_materials folder.
Apply
a Noise material:
- Open moon.max.
- Press 8 on the keyboard to open the Environment
dialog.
- Click
the Environment Map button.
- In
the Material/Map Browser, choose Noise then OK. The Noise map appears
in the Environment map component.
- Open
the Material Editor.
- Drag
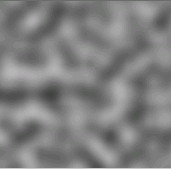
the Noise map from the Environment dialog to an unused sample sphere.
Choose Instance and click OK.
The sample sphere disappears and is replaced
with the Noise map. The map is displayed as a square, since this
is a map, not a material.
- Scroll
down to the Noise Parameters rollout and set the Noise Size to 0.2.
- In
the Noise Threshold settings, set the low threshold to 0.6 and
the high threshold to 0.7. This narrows the range between
white and black so the noise will display as dots or pinpoints.
- Activate
the Camera viewport and press F9 render
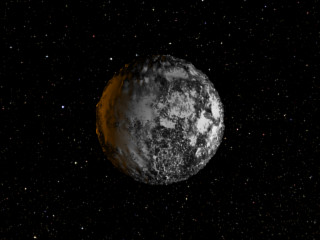
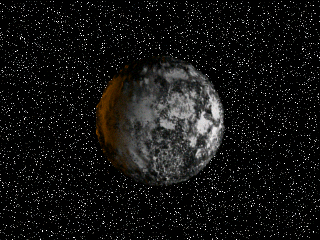
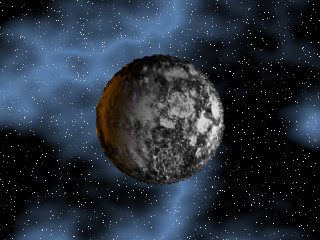
the scene. Hundreds of stars appear in the sky.
- Reduce
the number of stars by increasing the low threshold to 0.65.
Then tone down the brightness of the stars by changing the white
Noise color to pale gray.
- Render
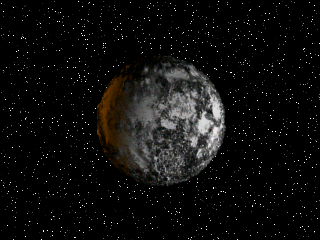
the scene again. The stars fade into the background.
Create
a nebula field:
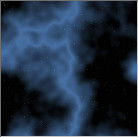
To add drama, create a nebula field by mapping
the black areas of the Noise material with a Gradient Ramp.
- On
the Noise Parameters rollout, click the Color #1 map button.
- Choose
Gradient Ramp from the Material Map Browser then OK.
- The
Material Editor moves down a level in the material tree. The sample
sphere is replaced by a grayscale gradient. Scroll to the Gradient Ramp
Parameters rollout. The Gradient ramp has three flags: one on the right,
one in the middle, and one on the left.
- Double-click
the flag on the right to display the color selector. Change the
color to black.
- Without
closing the color selector, click the middle flag and change it
to blue. Then close the color selector.
- In
the Noise group, set Amount to 1.0. Choose
the Fractal option and set Size to 9.0.
- Render
the scene. A diffuse blue nebula appears in the sky.
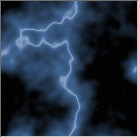
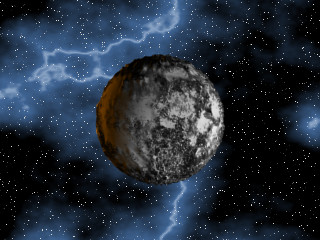
Add
a streak to the nebula field:
- Click
twice near the center of the gradient, on either side of the middle
flag. Two more flags appear. (If you make too many flags, right-click
a flag and choose Delete.)
- Double-click
the middle flag and change its color to a lighter blue.
- Set
the Noise Levels parameter to 6 to add more
details to the streak.
- Render
the scene.
- Experiment
with the gradient color, type and noise parameters until you master
the effect.
- Save
your work as mymoonandstars.max.
Create
a starry sky with a large sphere:
Another way to make stars is to create a large
sphere, invert its normals, then apply a starfield bitmap to it.
- Using
the keyboard entry method, create a very large sphere with a radius
of about 1200. (If you're not familiar
with this method, open the Create panel and click Sphere. Open the
Keyboard Entry rollout and set Radius to 1200. Then click
Create.)
- Name
the sphere skydome.
- Open
the Modifier panel. From the Modifier drop-down list, choose Object
Space Modifiers > Normal.
- In
the Parameters rollout, turn on Flip Normals, if it is not already
on.
- Open
the Material Editor and click an unused sample slot. Name the material starry
sky.
- Click
the Diffuse map button. In the Material/Map Browser, choose Bitmap
and click OK.
- In
the Select Bitmap Image File dialog, choose stars10.jpg and click OK. This
is a large and detailed map, so it may take a moment to load.
NoteYou'll find this bitmap in the
tutorials/space
folder.
-
 Turn
on Show Map In Viewport.
 -
 Click
Go to Parent. On the Blinn Basic Parameters rollout, set Self-Illumination
to 100.
- Drag
the material onto the skydome object and press F9 to render the scene. The stars
from the map appear in the sky, replacing the environment background
map.
Brighten
the stars:
- Open
the Maps rollout and click the Diffuse Color map.
- Open
the Output rollout and set RGB Level to 2.0. To filter
out the dimmer stars, set the Output Amount to 1.2.
- Press F9 to render the scene.
Save
your work:
- Save
your work as mymoonandstars2.max.

 Turn
on Show Map In Viewport.
 Click
Go to Parent. On the Blinn Basic Parameters rollout, set Self-Illumination
to 100.
