


Autodesk 3ds Max Tutorials > Materials and Mapping Tutorials > Introduction to Materials and Mapping >
Texturing the Chessboard
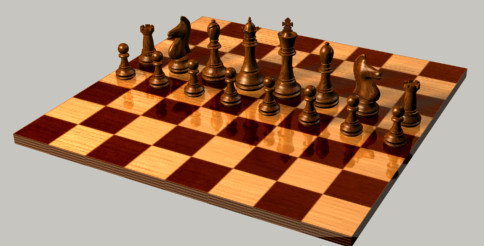
In Modeling a Chess Set , you learned how to create the pieces for a chess set. Chess pieces want to live on a chessboard. In this tutorial, you'll construct a chessboard that has a wood-grained, checkerboard pattern. You'll also add shininess and reflection to the chessboard.
Set up the lesson:
Create the chessboard:

 On the
Create panel, click the Geometry button. Make sure Standard Primitives
is chosen in the drop-down list.
On the
Create panel, click the Geometry button. Make sure Standard Primitives
is chosen in the drop-down list. If 2D
Snap is on, turn it off.
If 2D
Snap is on, turn it off.Don't worry about the initial dimensions: you will change them soon.
Create the squares:
 Activate
the Perspective viewport and click the Zoom Extents button.
Activate
the Perspective viewport and click the Zoom Extents button. Click
the Field Of View button and zoom in so the chessboard fills the
viewport.
Click
the Field Of View button and zoom in so the chessboard fills the
viewport. On the
toolbar, open the Material Editor by clicking the Material Editor
button or use the M keyboard shortcut.
On the
toolbar, open the Material Editor by clicking the Material Editor
button or use the M keyboard shortcut.The Material/Map Browser appears.
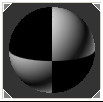
3ds Max has a built-in checker pattern, which makes your work easier. The active sample slot now shows a sphere with the checker pattern.

 In the
Material Editor, click Assign Material To Selection, then click
Show Map In Viewport.
In the
Material Editor, click Assign Material To Selection, then click
Show Map In Viewport.This lets you see the map in shaded viewports. (The viewport display of maps is only an approximate.)
The default checker pattern is two by two, but a chessboard needs eight squares in each direction.
Now the board has the right number of squares.
If you render the Perspective viewport, you see that the checker pattern is more refined than the shaded viewport shows.
Give the checker pattern a wood texture:
 Open
the Utilities panel and click Asset Browser.
Open
the Utilities panel and click Asset Browser.The Asset Browser appears. Click OK to the copyright advisory it displays.
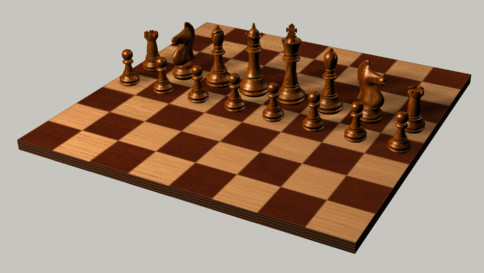
Now if you render the chessboard, it has a contrasting wood pattern.
Add polish to the chessboard:
 In the
Material Editor, click the Go To Parent button.
In the
Material Editor, click the Go To Parent button.The Material/Map Browser opens.
The pieces are reflected in the chessboard, but the wood grain is washed out.
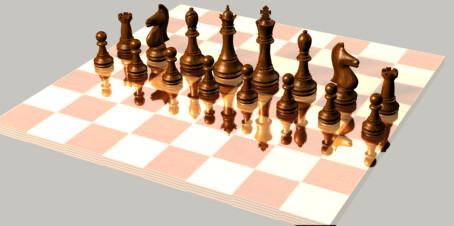
Click
the Go To Parent button and, on the Maps rollout, change the Reflection
Amount to 30.The wood grain is not as washed out as before but still looks faded.
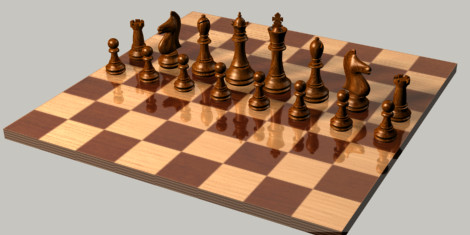
 Click
the Go Forward To Sibling button and make the same change to the
Output Amount of the Color #2 map.
Click
the Go Forward To Sibling button and make the same change to the
Output Amount of the Color #2 map.The wood grain looks much warmer and more realistic.