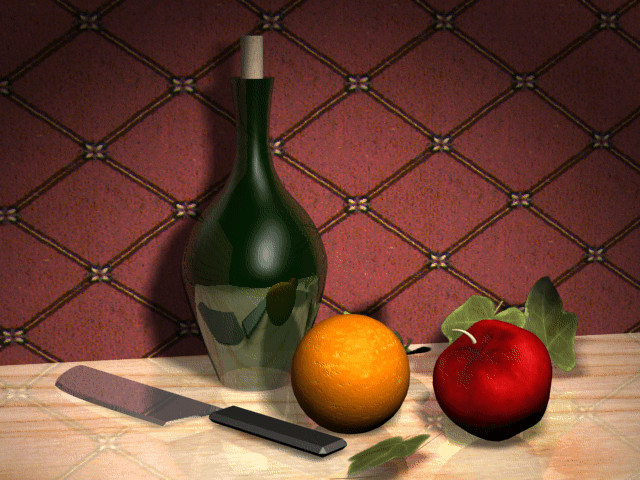
Creating Multi/Sub-Object Materials

Introduction to Materials and Mapping

Texturing the Chessboard

Using Raytrace Materials and Maps
Raytrace
materials are perfect for reflective materials like shiny metal
and glass.
- The
files for this lesson can be found in the tutorials/intro_to_materials folder.
Set
up the lesson:
- Continue
from the previous exercise or load bottlematerials.max.
- Change
the Camera viewport back to Smooth + Highlights.
- Turn
off Views > Shade Selected, if it's currently turned on.
Make
green glass using a raytrace material:
- Open
the Material Editor and access the green bottle material
within the multi/sub-object material.
- Change
the material type from Standard to Raytrace.
The bottle changes to a gray color in the viewport.
- In
the Material Editor, make the Diffuse color a rich forest green.
The bottle changes to a green color in the viewport.
- Click
the Transparency color swatch. Change the color to light gray by
setting Value to 119.
- Set
the Reflect color swatch to a darker gray: Value=100.
Close the Color Selector dialog.

- Drag
the wood countertop material to the
counter (base) object.
- Render
the Camera01 viewport.
The bottle shows the reflections of adjacent
objects.
Raytrace
reflections in the scene:
There are several ways to make objects appear
reflective. You choose a method of creating reflection based on
the main source of an object’s color and the quality you want to
achieve. For objects that derive their color primarily by reflection,
such as polished metal or glass, you will probably want to use a
raytrace material. If an object has a strong local color or texture
as part of its material, you might add a reflection map to the Reflection
map component instead.
- Press H and choose [knife]. The
knife and its handle are grouped together.
- Choose
Group > Open.
- Select
the knife blade in the viewport.
- From
the Material Editor, drag the knife blade material
to the knife blade (Line02).
This is another Raytrace material. It’s a lot
like the Raytrace green glass material except that it's not transparent.
- Drag
the knife handle material to the knife
handle.
- Click
the wood countertop material. On the
Maps rollout, click the None button of the Reflection map component.
- In
the Material\Map Browser, double-click the Raytrace map type. In
this case you're adding a raytrace only to the Reflection component.
- Name
the Reflection component counter reflection.
-
 Click
Go to Parent. On the Maps rollout, set the Reflection amount to 44 and
the Diffuse Color amount to 90. This will
keep the reflection from overpowering the wood texture.
 - Render
the Camera01 viewport, and examine the reflections in the knife
blade and countertop.
- Save
your file as mymaterials4.max.


 Click
Go to Parent. On the Maps rollout, set the Reflection amount to 44 and
the Diffuse Color amount to 90. This will
keep the reflection from overpowering the wood texture.